A blog about Stockport landmarks by artist/printmaker Neil Robinson which follows a printmaking project depicting the diverse architectural styles of my hometown both new and old.
Here’s a gallery of prints and images from this year.
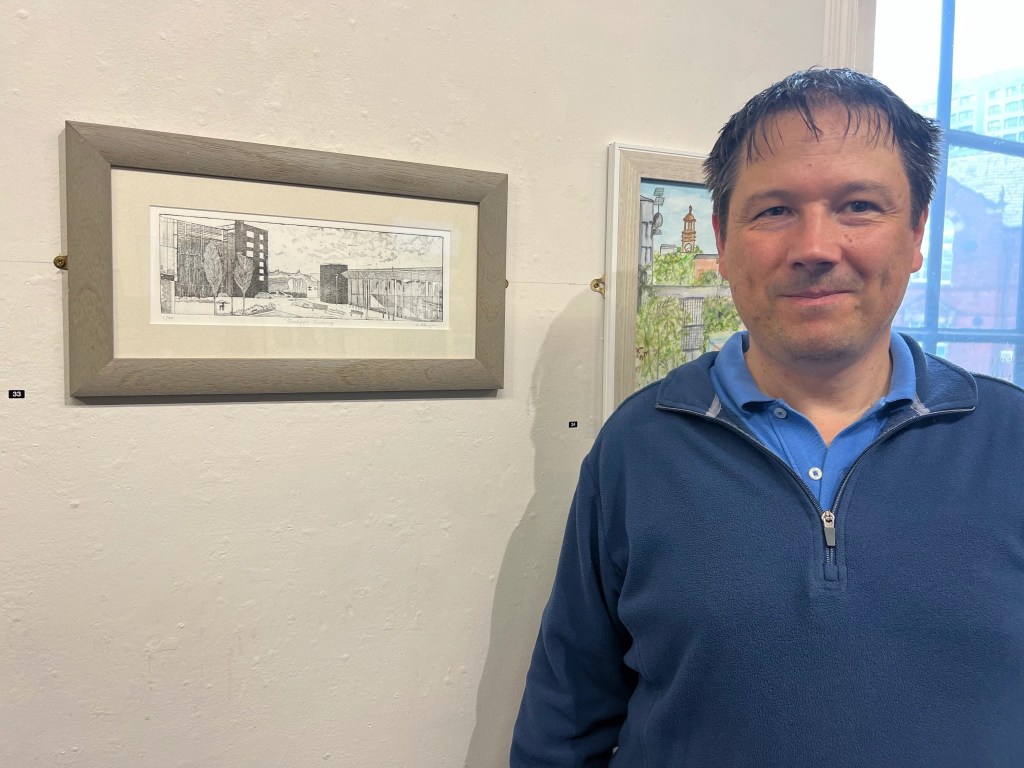
My main highlights from this year was having work accepted into The Real Public Art Show (Stockport Open), the first Bury Open exhibition and the 102nd Stockport Art Guild exhibition.
2024 marks 10 years since I started this printmaking project / blog, and in that time I have created a catalogue of printmaking which I am going to present in a future exhibition. The project is not over yet, as I will be producing some new artworks in the coming months. Watch this space 👀
By the way have a happy and relaxing Christmas and here’s to 2024 and more creativity. Cheers 🥳🎄☃️🎇🎁
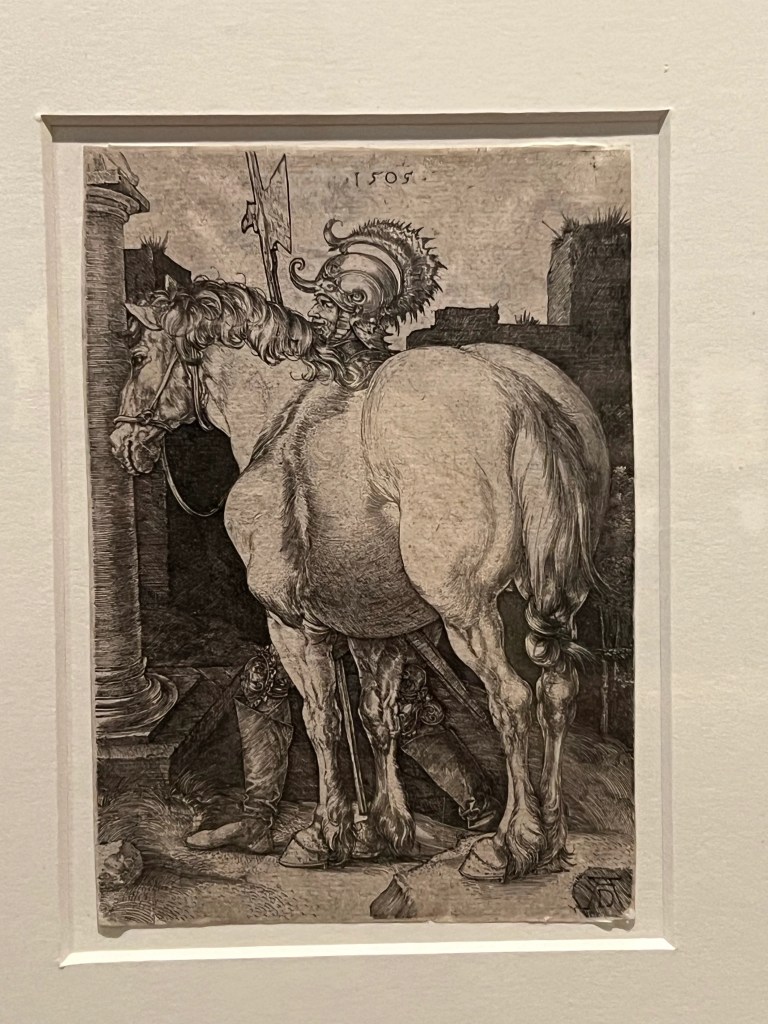
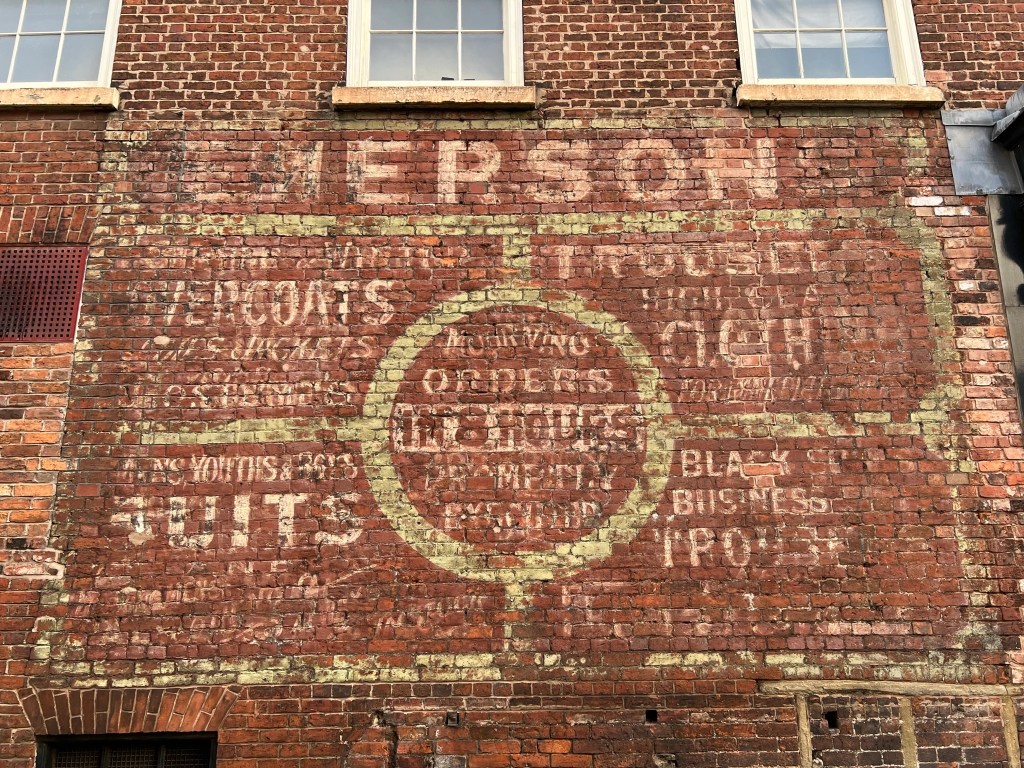
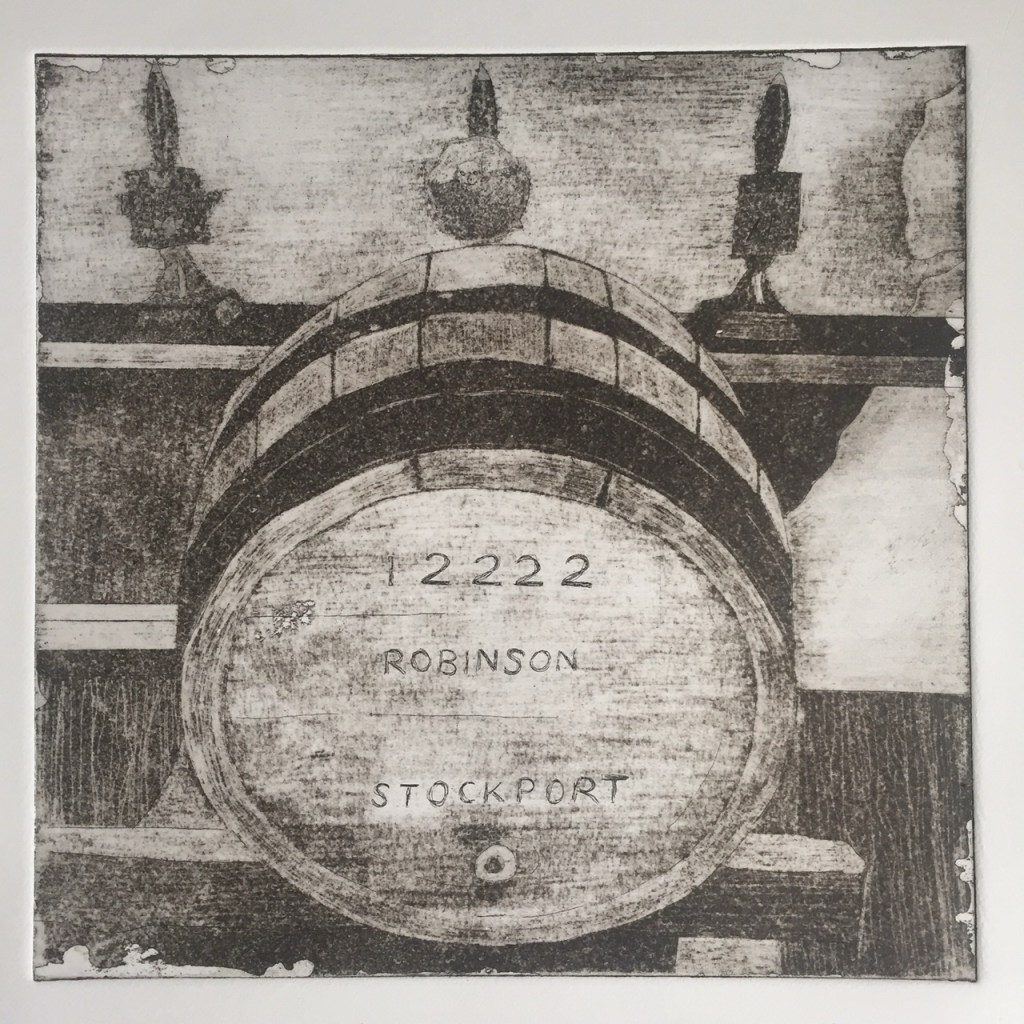
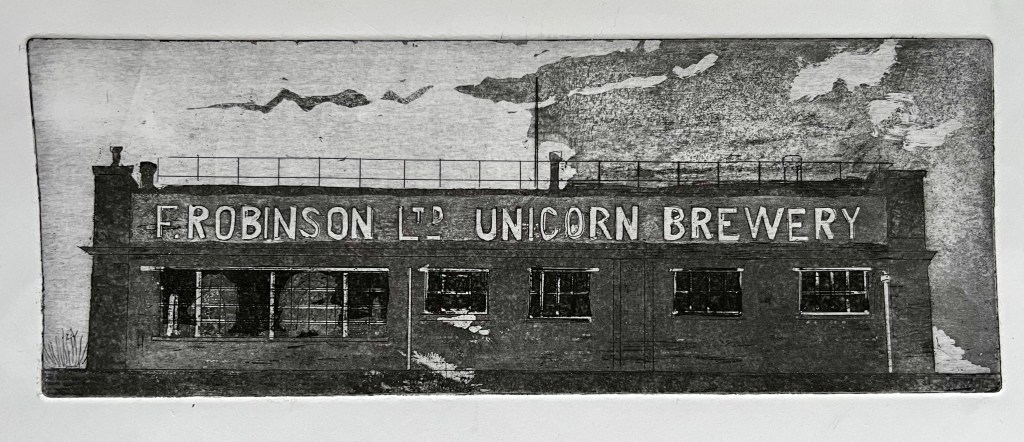
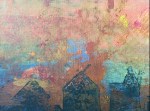
Dürer exhibition at the WhitworthThe BlossomsGhost signThe Real Public Art ShowBury Open exhibitionVernon ParkRileys Pool hallRileys Pool hallRileys Pool hallEdgeley ParkRileys Pool hallLark HillRileys Pool hall102nd Stockport Art Guild exhibition Robinson’s brewery
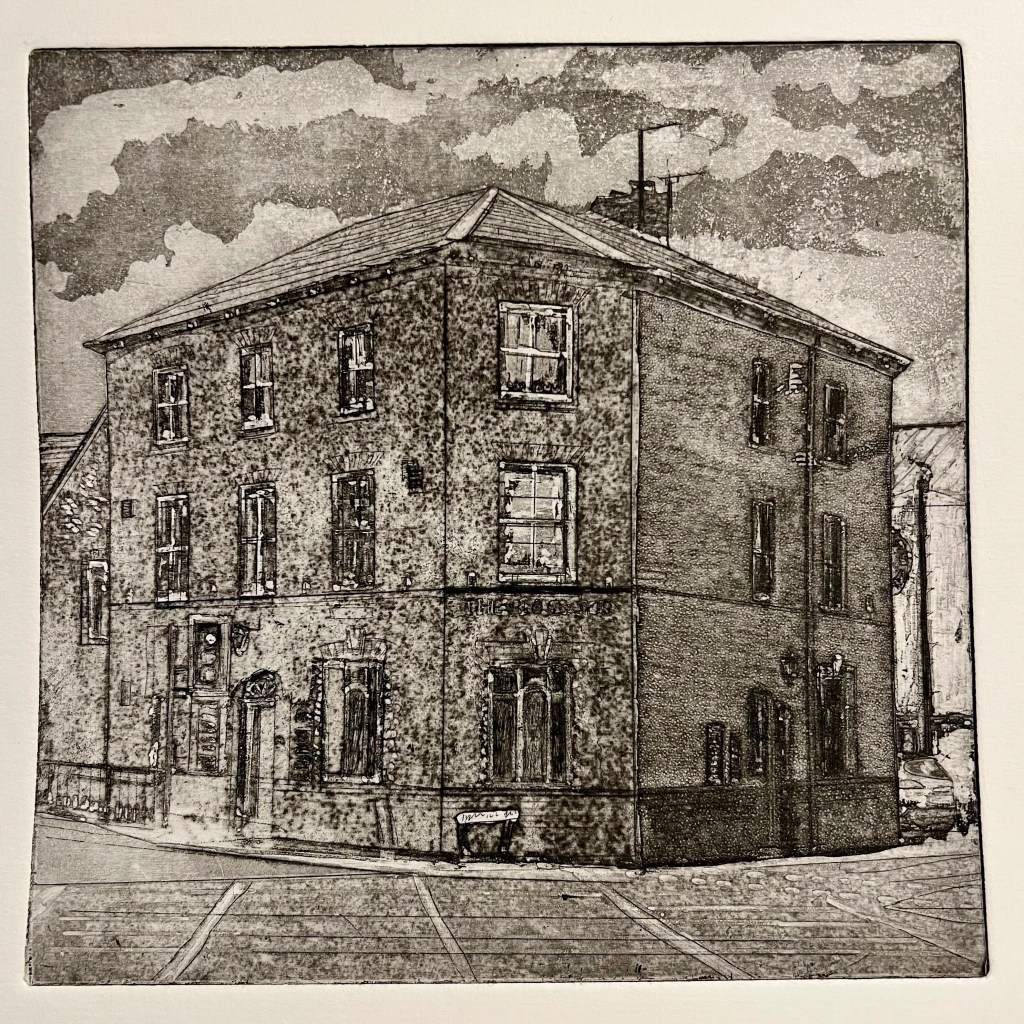
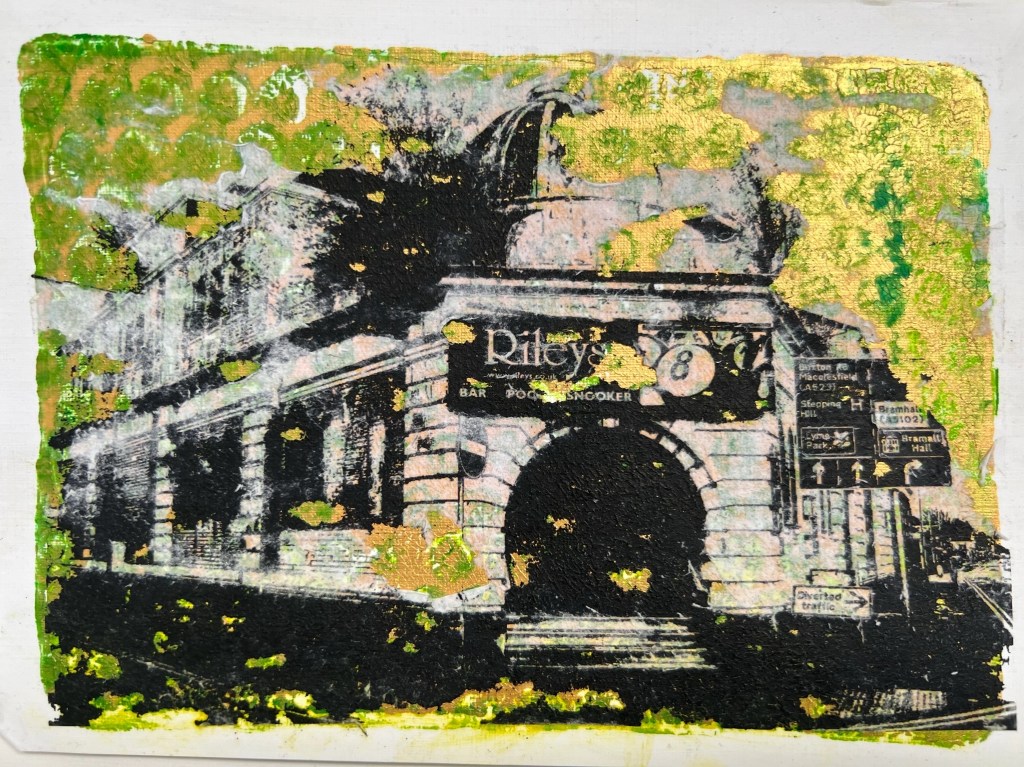
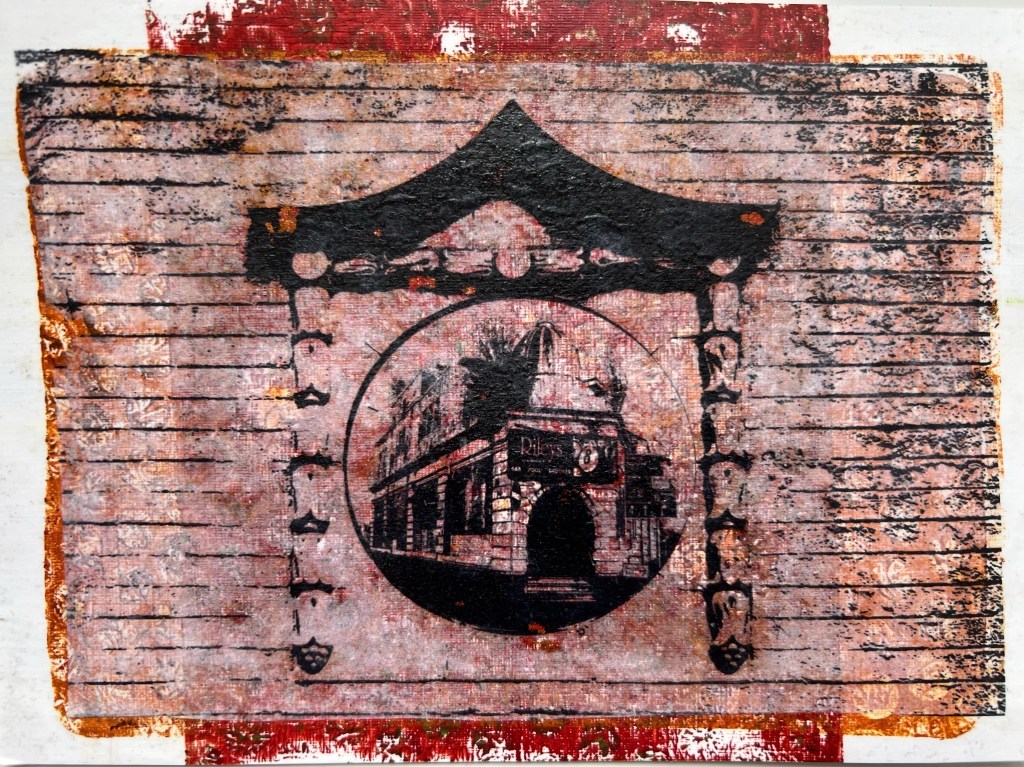
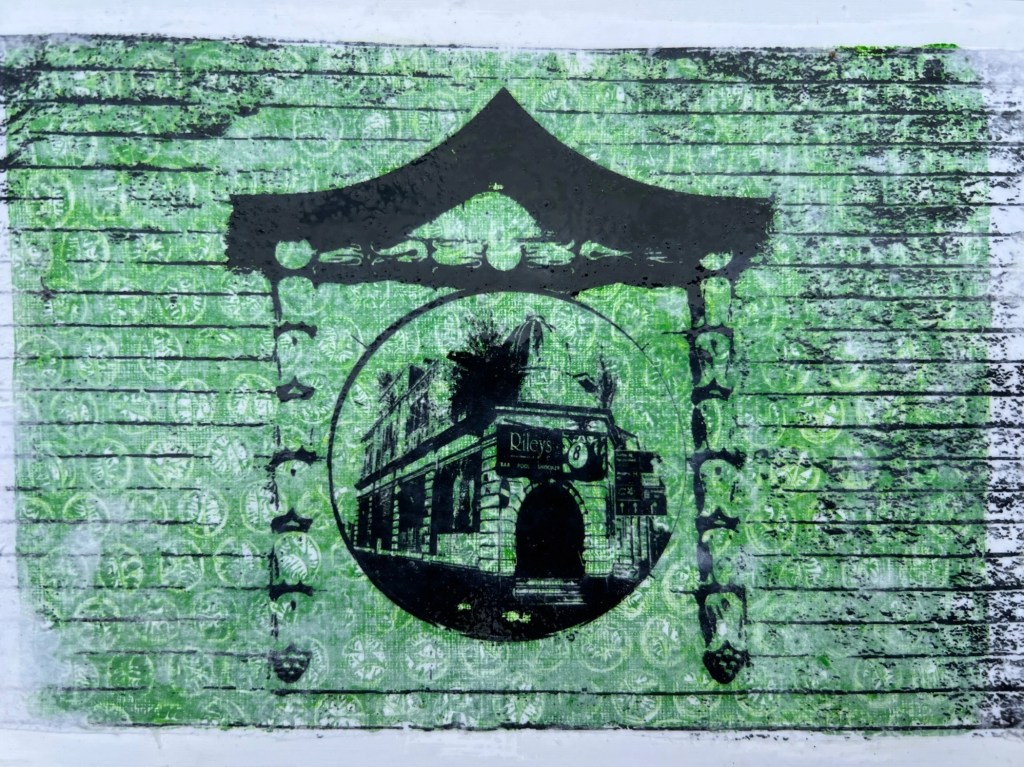
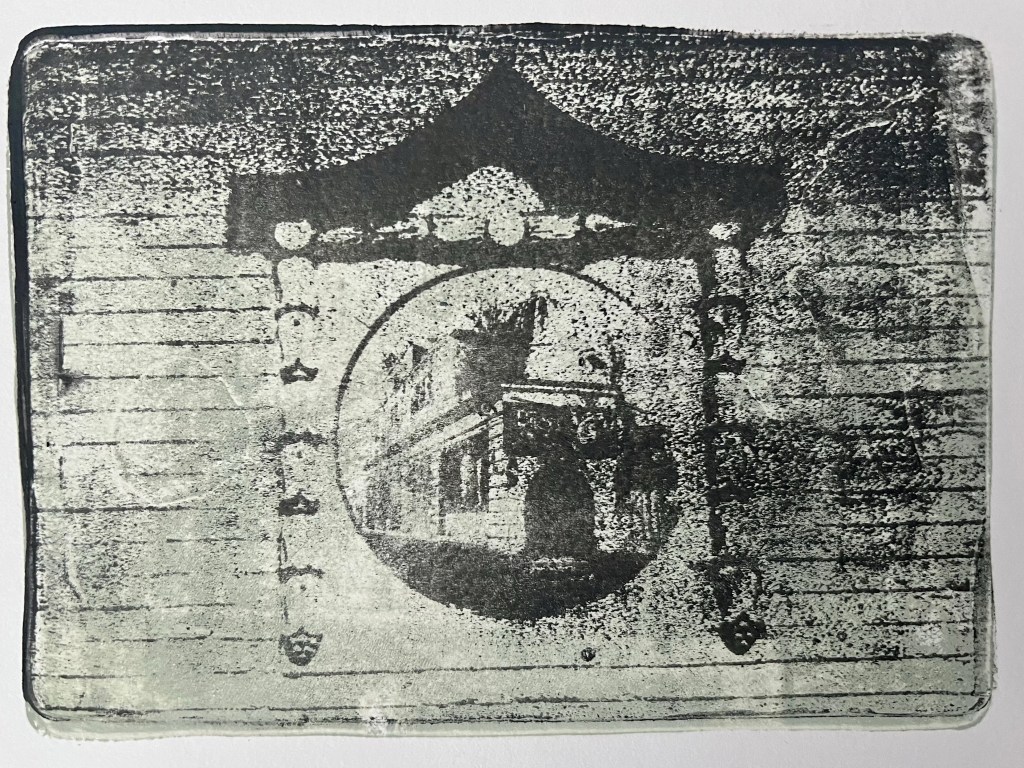
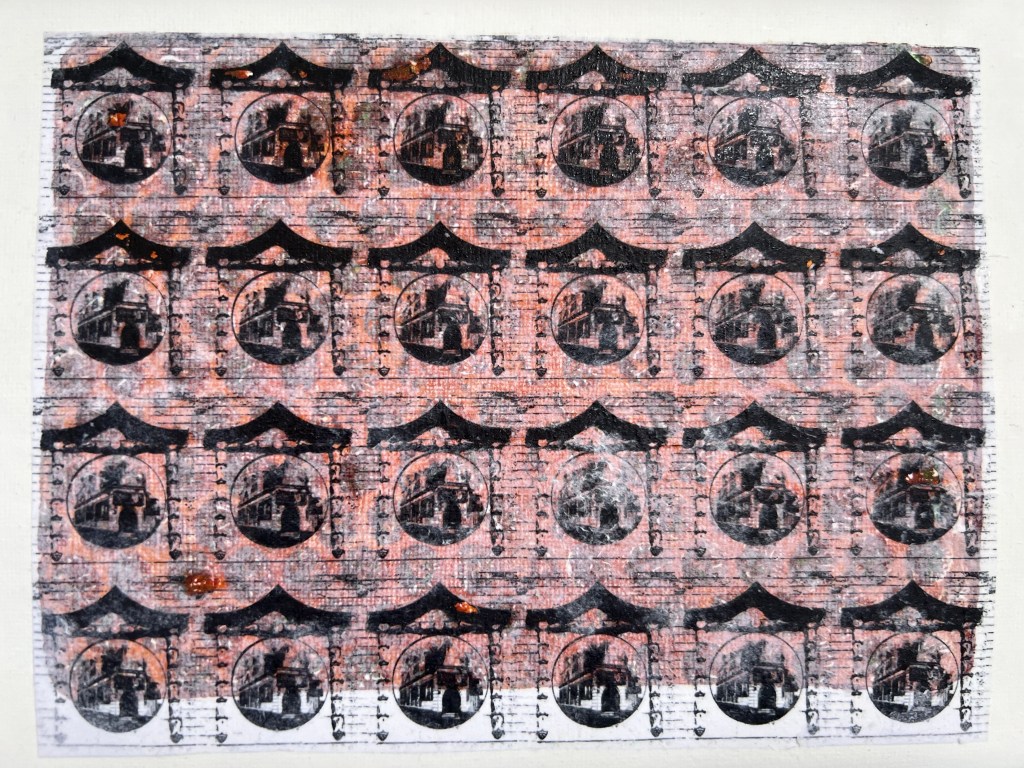
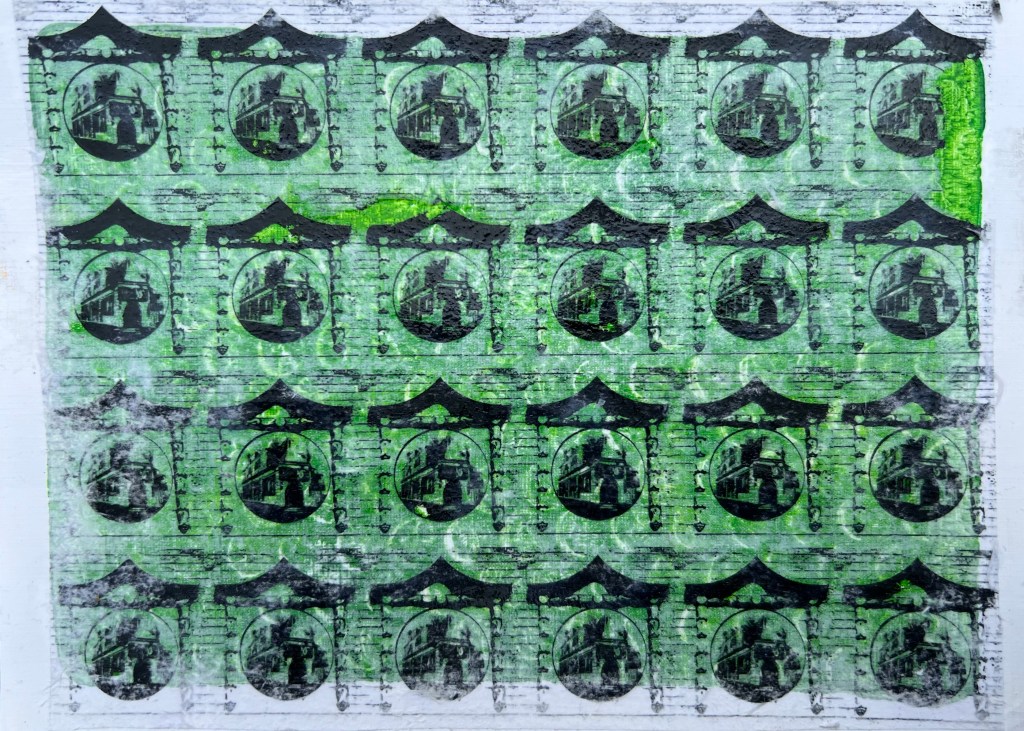
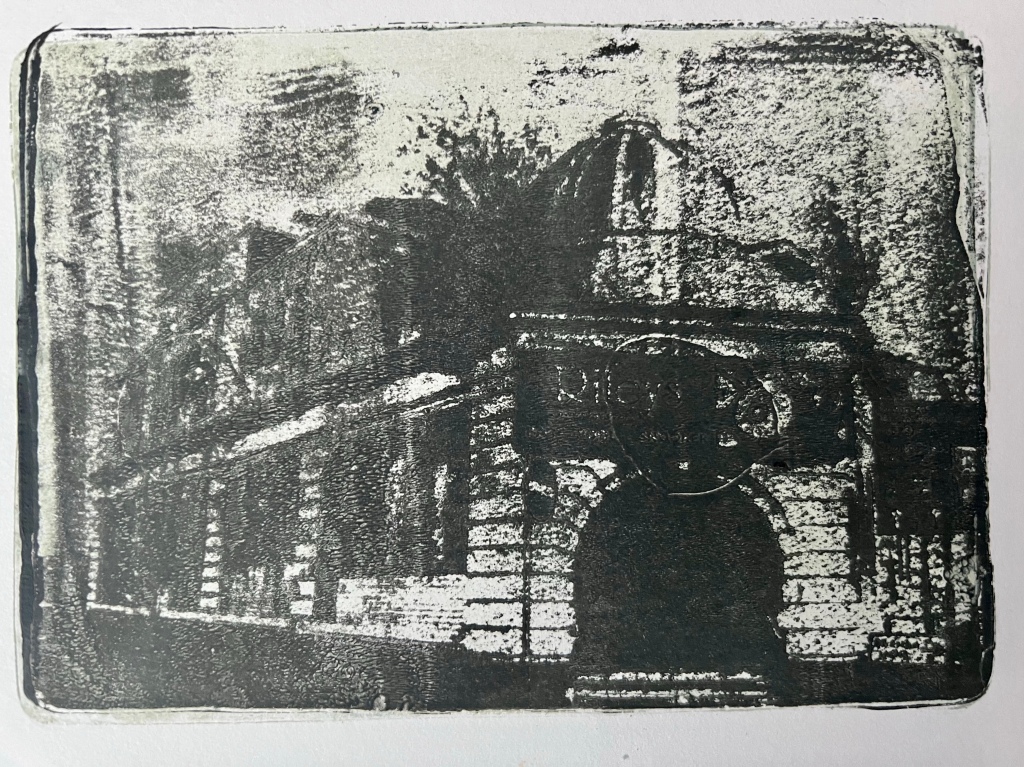
I’ve been working on a small series of gelli plate/matt medium prints depicting the abandoned pool hall that was once a cinema in its heyday. There’s a stone sign above the entrance which reads ‘The Wellington’.
Abandoned Recreation #5
I am naming the series of print’s ‘Abandoned Recreation’.
On one of my recent photo walks, I photographed an oval shaped boarded up window which I have used as a framing device for my some of my prints.
Abandoned recreation #1
I use acrylic paints in my Gelli printmaking and for these set of prints I have experimented with textures such as bubble wrap and stencils. On top of the gelli prints, I have added using Matt Medium to add a high contrast black and white reverse laser print. I reverse the image if there is text in the image so the text appears the right way around when the laser print is glued face down to the gelli print.
The results have been amazing and unique as each print is slightly different as not all the transfer sticks to the paper once the excess paper is removed through the process of soaking the acrylic print in a bath of water and after 5 minutes soaking removing the paper from the print by rubbing off the paper gently with your fingers.
Finally, once the prints are throughly dried out, you cure and seal the prints by applying 2 coats of acrylic varnish.
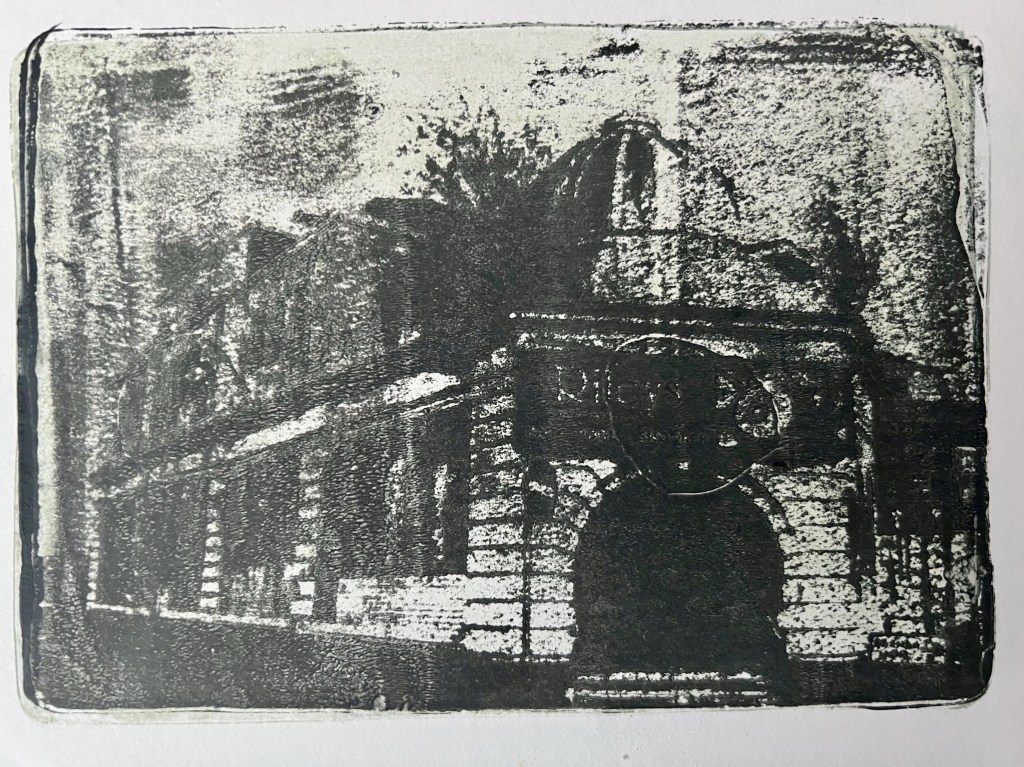
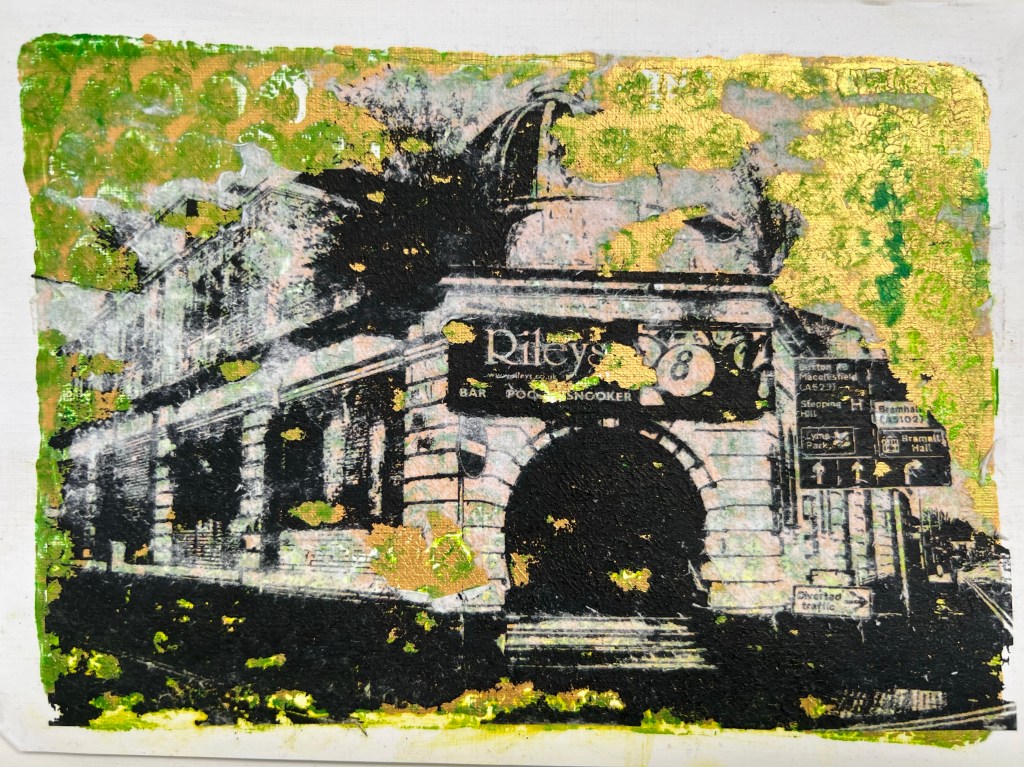
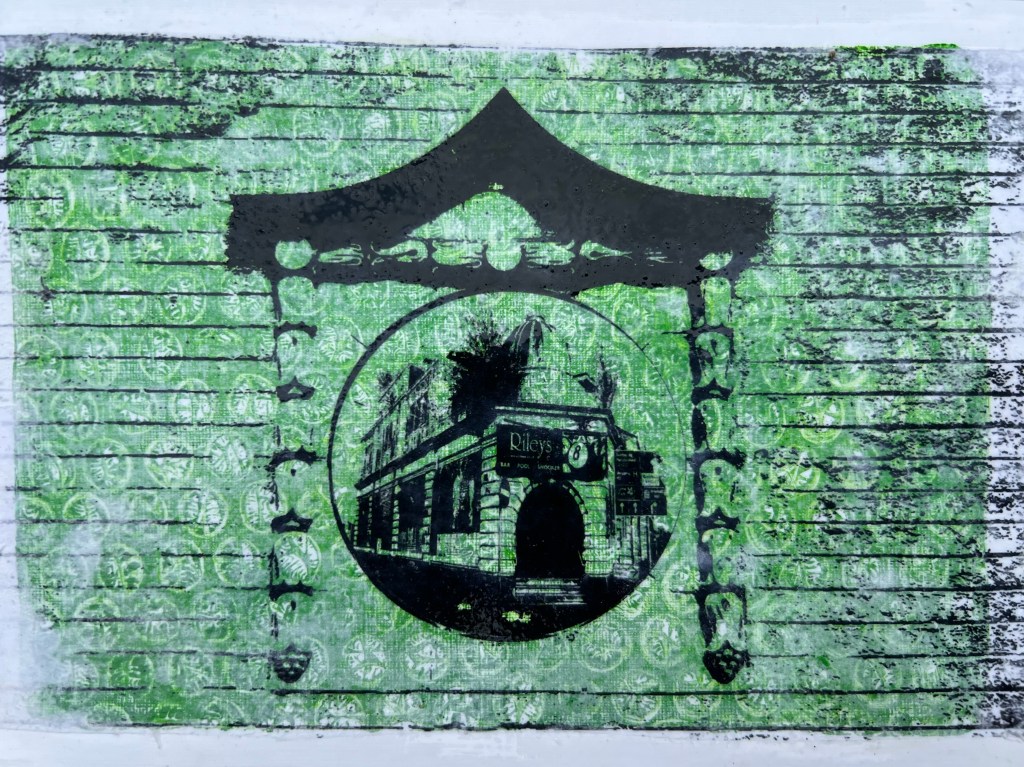
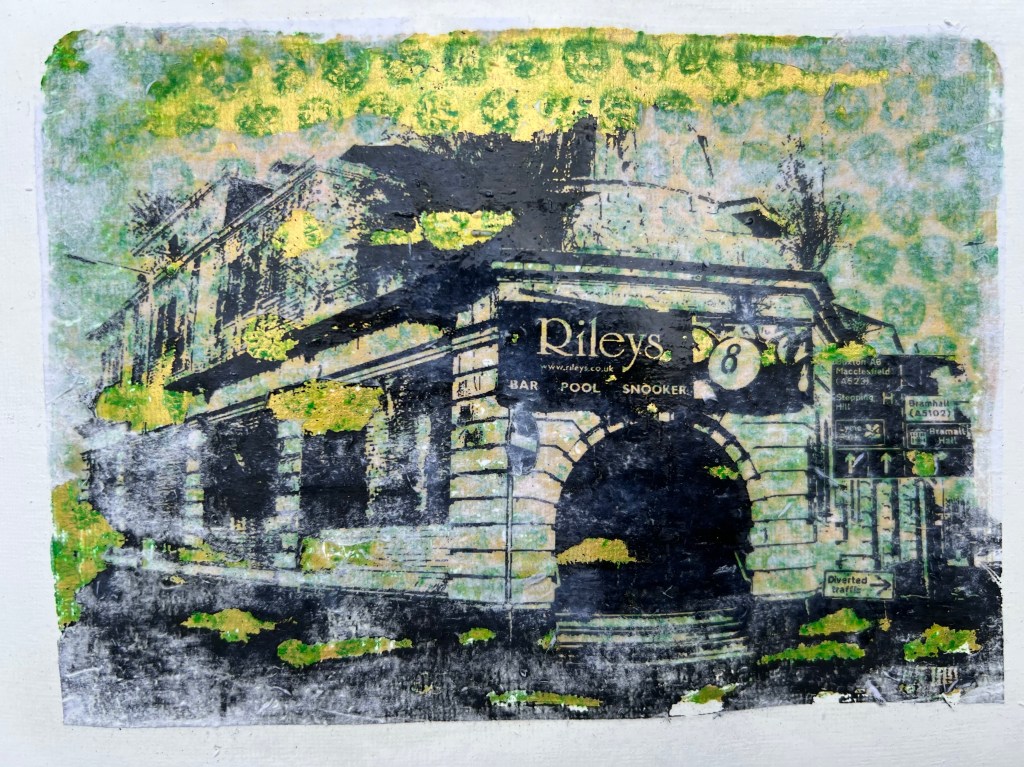
‘Riley’s pool hall window’ (5” x 7”)‘Riley’s pool hall entrance’ (5” x 7”)
These are two Gelli transfer prints I recently created depicting the abandoned pool hall off the A6. I recommend using the Gelli Arts printing plates which I sourced from a local art shop. Using Photoshop Elements, I created a montage of two photographs taken from one of my recent photo walks and combined them to form a new composition. I converted the images to a high contrast bitmap and then printed them off using a laser printer.
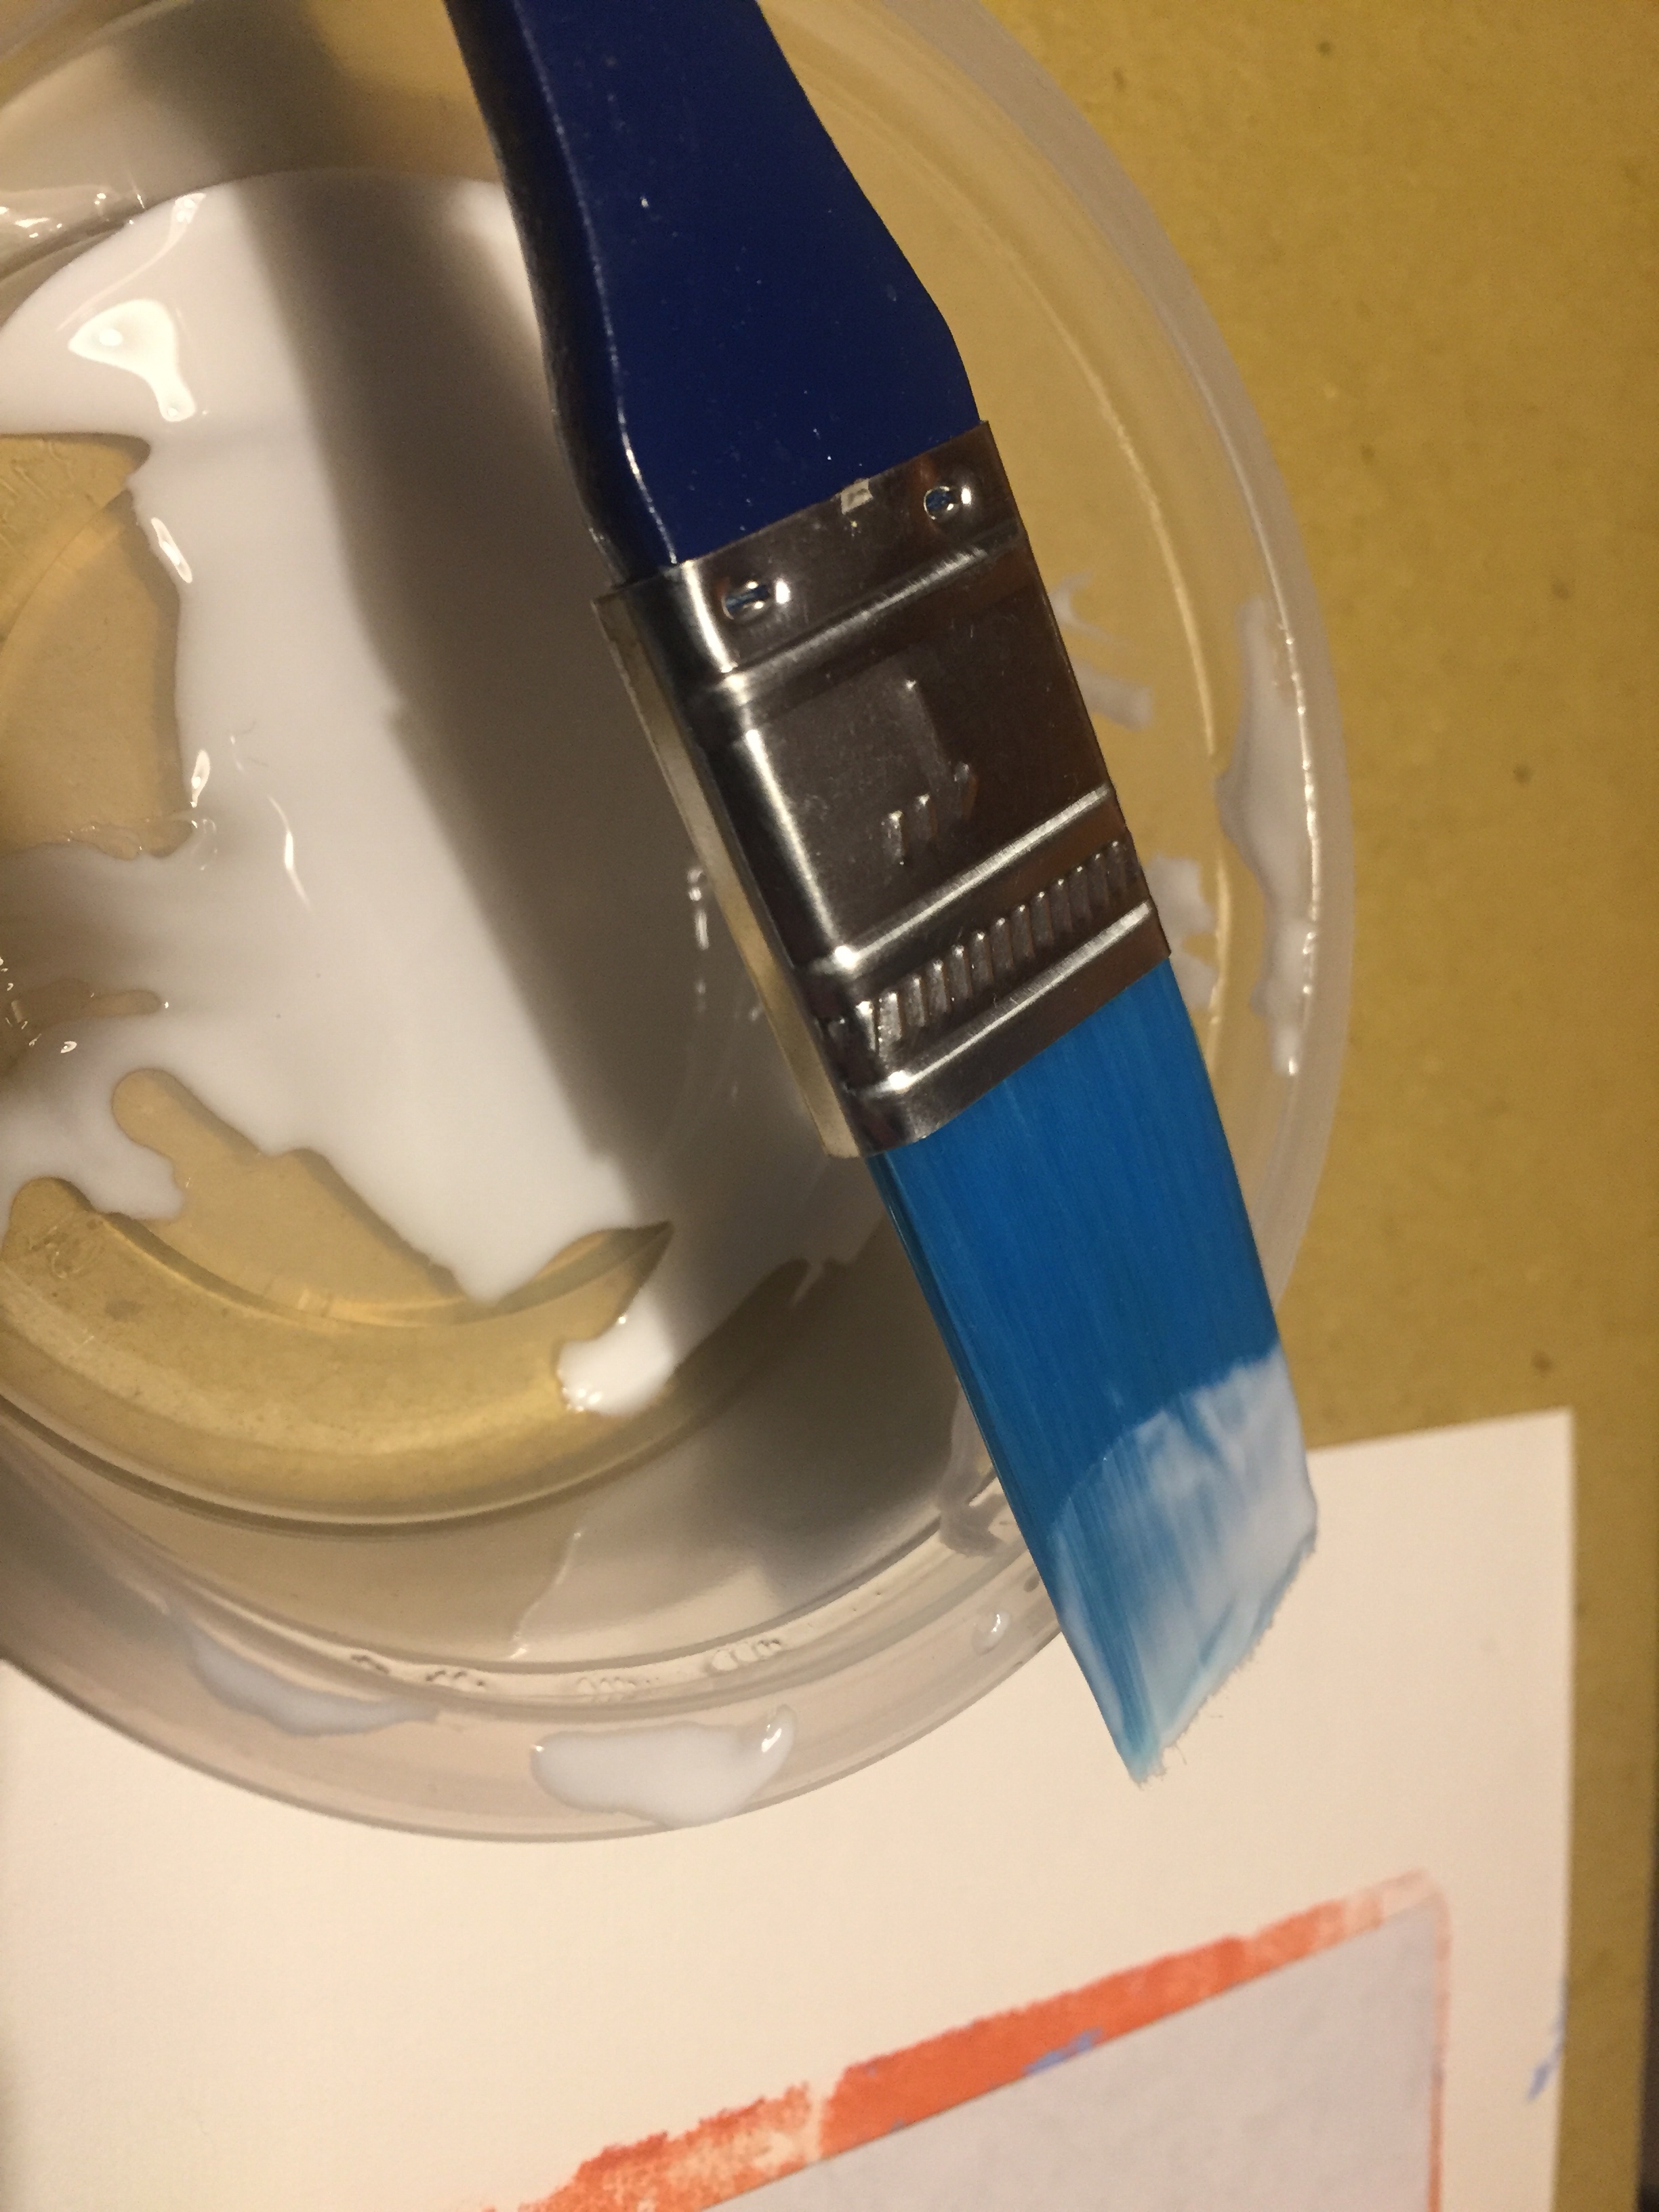
I added a dark coloured water-based ink layer using black ink (you can also use acrylic paint).
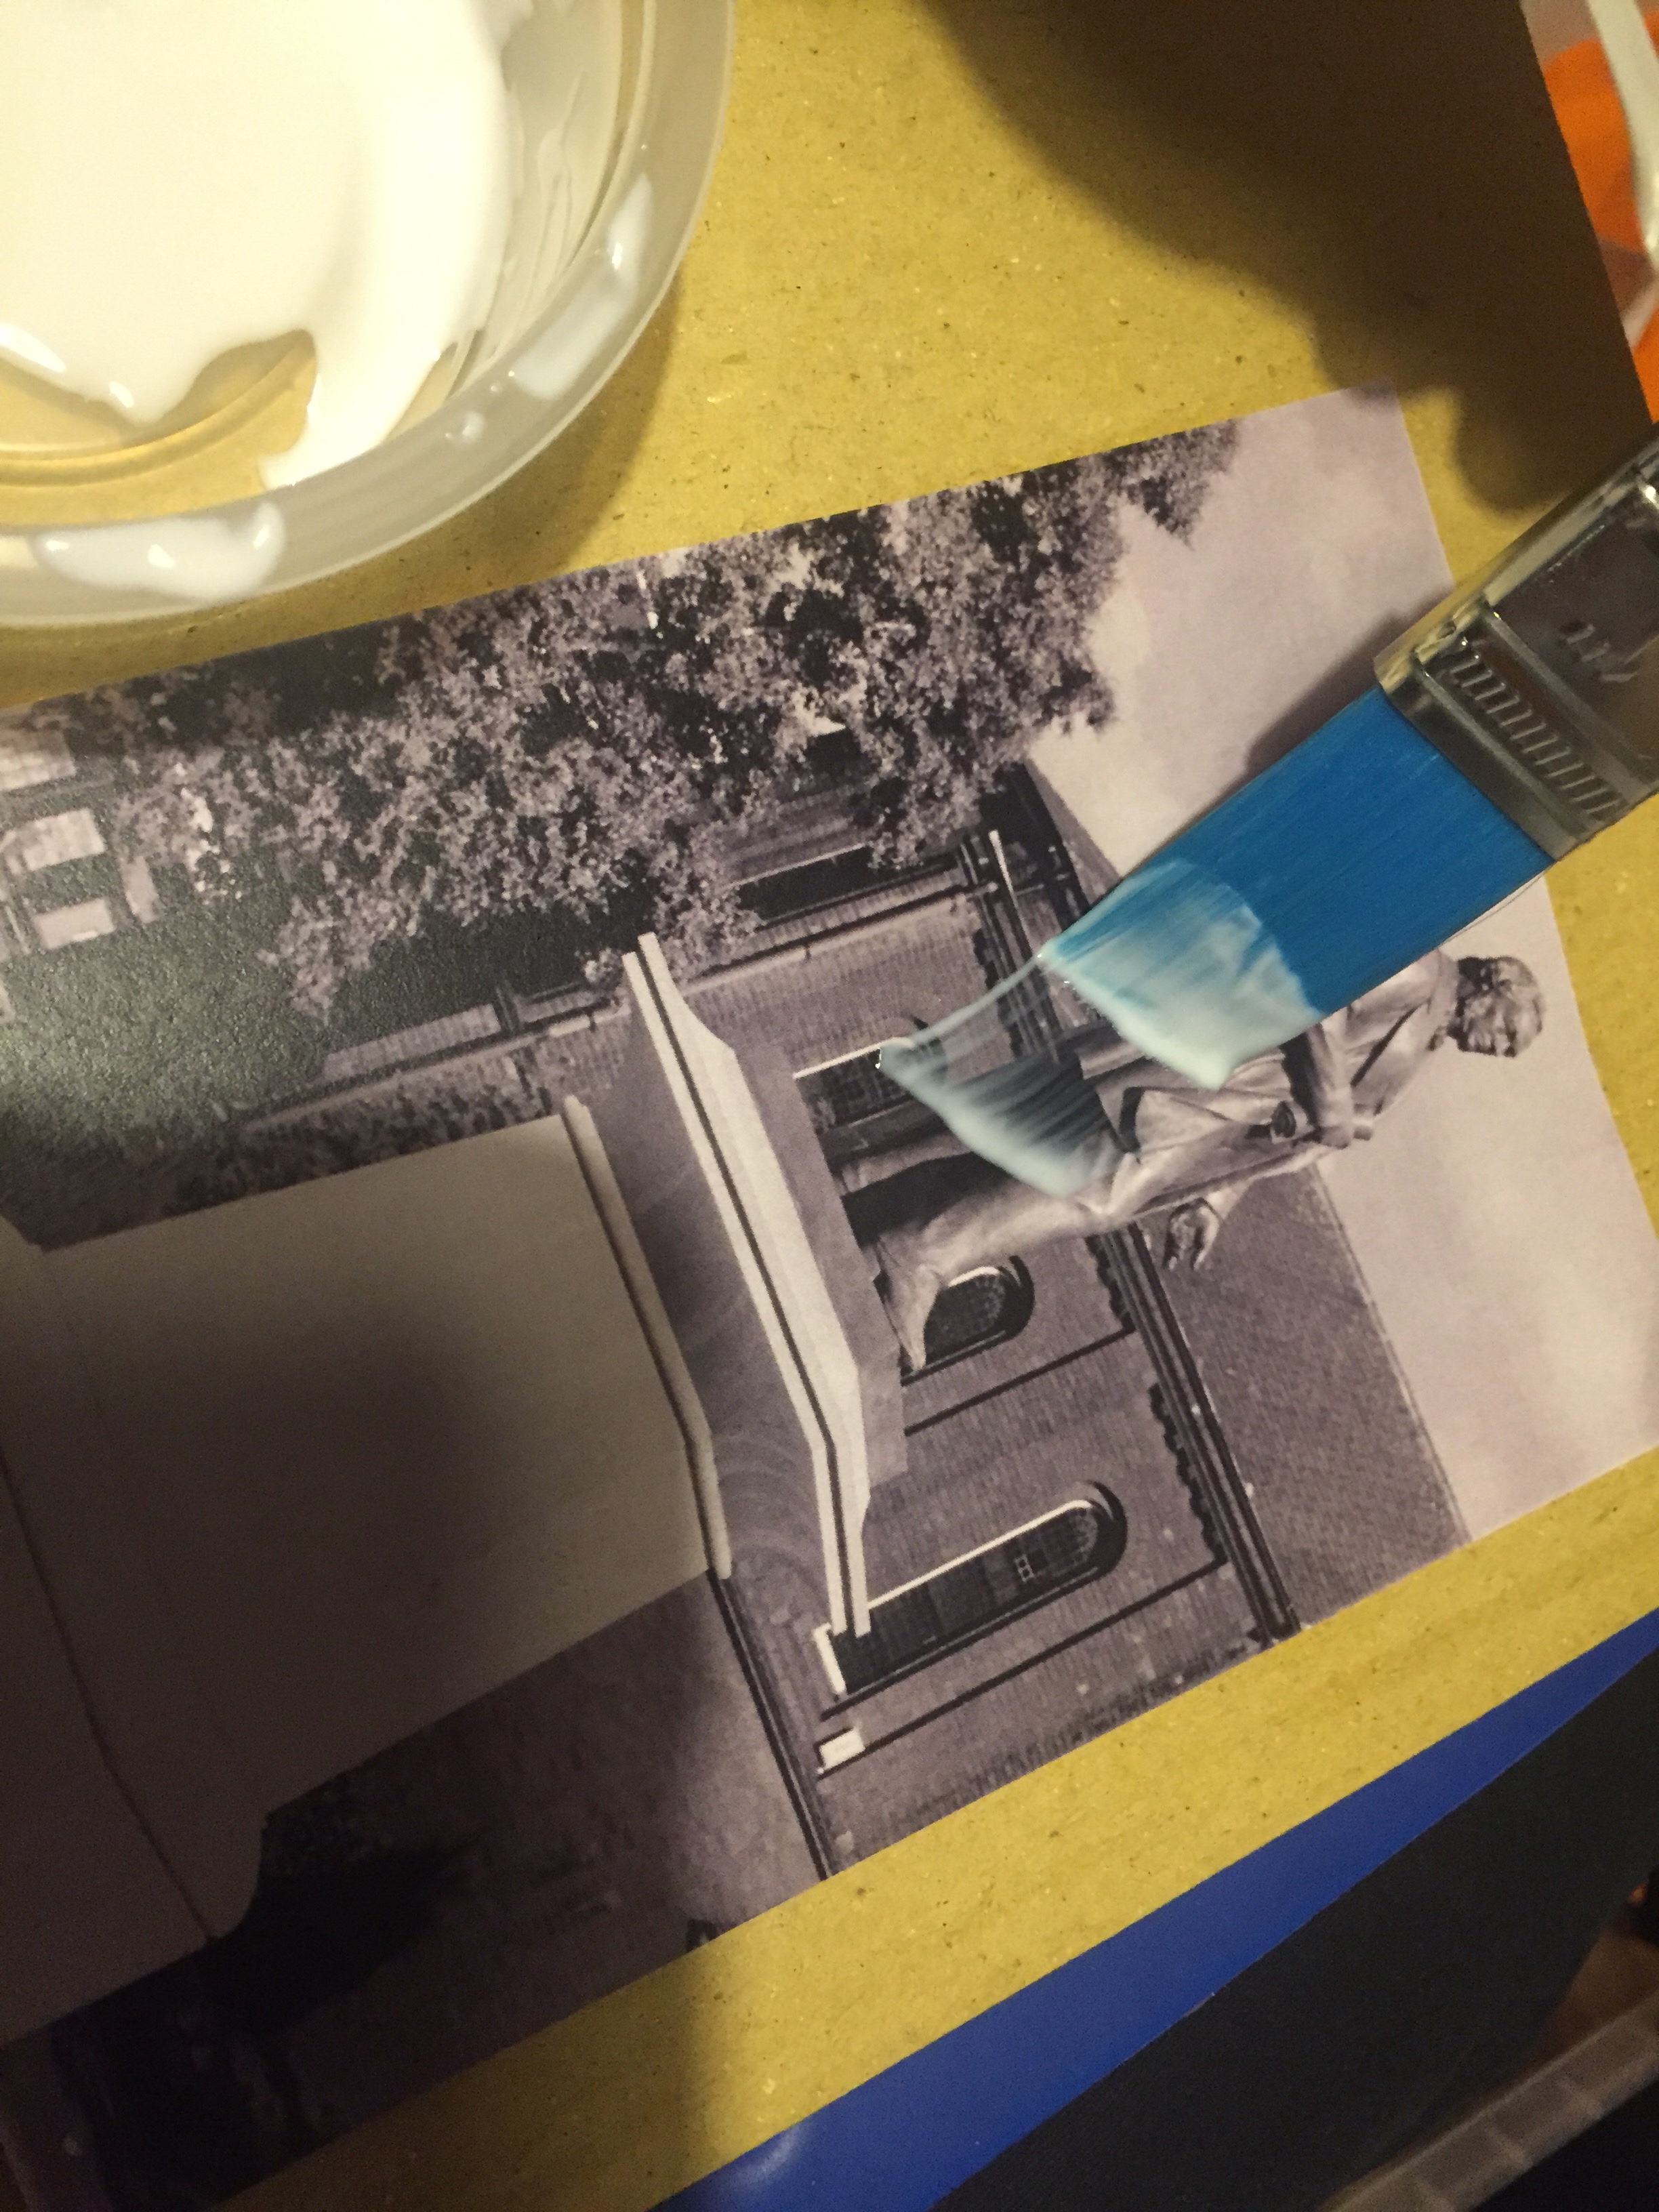
I applied a reasonable quantity of ink to the plate using a roller. I then placed a laser print of the building onto the inked surface and lightly pressed on the back of the paper once flat with the palm of my hand a few times trying not to press too hard to ensure the image transferred to the gel plate.
After a 30 seconds of drying, I then applied a new layer of light blue water based ink this time to the gel plate with a roller over the black ink.
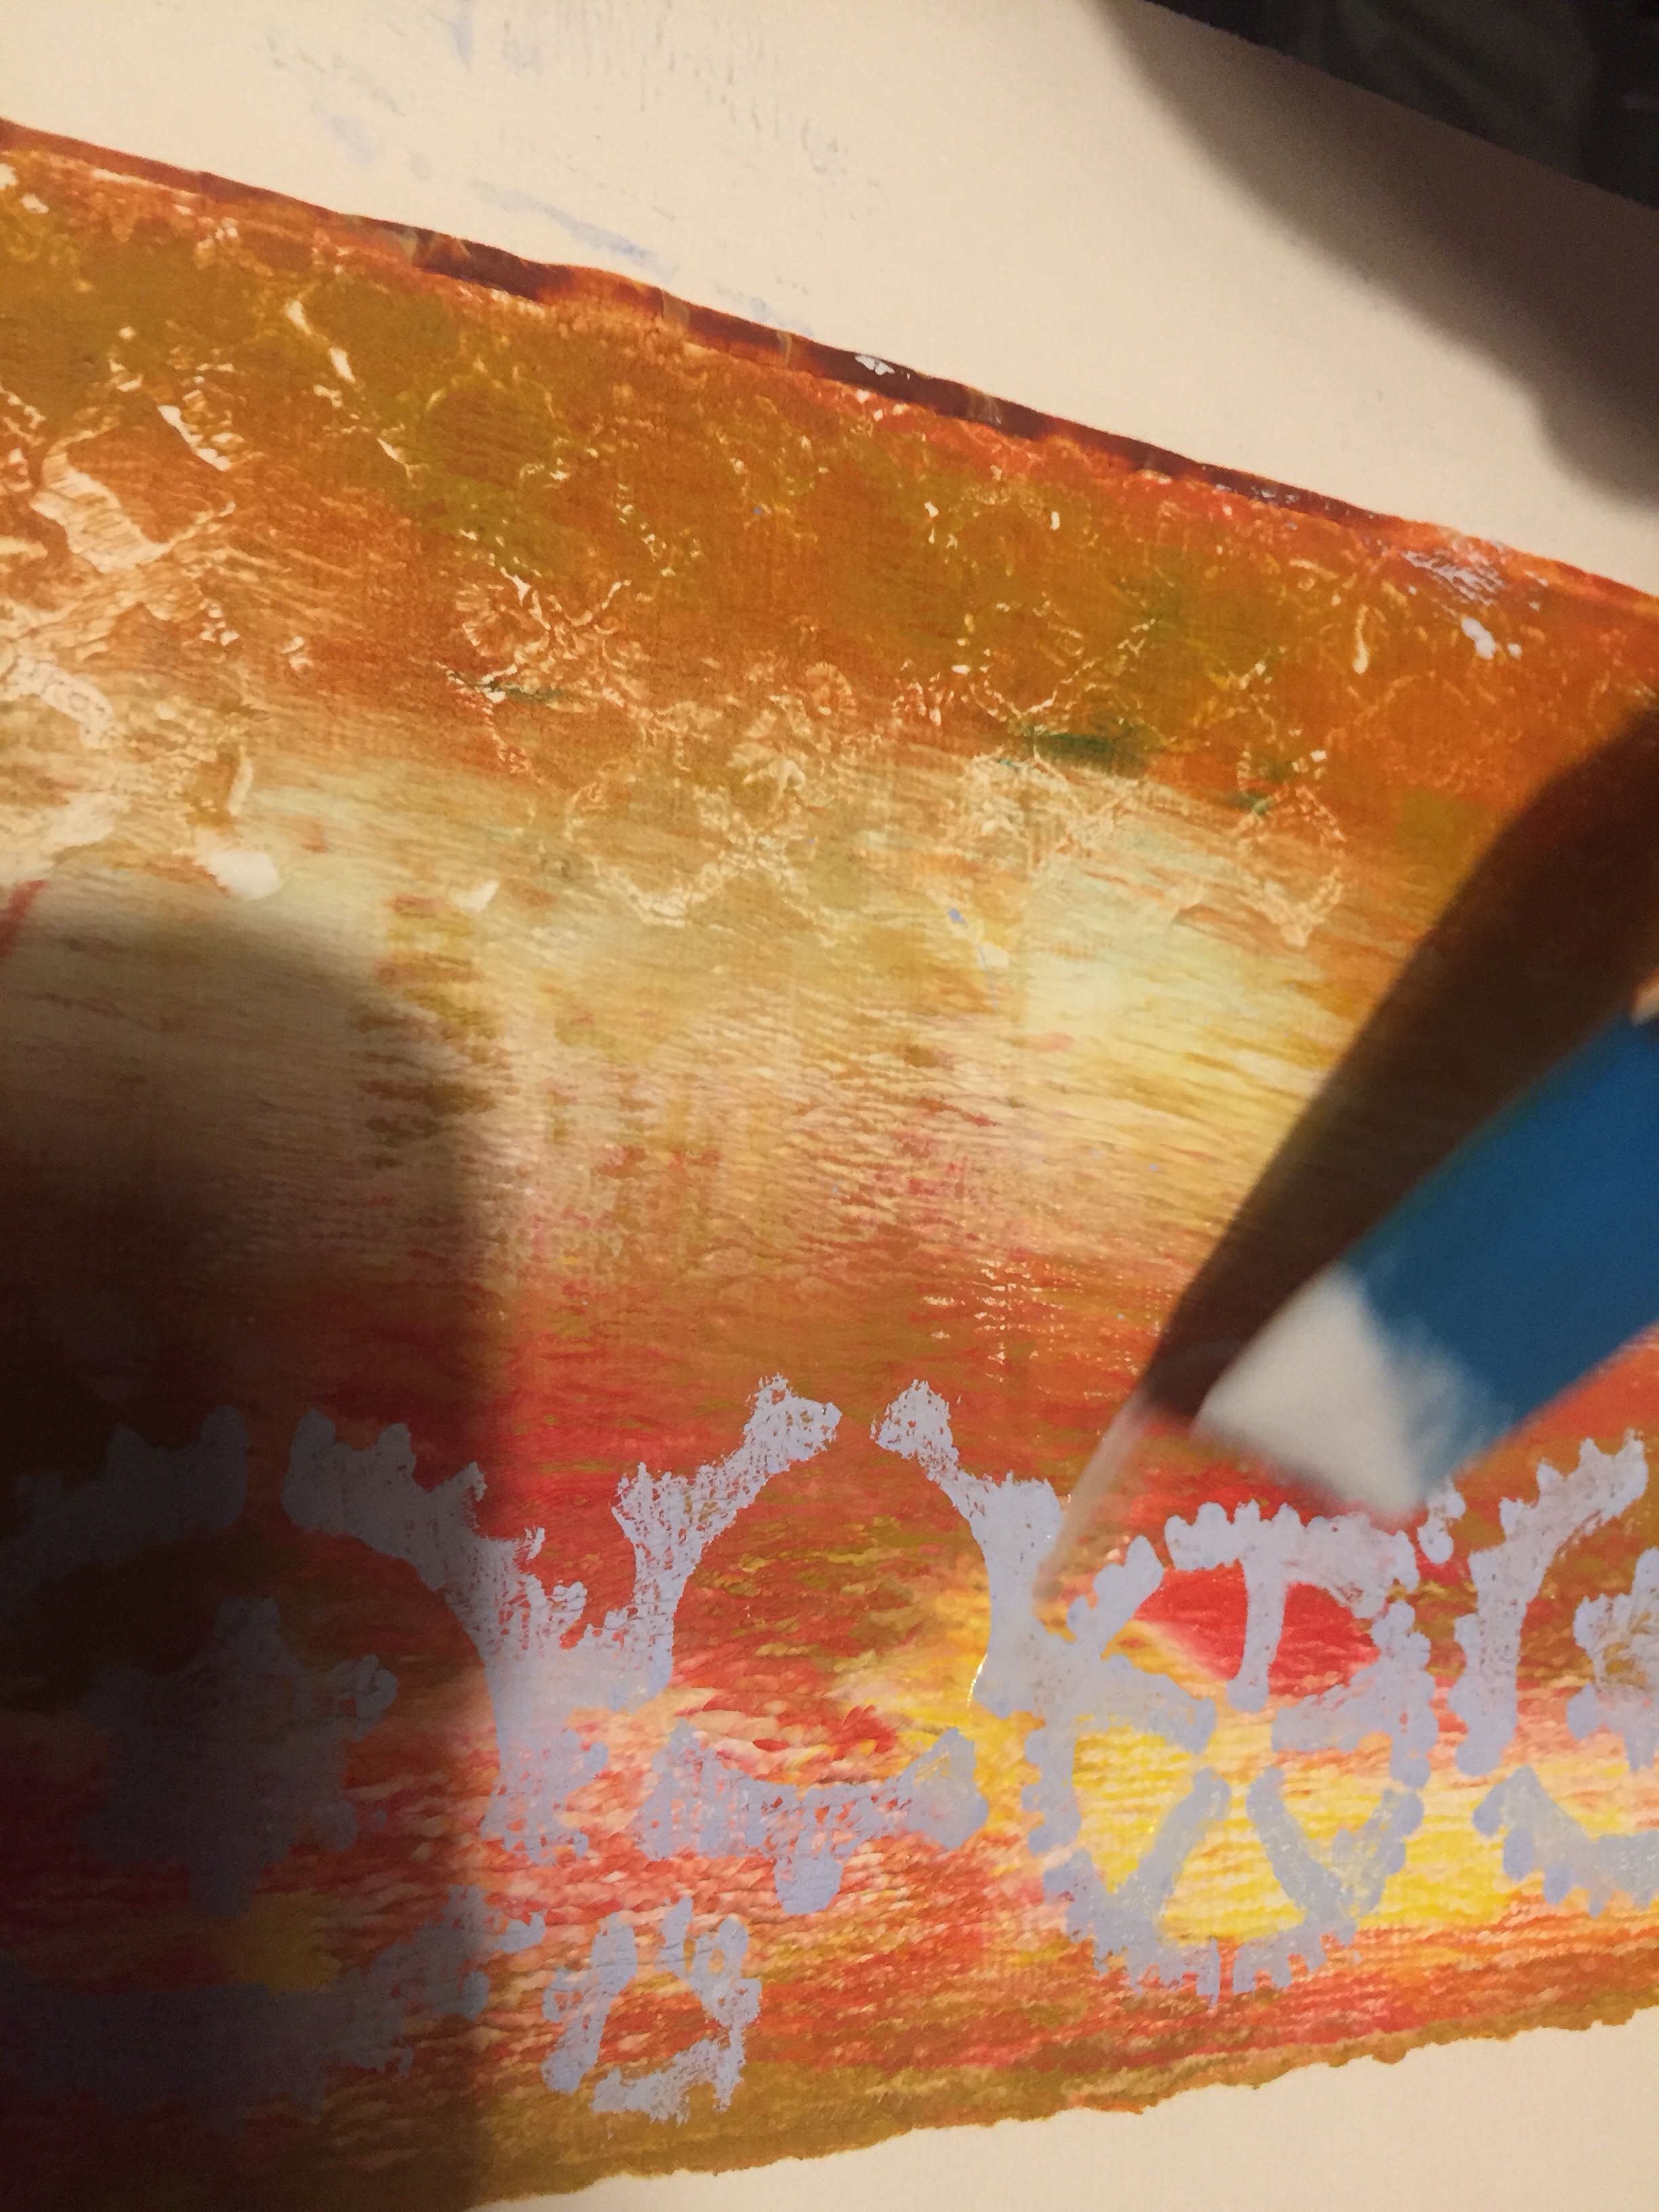
I then applied some fresh cartridge paper to the gel plate and rubbed / burnished the back of the paper covering the whole paper to ensure all parts were rubbed using my the palm of my hand and fingers.
Finally, I removed the paper to reveal the finished print. This method of mono-printing can be a little hit and miss. Technique is the key to getting the results you want.
Have a look at the video below which demonstrates the laser image transfer gel printing technique.
I attend the preview of the Stockport Open 2022 art exhibition this afternoon. I have two prints in this year’s exhibition and am really honoured to have my work accepted.
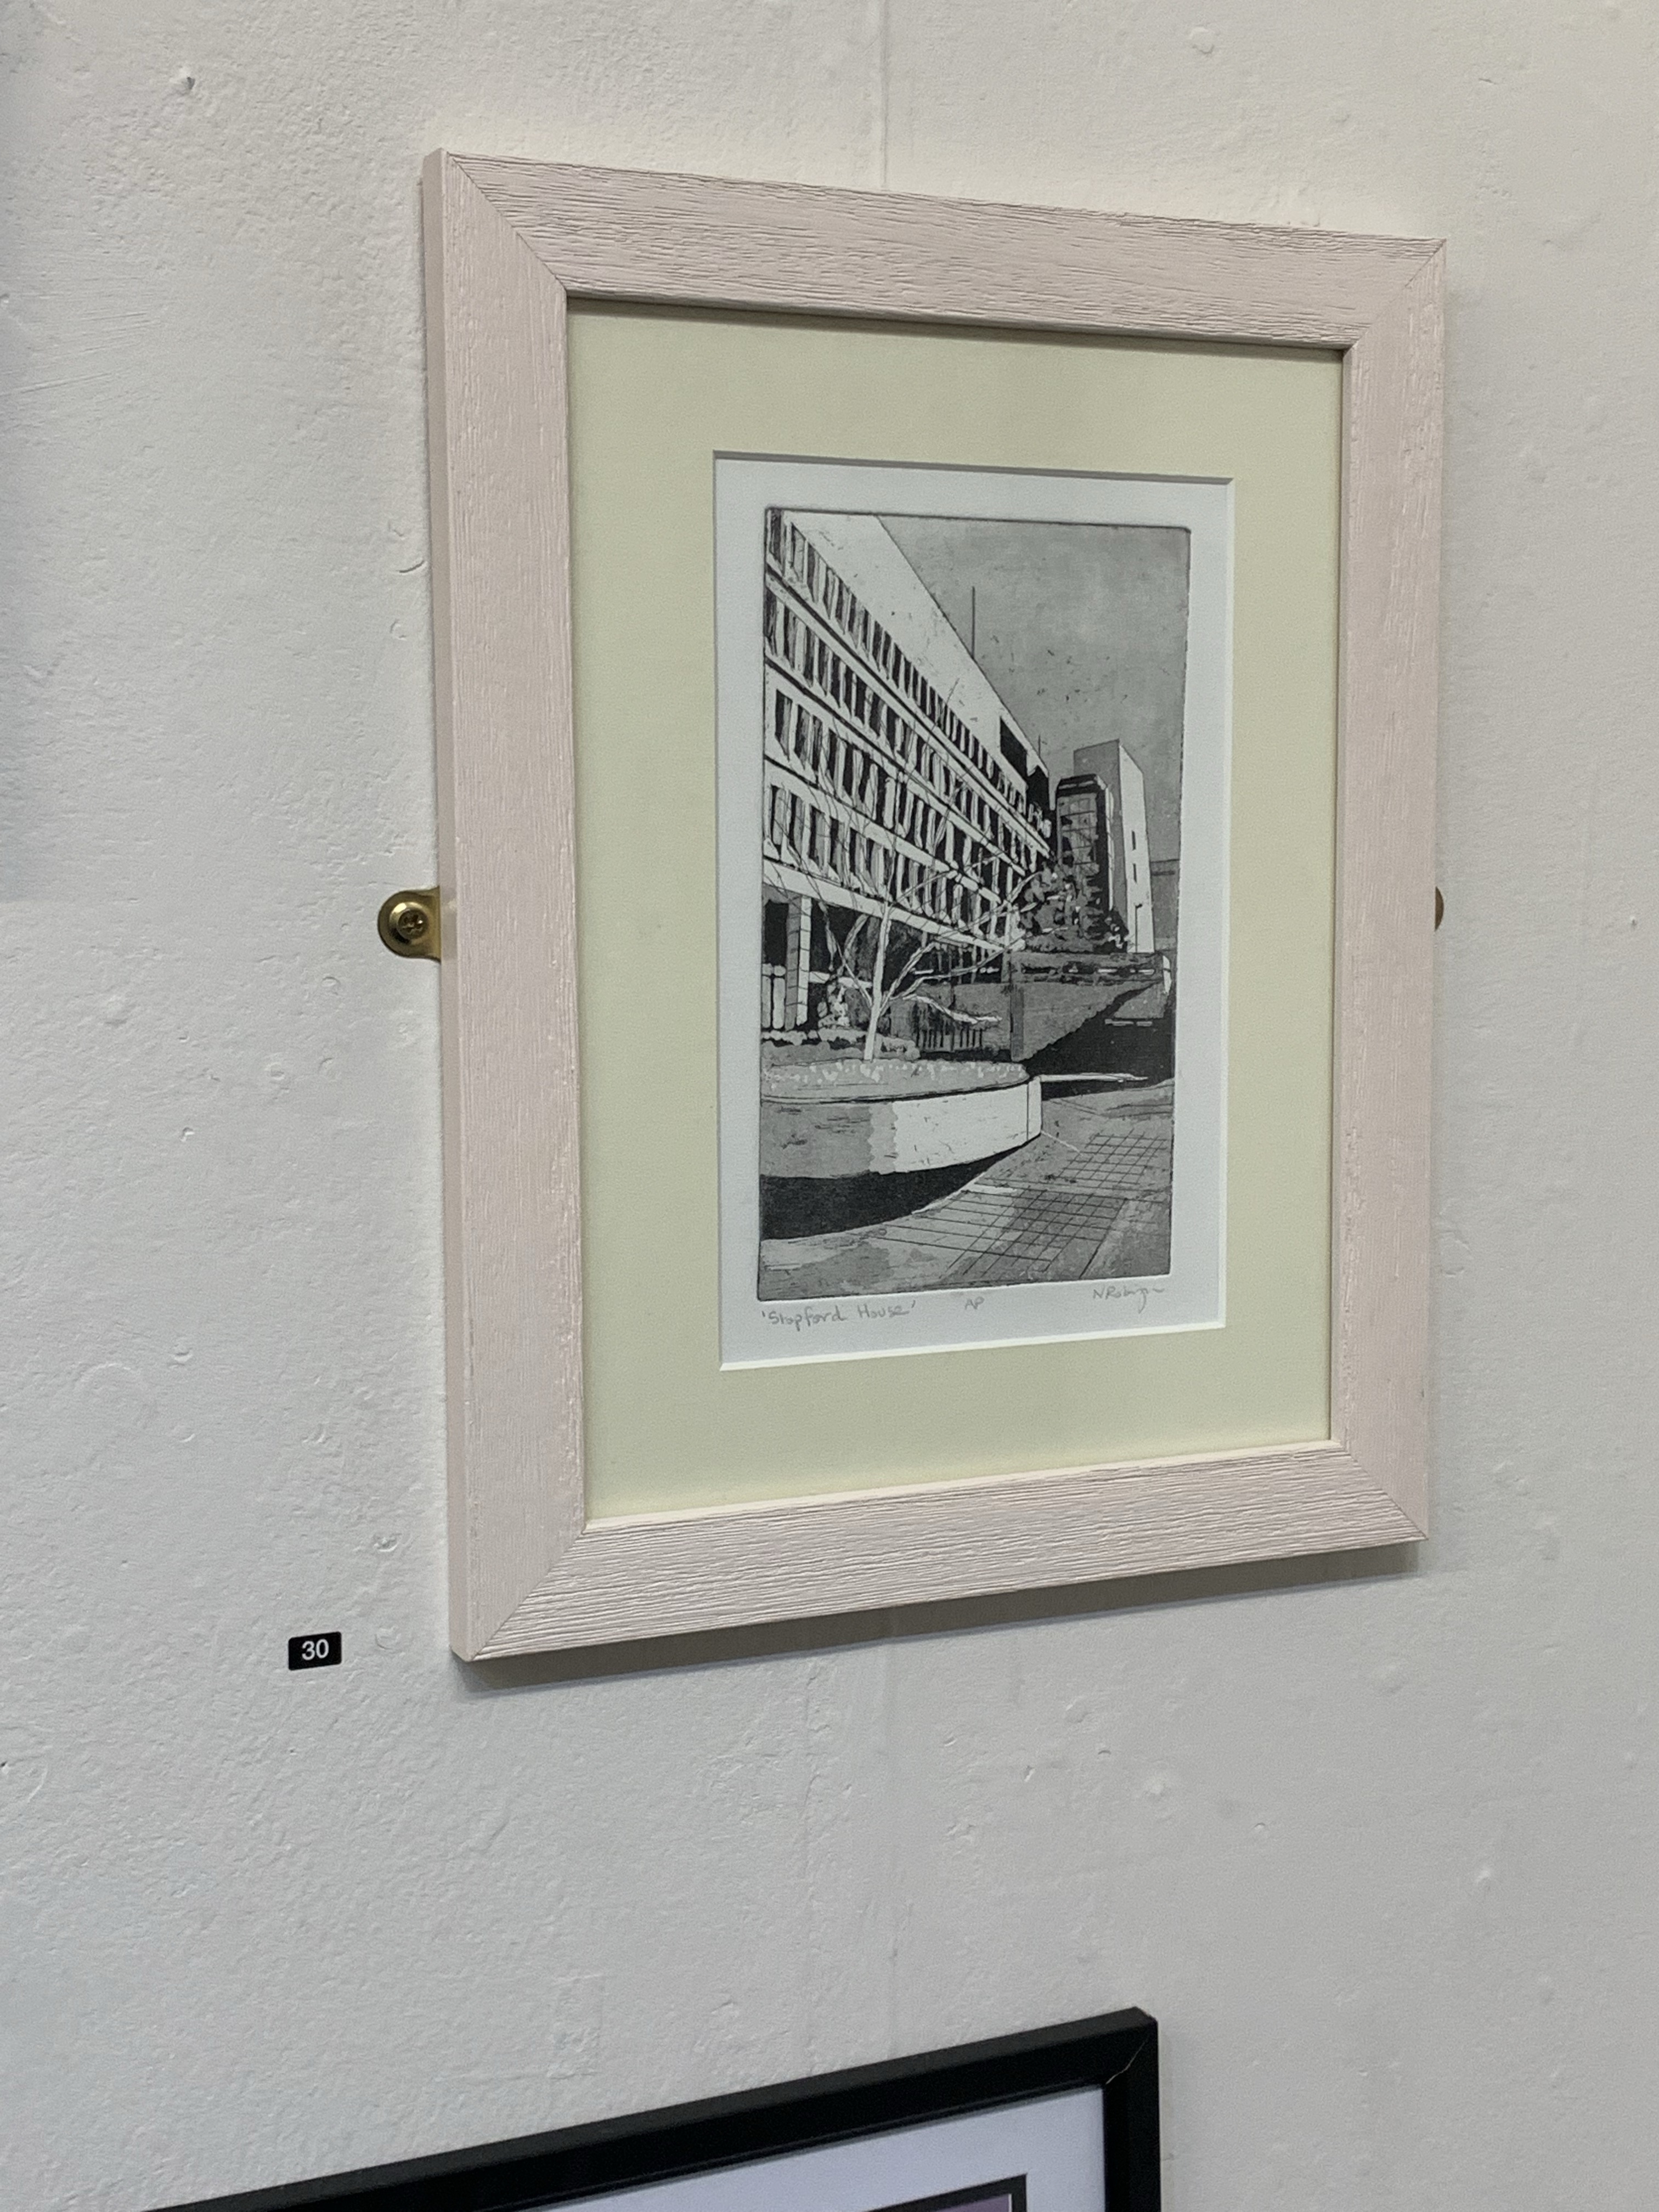
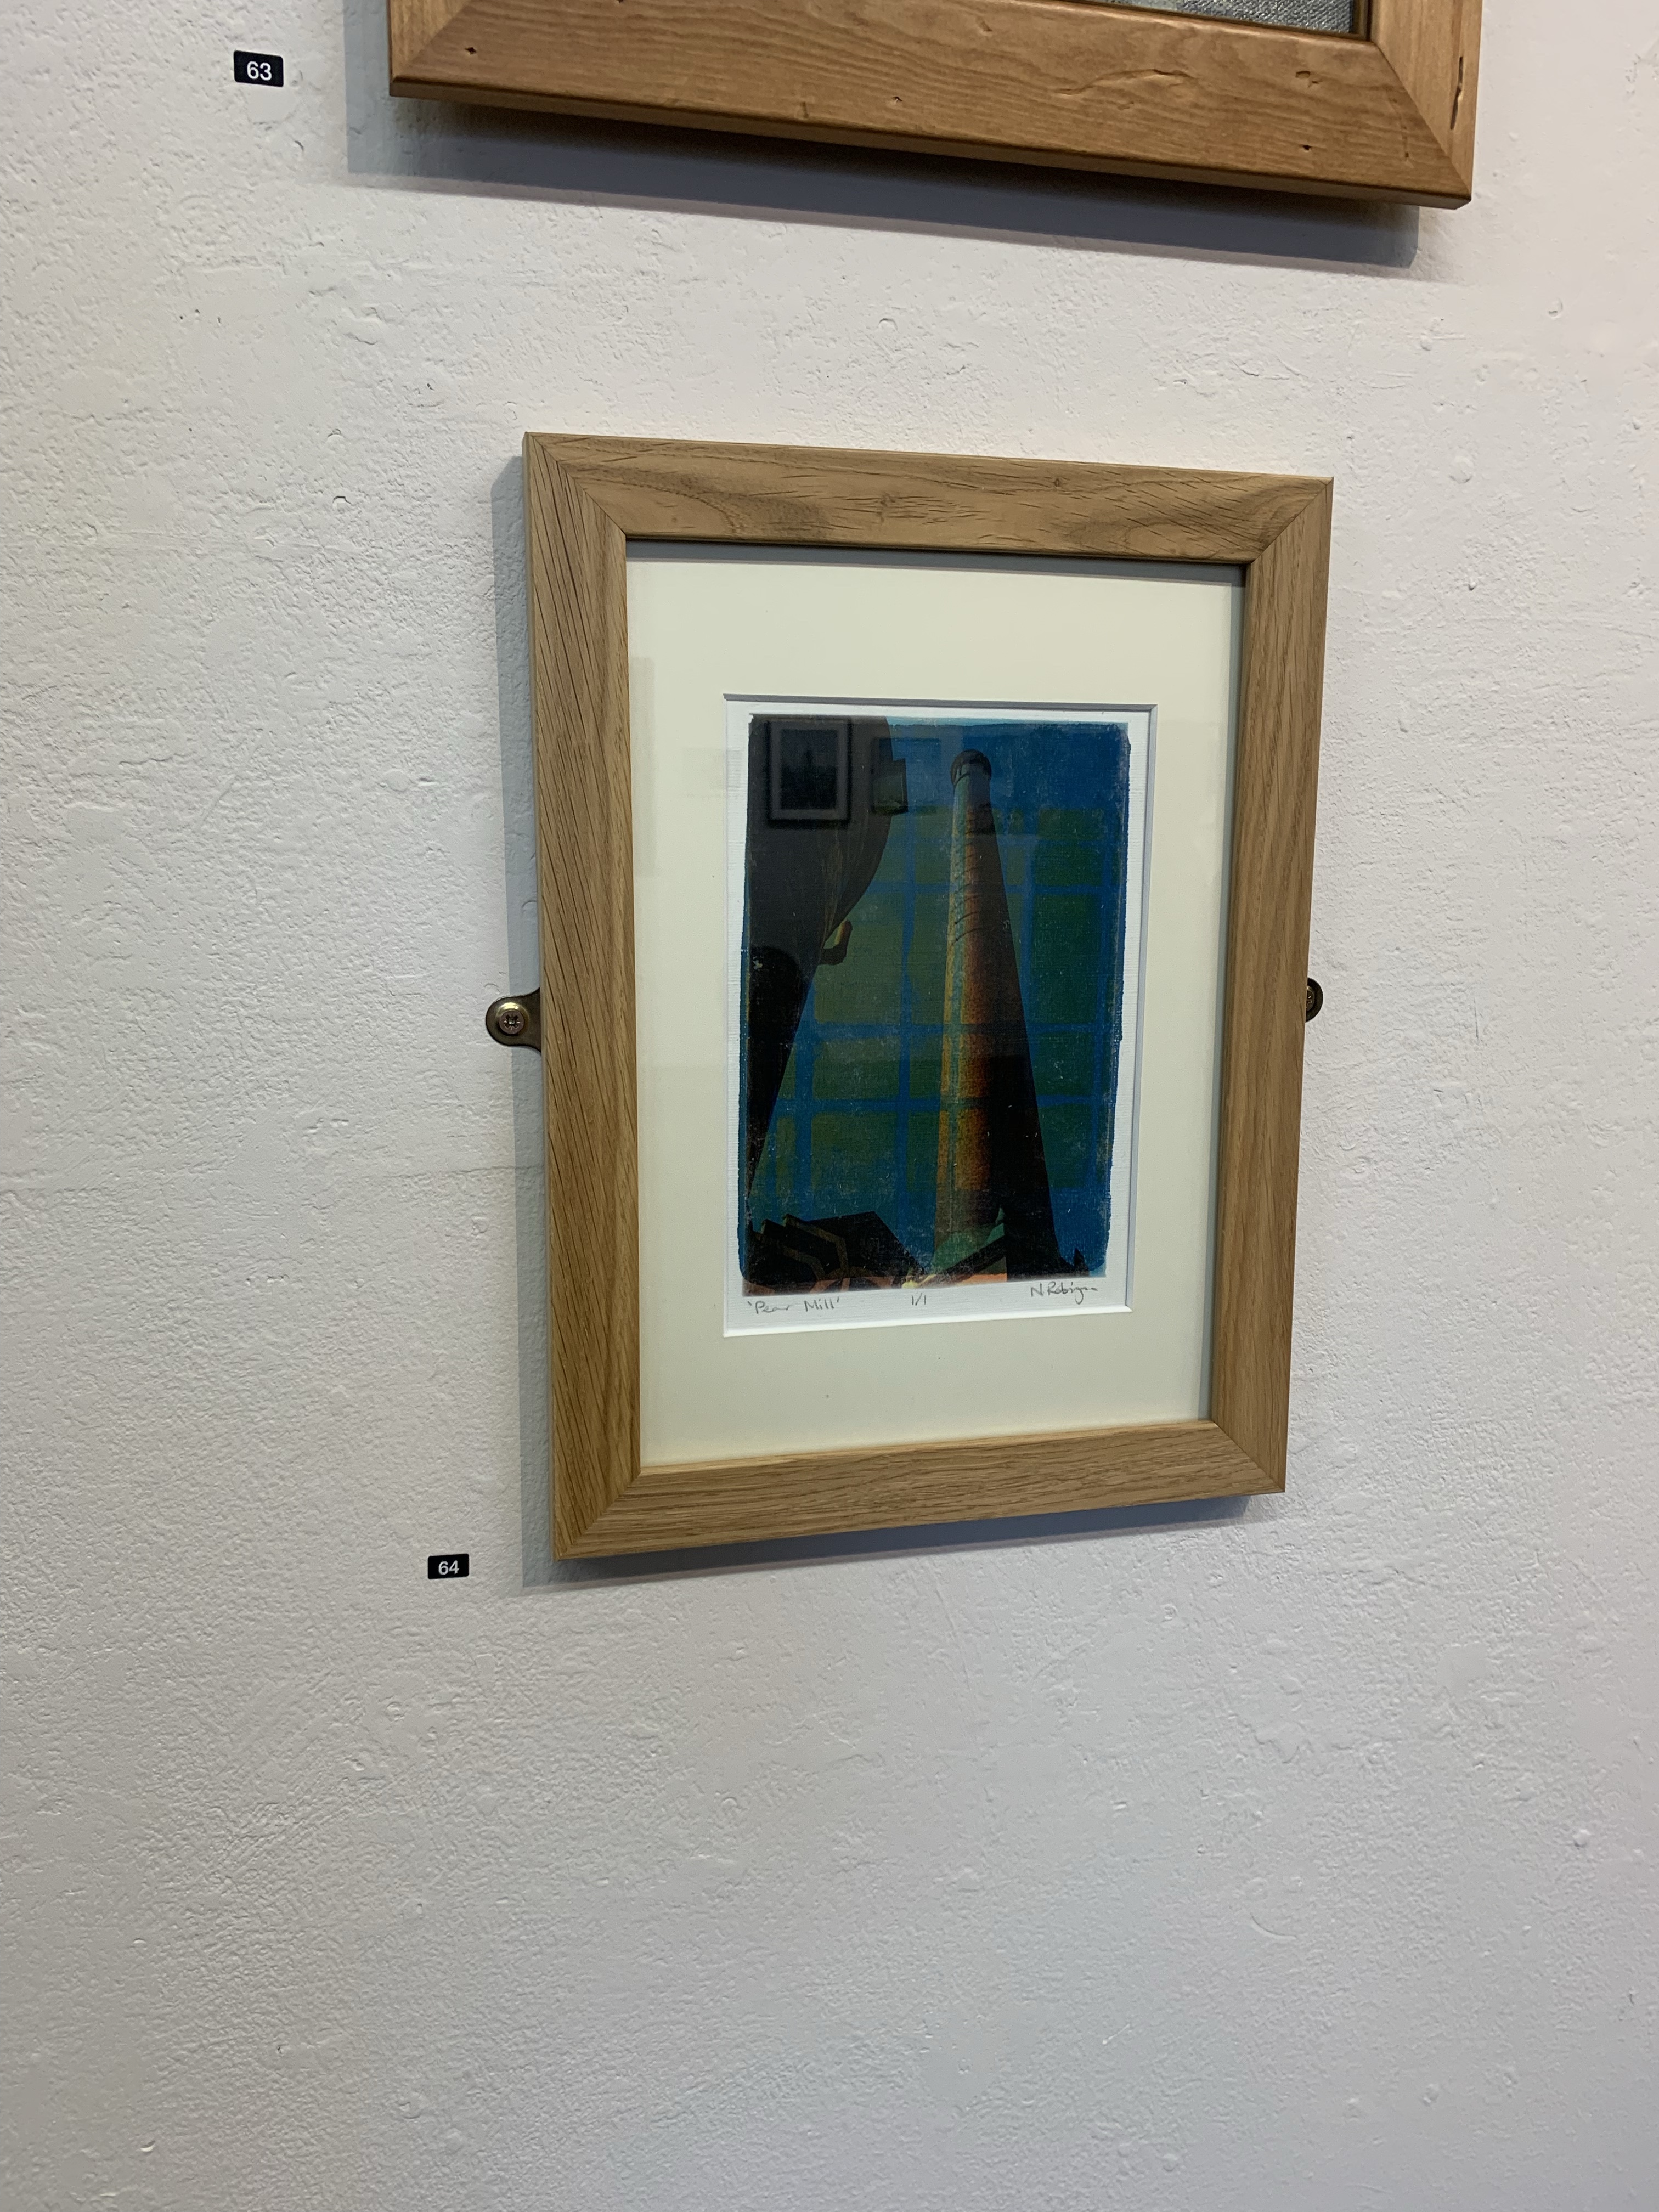
Stopford House (Etching aquatint)Pear mill (Gelli/Matt medium)
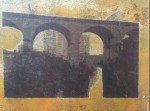
One of my two mix media prints of Stockport has been accepted in this year’s Stockport Open. Will find out Friday (tomorrow) which of my prints made it in. Looking forward to the preview and meeting other artists. Update 13/7/19. My print of the viaduct was accepted into the 2019 Open exhibition. See picture.
Create a Gelli print using acrylic paints, acrylic paper, plastic stencils and a latex Gelli printing block.
Find and print off a black and white image using a laser copier or printer.
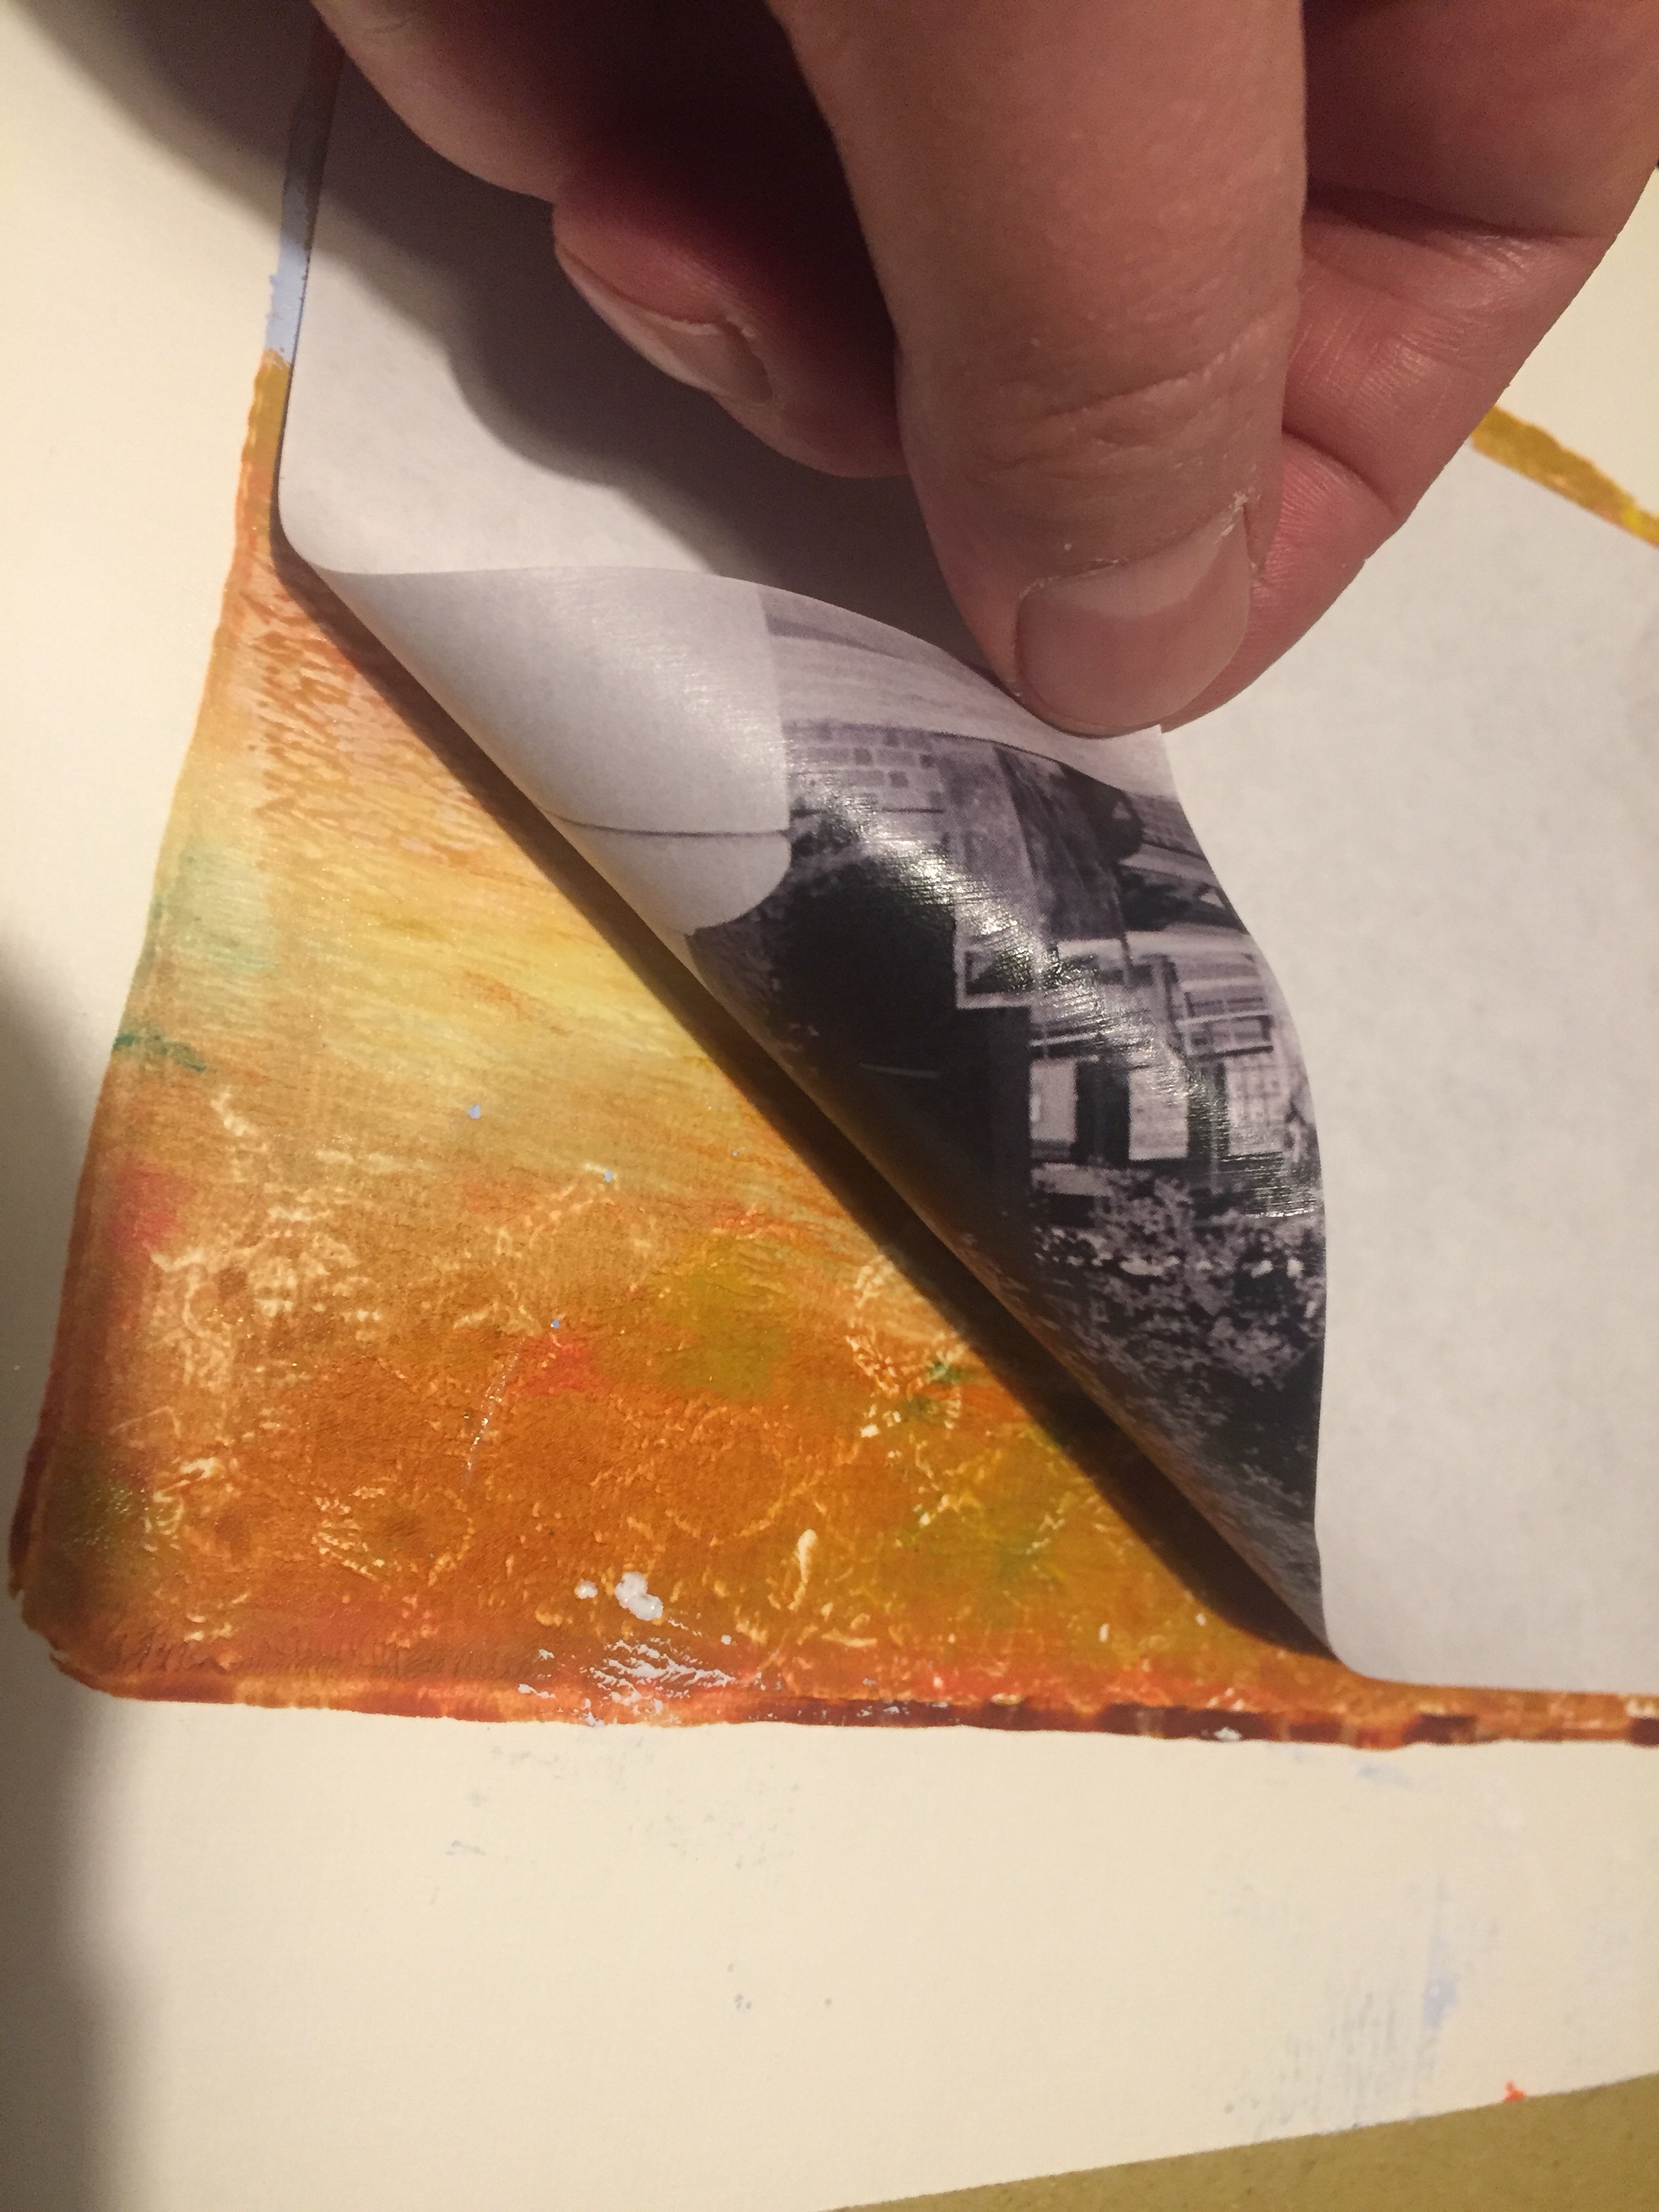
Before you print off the laser image, ensure you create a reverse version of the image. This is crucial if there is text in the image so it does not print out in reverse!
Once Gelli print is dry, apply Matte Medium to both the surface of the Gelli print and the laser printed image (face up).
Apply the laser printed image sticky side down.
Using a printing roller, run over the transfer to apply to the Matte Medium print a few times to the Gelli print.
Remove any air bubbles using a plastic card such as an old loyalty or credit card.
Allow print to dry fully overnight in a warm place.
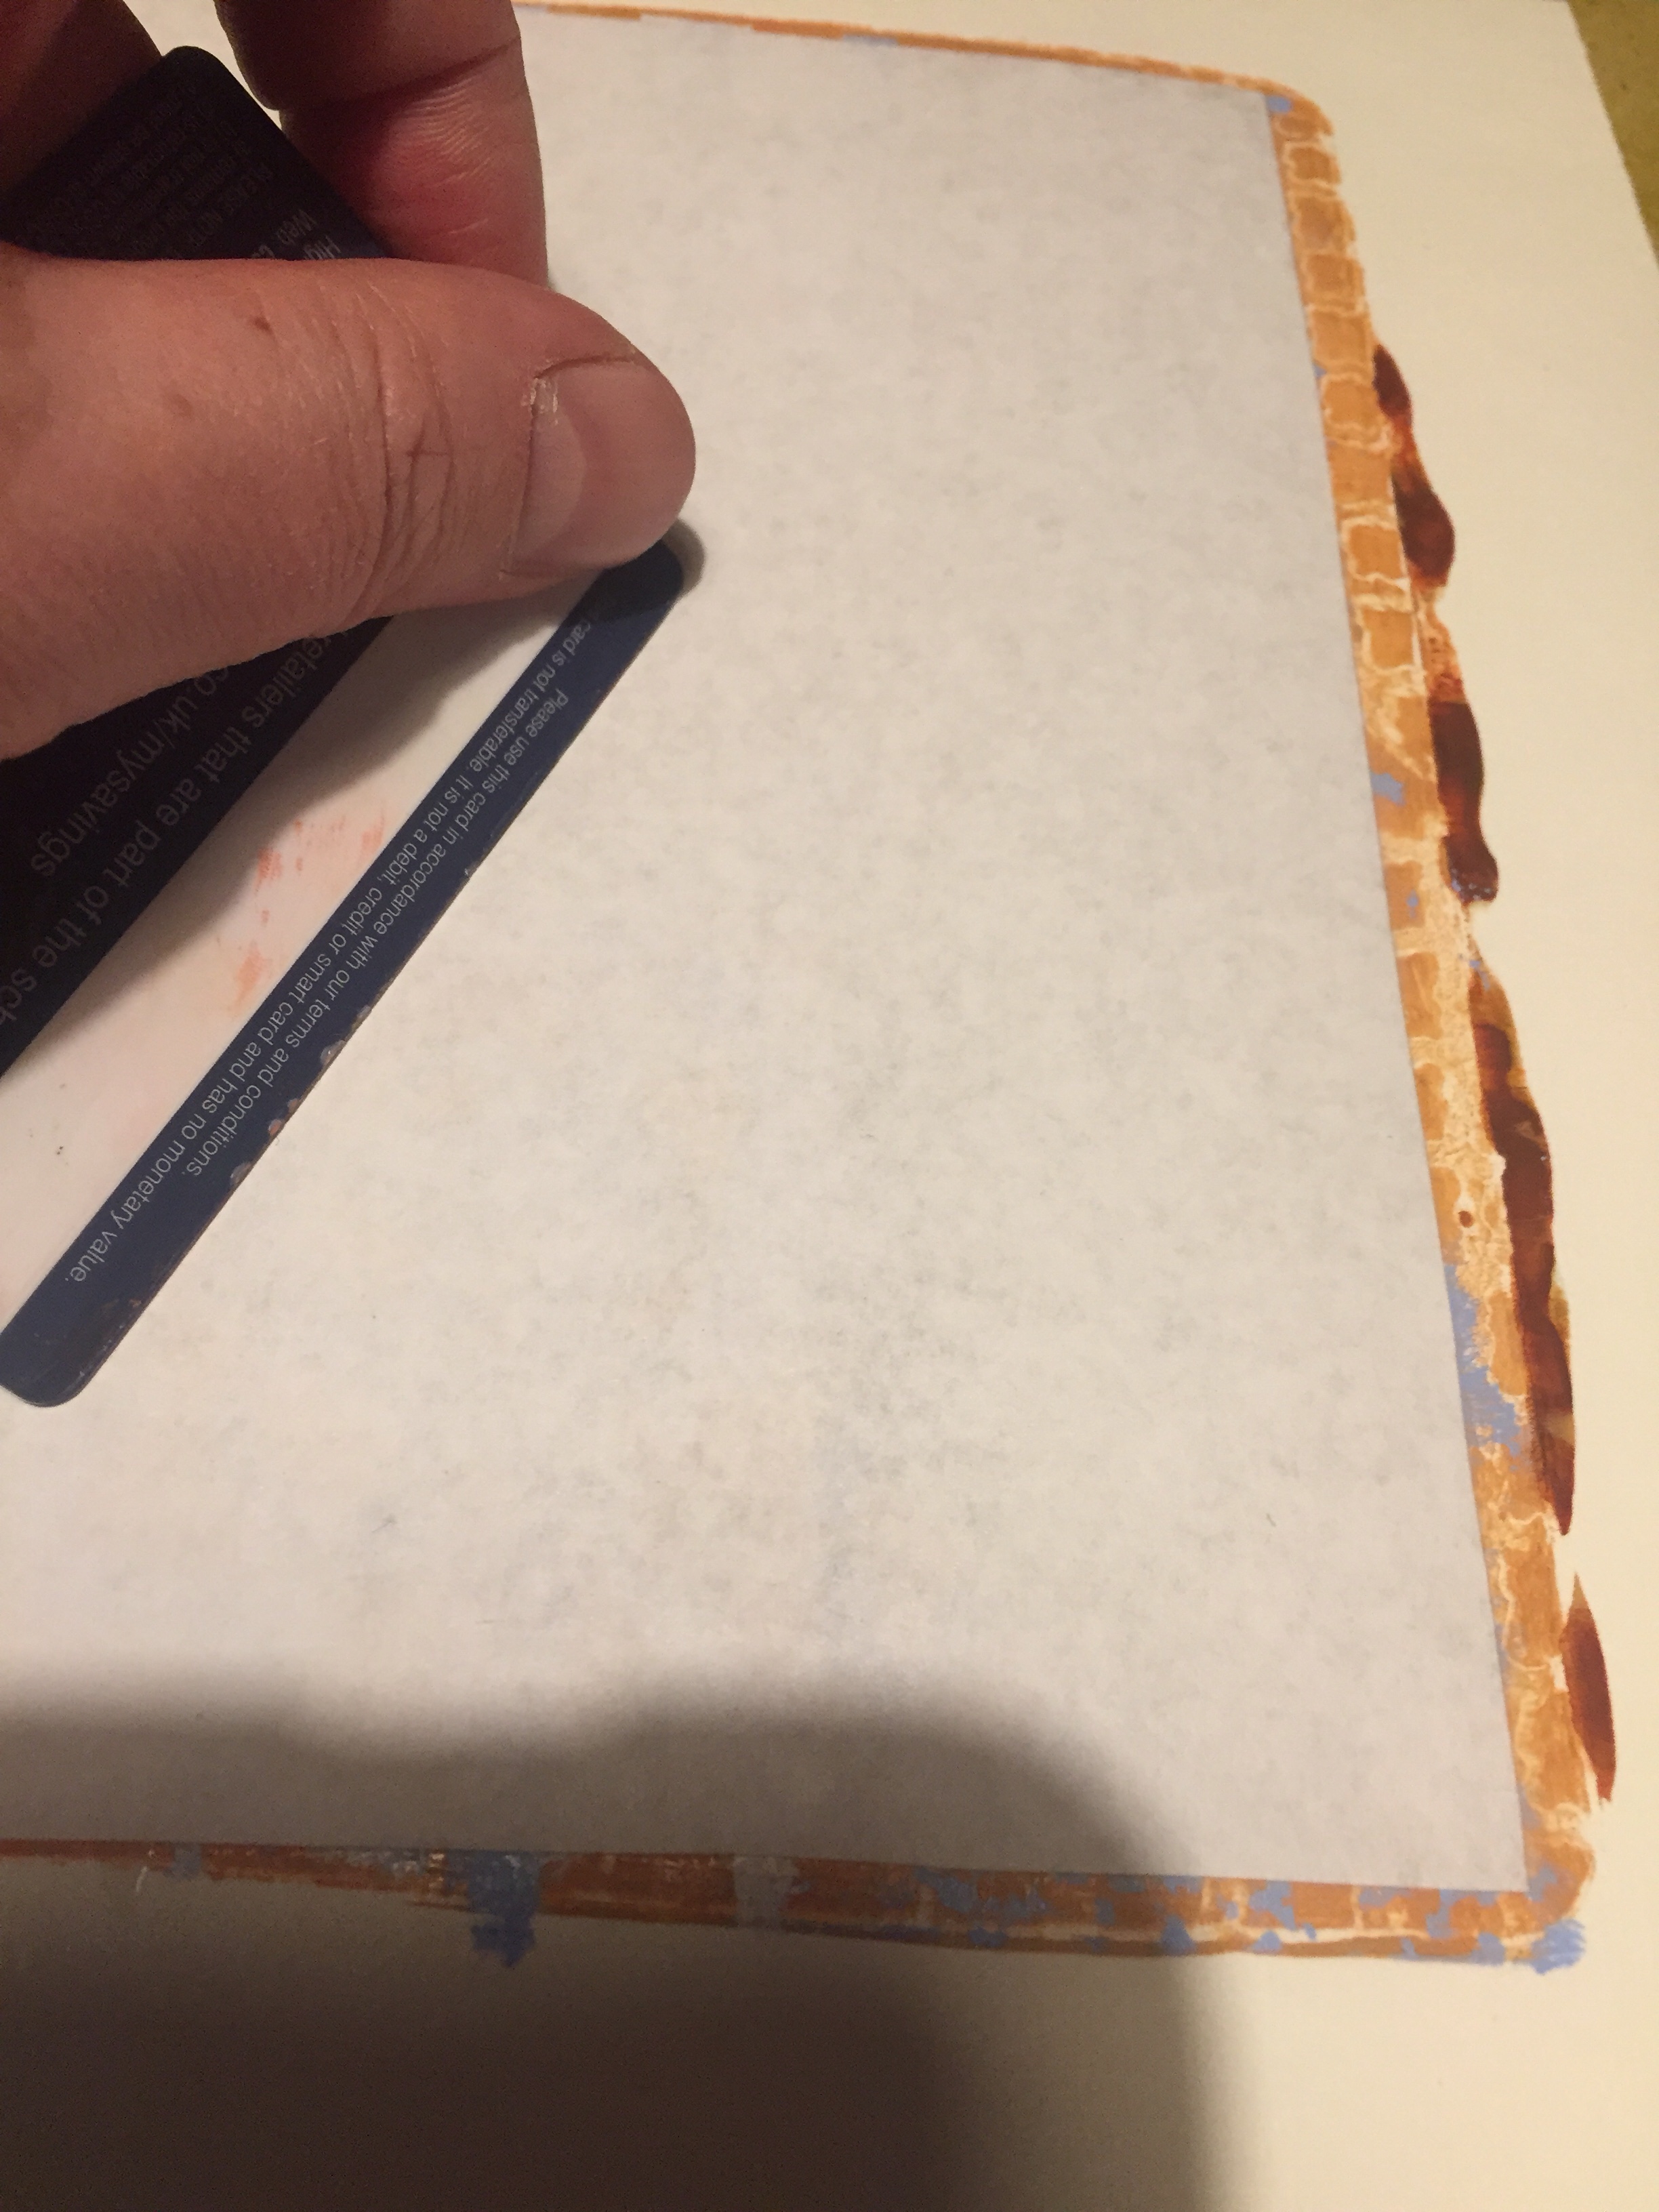
Remove just the white paper from the laser print transfer using warm water, earbuds and a sponge. Remember to soak the whole paper containing the image throughly before removing paper.
Remove the paper carefully so as not to remove the laser print transfer. You will probably have to remove a small number of layers before the print can been seen on the Gelli print
Once all excess paper is removed, leave to dry out throughly.
Just added a coat of acrylic varnish to my recent Gelli / matte medium transfer prints. The varnish covers any traces of paper not previously removed from the print.
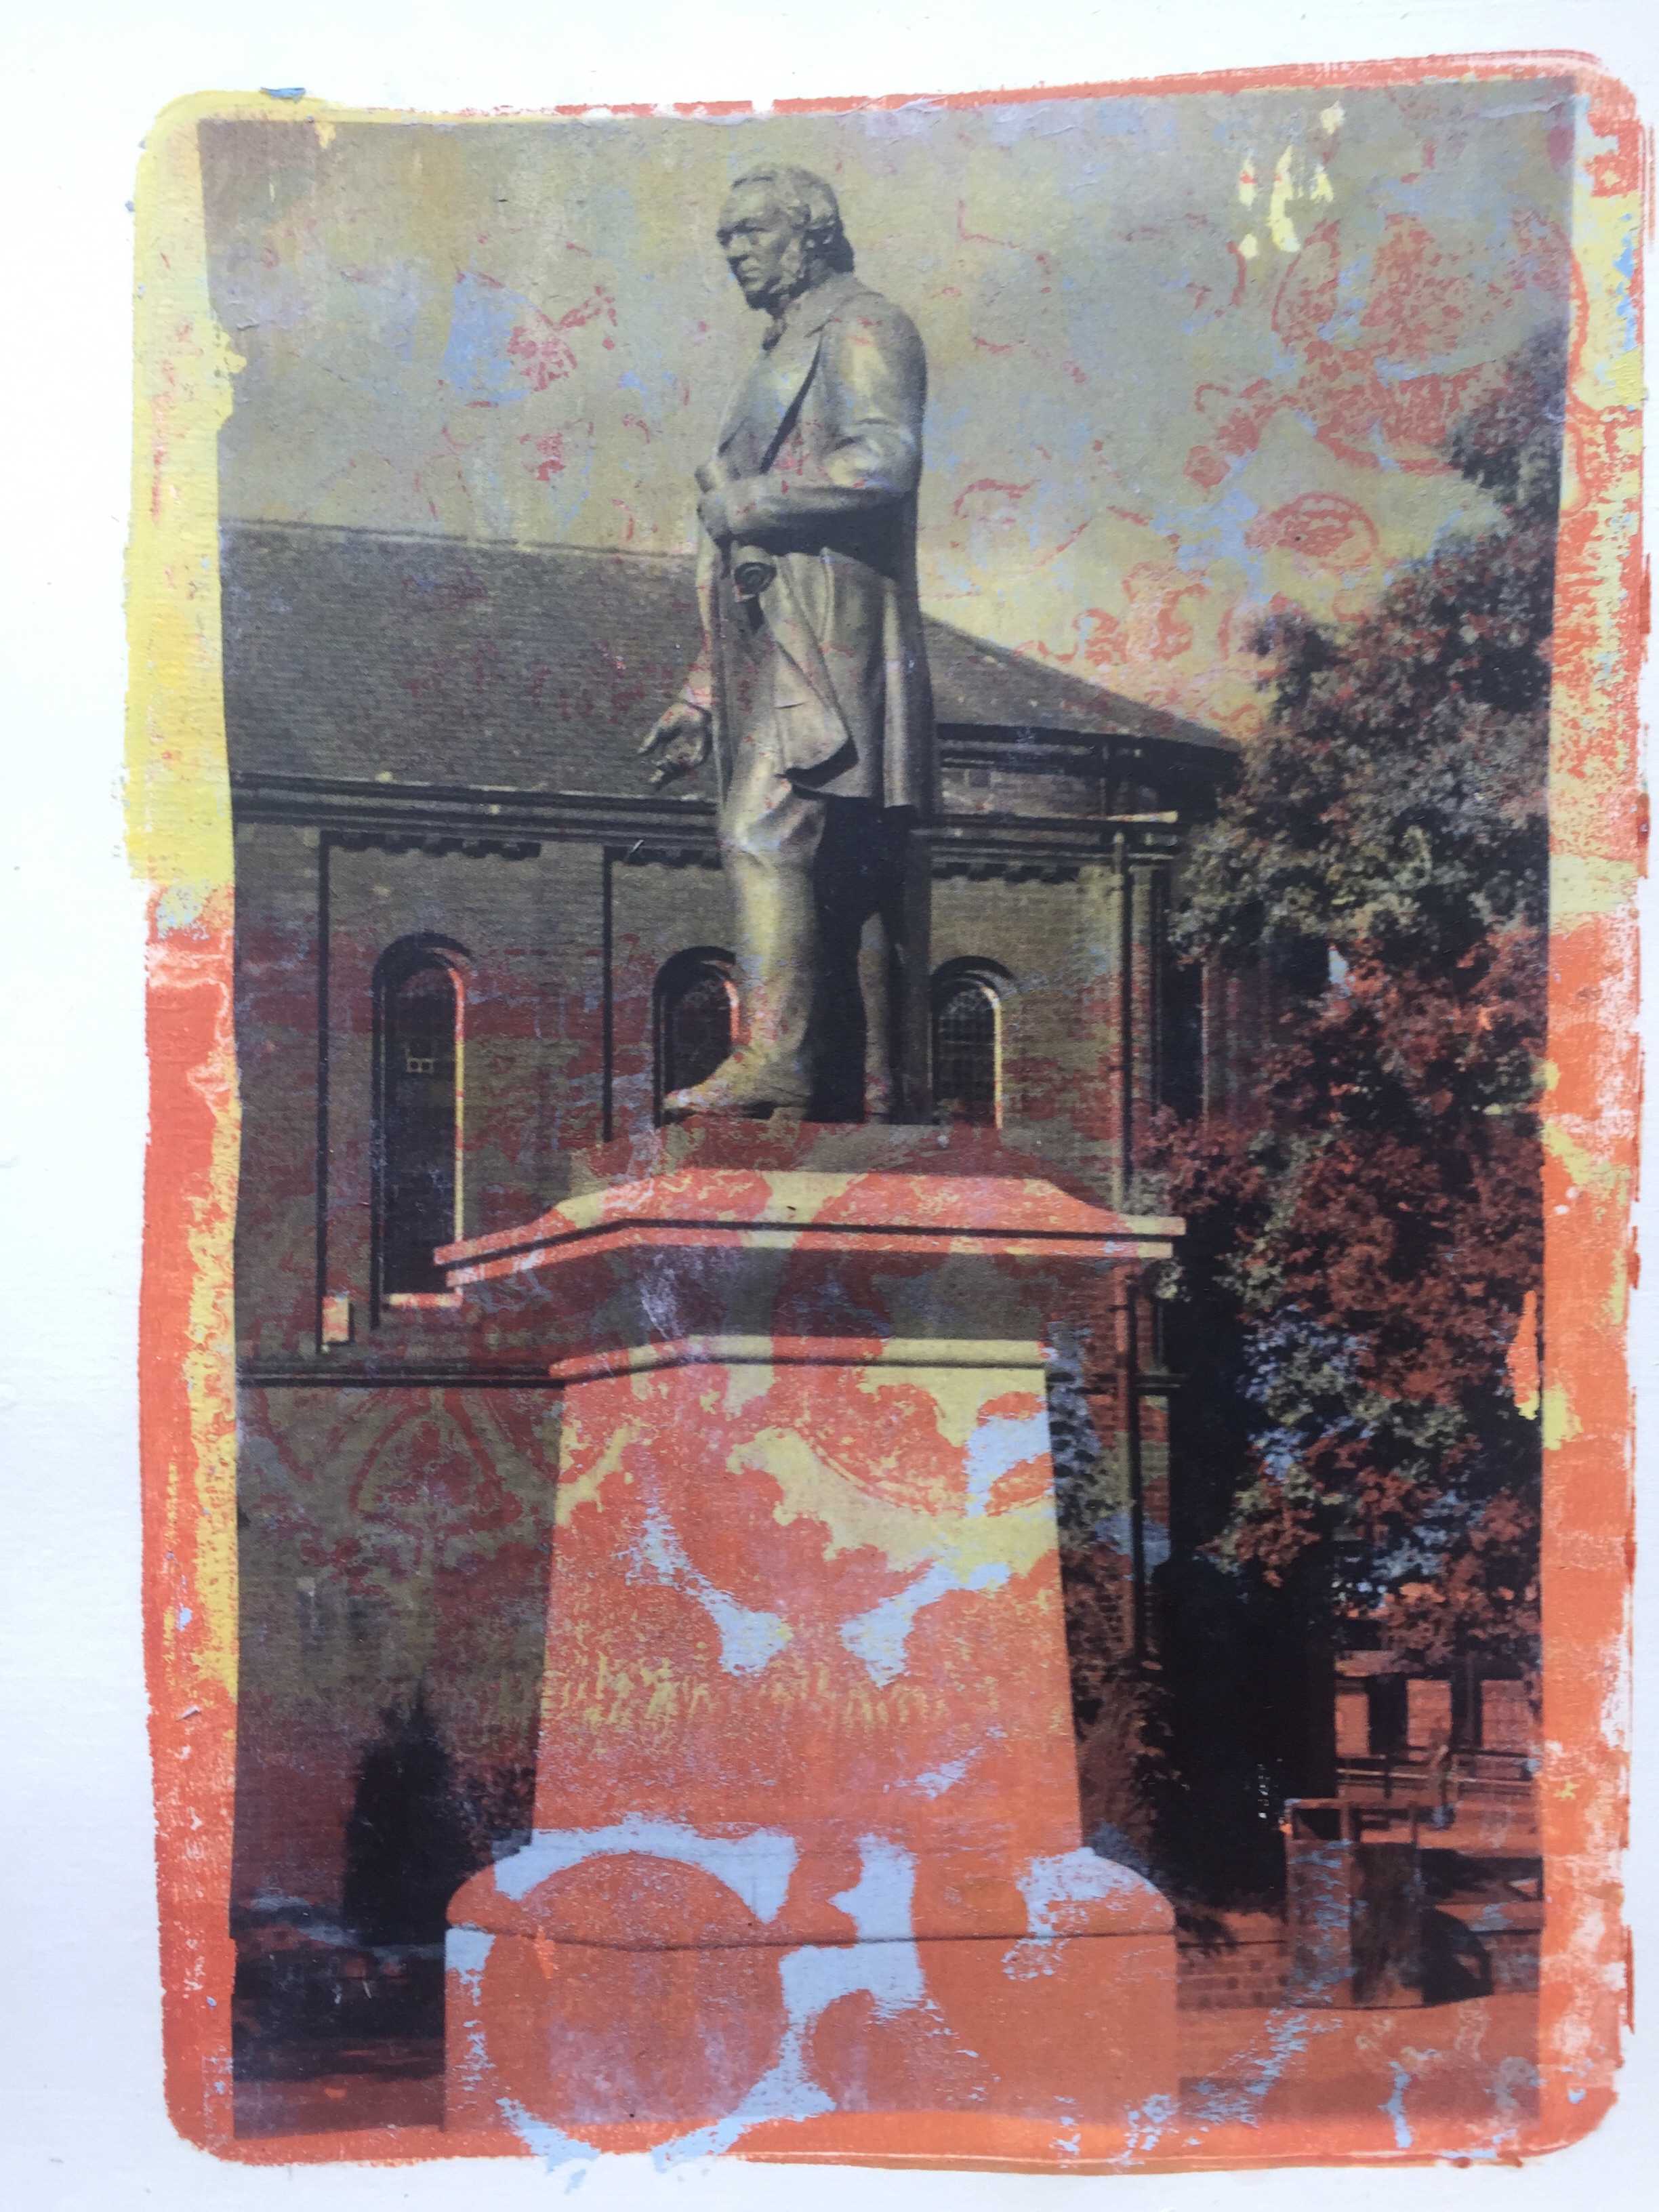
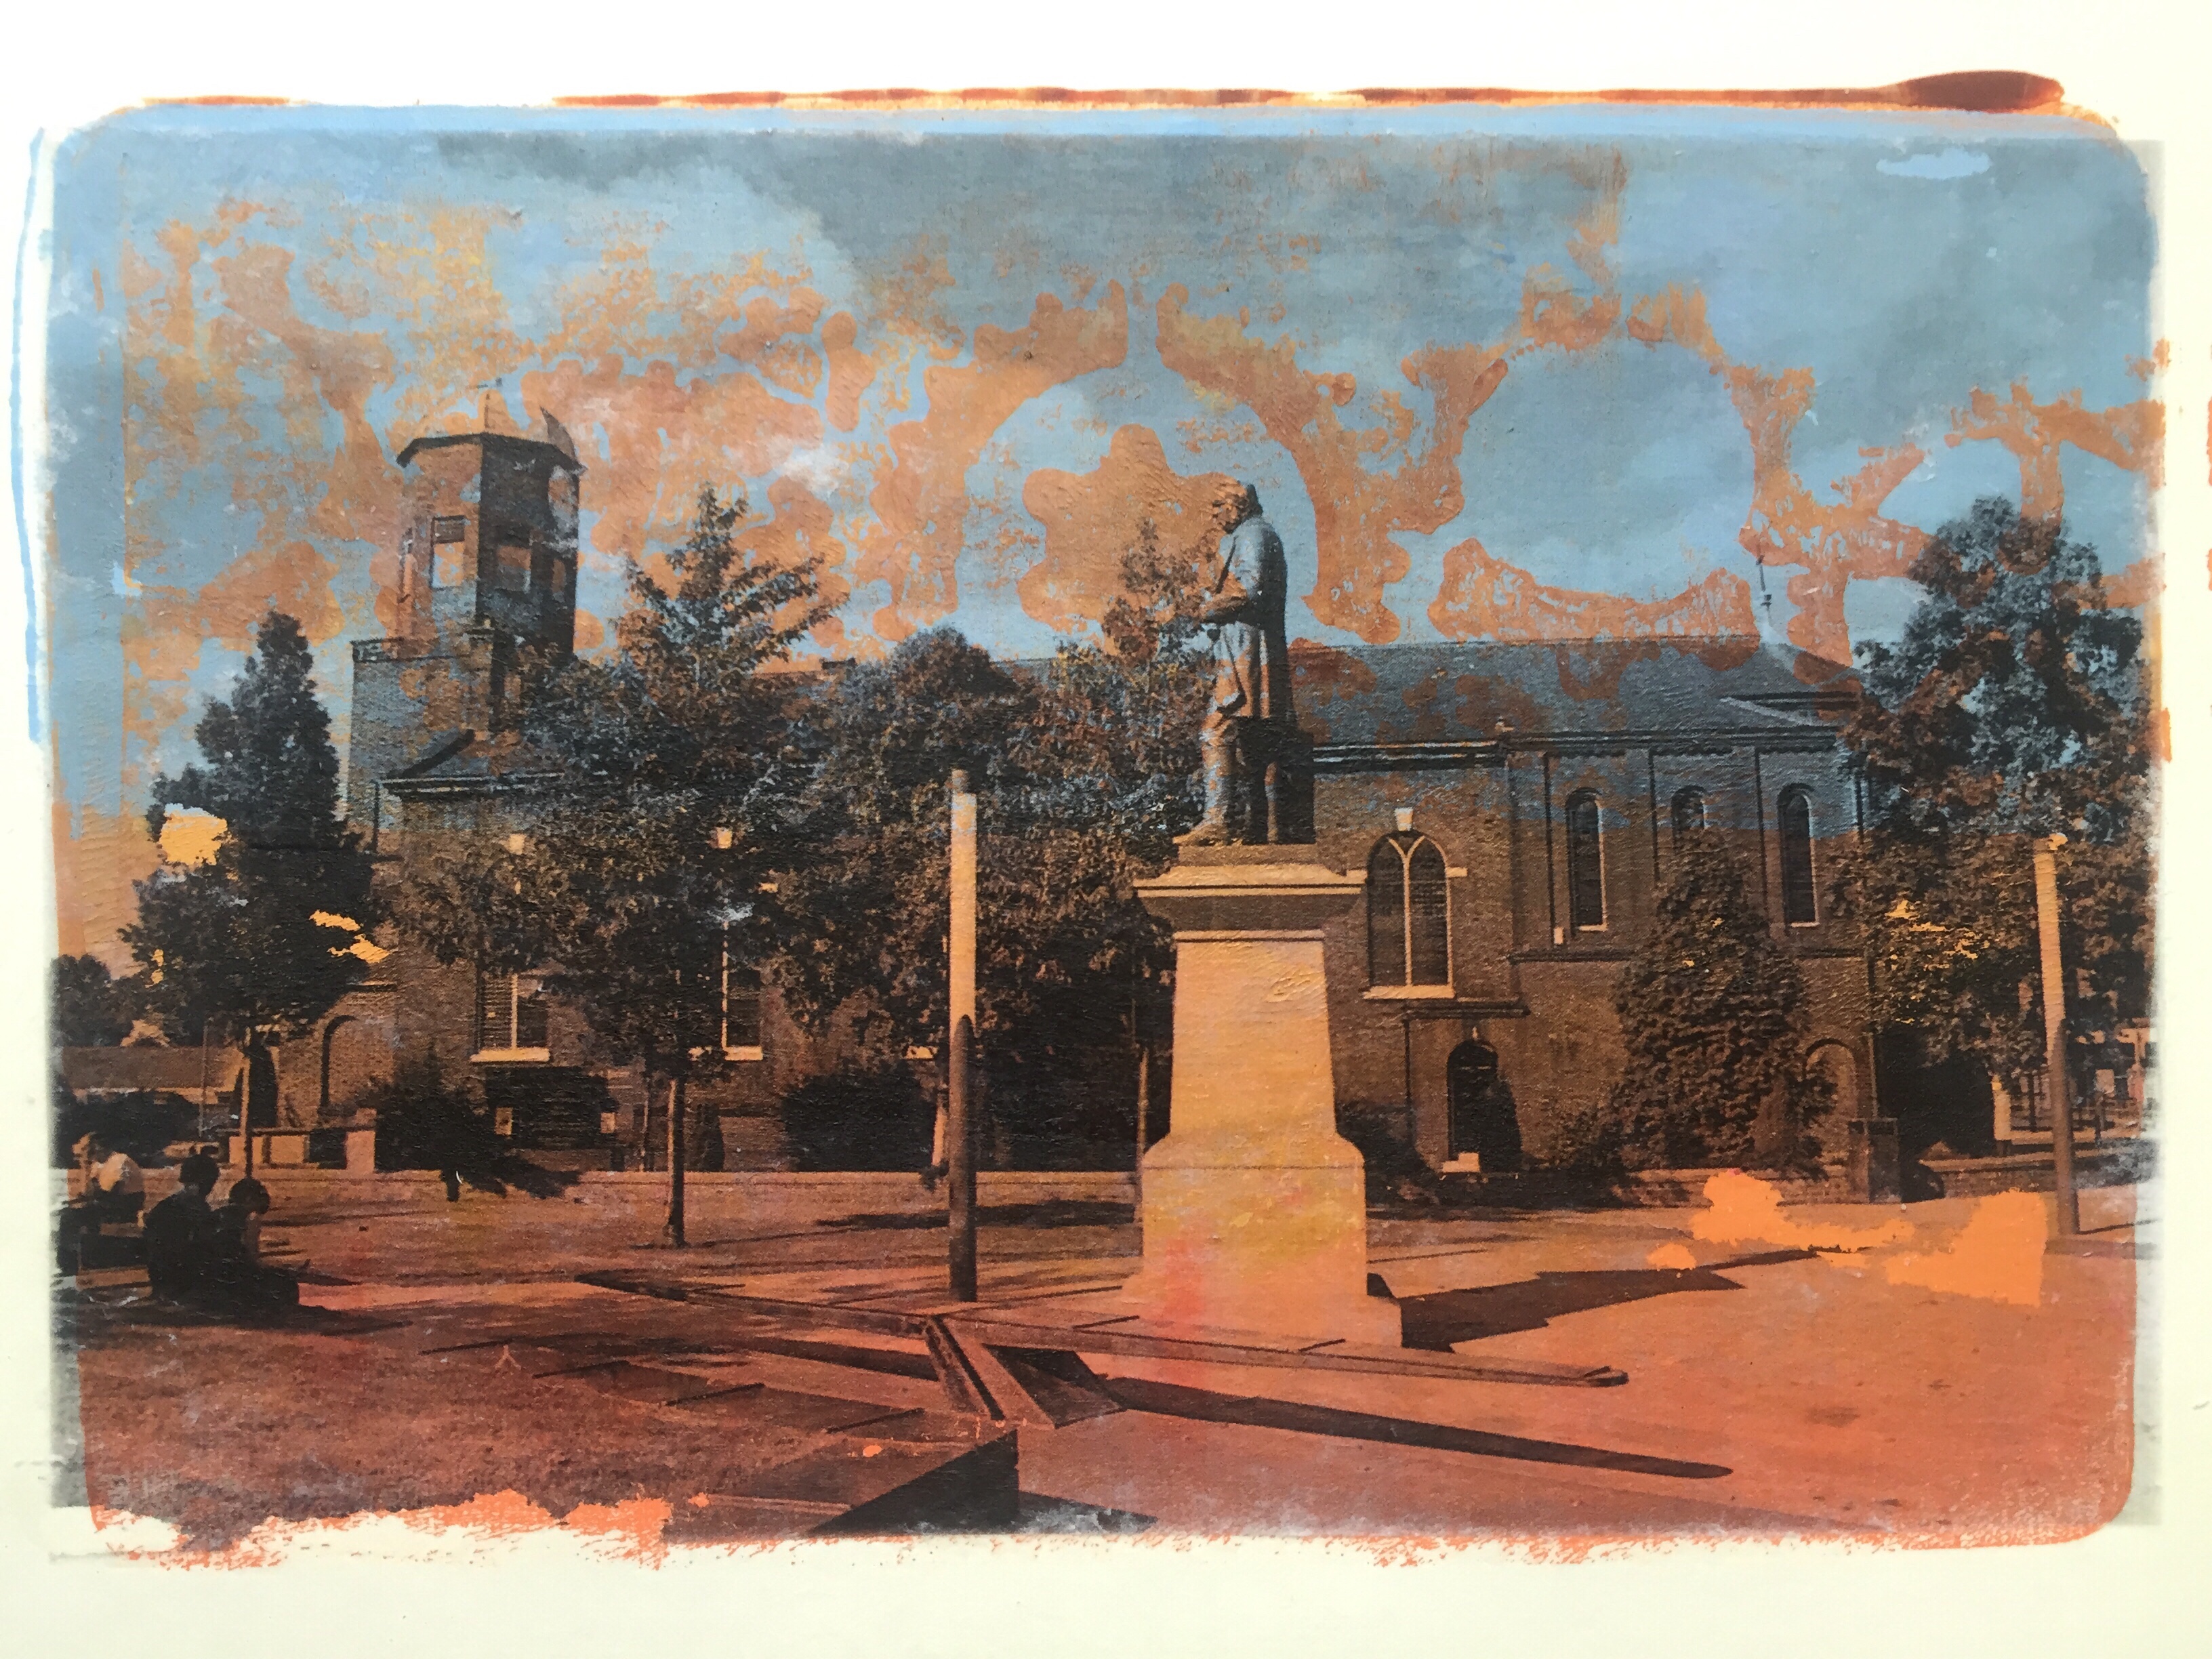
The prints above depict the Richard Cobden statue on Petersgate.
Cobden was a free trade pioneer and became MP for Stockport in 1841. He lead the anti-Corn law campaign within Parliament.
The 16ft statue which has been in situ since the 1880’s was moved to a new location due to redevelopment of the square.
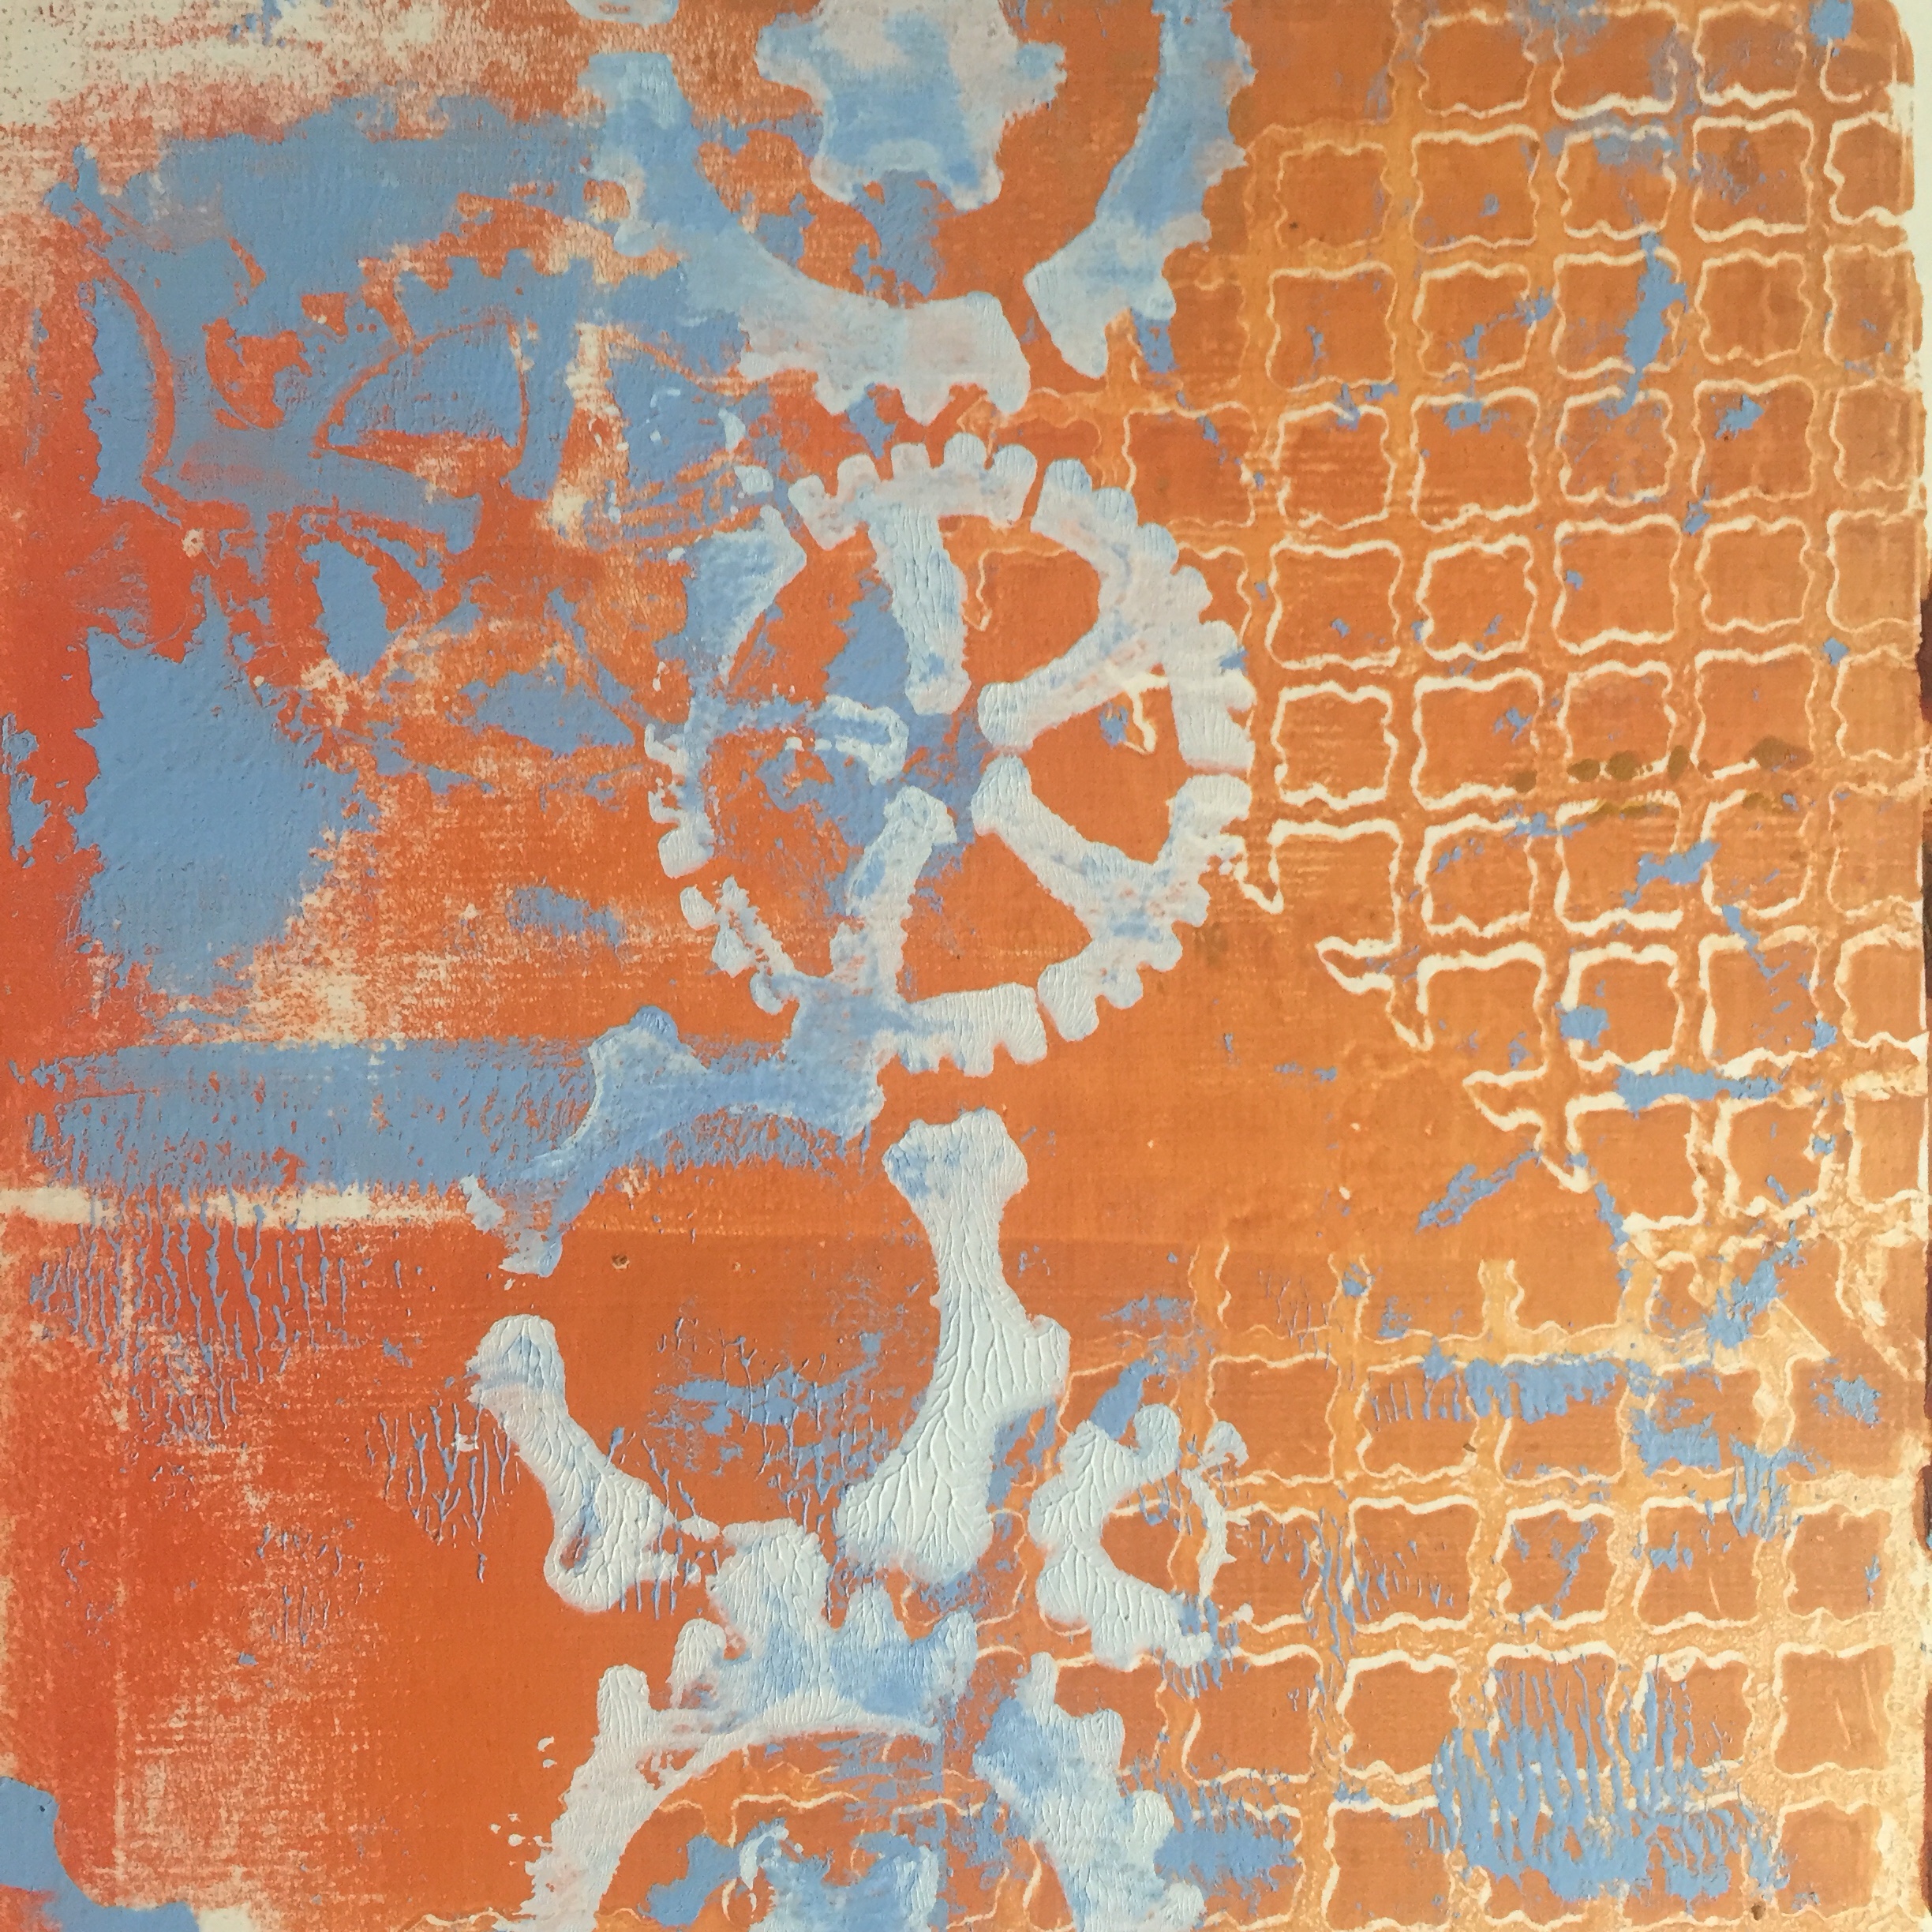
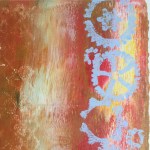
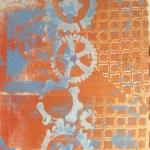
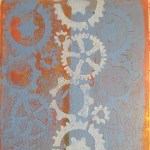
I have continued to experiment with my gelli printing silcone mat using acrylic paints and plastic stencils which I purchased from a local craft store. The stencils I have used have been very effect in producing monoprints. I used a brayer roller to press the ink onto the acrylic paper without the need of a printing press. The contrast between the background image and the stenciled relief works very well.
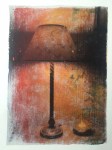
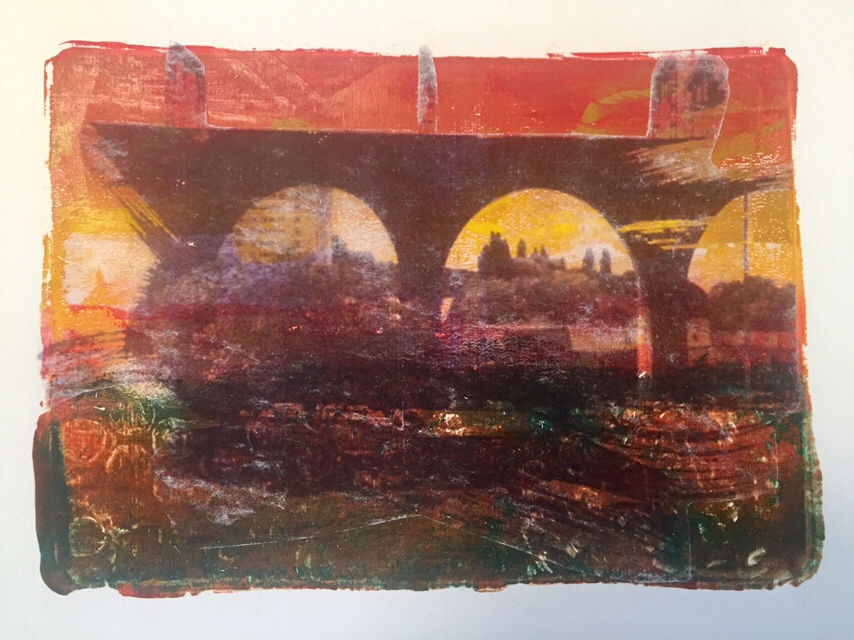
I have also produced some more matte medium transfers such as the table lamp and the image of Stockport viaduct take from another angle. The transfers are the hardest to do as there is alot of paper to remove once the matte medium has dried out completely. Plenty of water and ear buds are recommended for this aswell as plastic sheeting and towels. The ear buds are the most effective way to remove the paper layers and reveal the transfer below. Some the transfer will be removed but this adds to the finished effect.
I hope to add some more transfers soon using the stenciled prints shown above.


You must be logged in to post a comment.