Matte Medium Transfer Printing

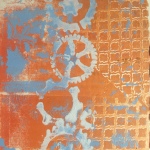
  1. Create a Gelli print using acrylic paints, acrylic paper, plastic stencils and a latex Gelli printing block.
  2. Find and print off a black and white image using a laser copier or printer.
  3. Before you print off the laser image, ensure you create a reverse version of the image. This is crucial if there is text in the image so it does not print out in reverse!
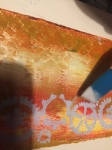
  4. Once Gelli print is dry, apply Matte Medium to both the surface of the Gelli print and the laser printed image (face up).
  5. Apply the laser printed image sticky side down.
  6. Using a printing roller, run over the transfer to apply to the Matte Medium print a few times to the Gelli print.
  7. Remove any air bubbles using a plastic card such as an old loyalty or credit card.
  8. Allow print to dry fully overnight in a warm place.
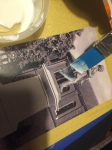
  9. Remove just the white paper from the laser print transfer using warm water, earbuds and a sponge. Remember to soak the whole paper containing the image throughly before removing paper.
  10. Remove the paper carefully so as not to remove the laser print transfer. You will probably have to remove a small number of layers before the print can been seen on the Gelli print
  11. Once all excess paper is removed, leave to dry out throughly.
  12. Finally, varnish the print using acrylic varnish.

Leave a Reply

Please log in using one of these methods to post your comment:

WordPress.com Logo

You are commenting using your WordPress.com account. Log Out /  Change )

Facebook photo

You are commenting using your Facebook account. Log Out /  Change )

Connecting to %s