

A blog about Stockport landmarks by artist/printmaker Neil Robinson which follows a printmaking project depicting the diverse architectural styles of my hometown both new and old.


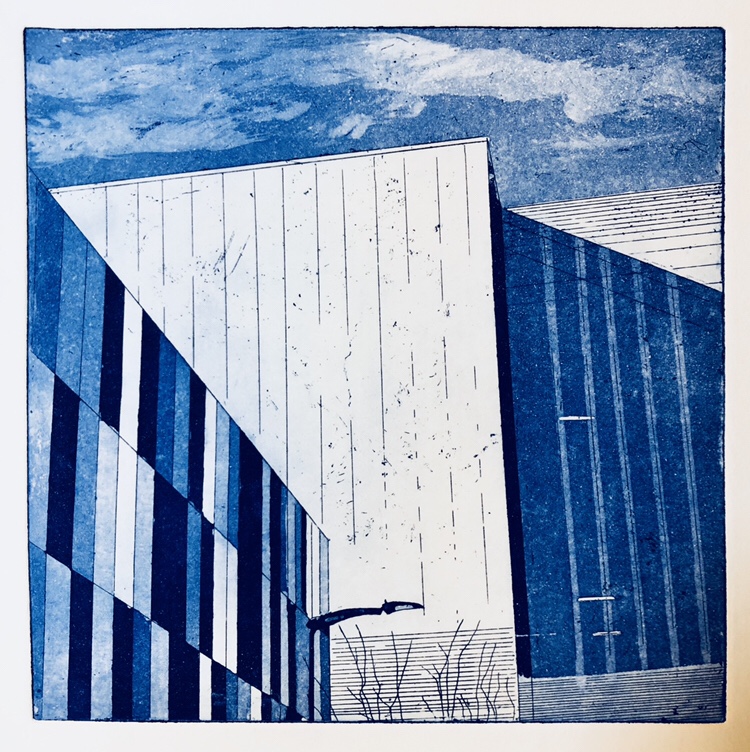
“Redrock”
16 x 16 cms
Etching Aquatint
If like me you produce large batches of prints such as for print exchanges, print shows etc.., you probably have realized that you need somewhere to dry out those precious prints from getting damaged. I had this issue last year when I was producing an edition of 25 relief prints for the 20:20 Print Exchange organised by Hot Bed Press.
My print run exceeded over 30 prints to allow for imperfections such as smudges or mis-alignment etc.. At the time I did not possess a drying rack, so I laid out my prints individually on the workbench in the garage which I call my art studio for them to dry out overnight.
The next morning, I was shocked to discover that at least one of my prints had a big bite taken out of it! I eventually realized that it was the resident mouse which had come out of it’s nest to explore and on finding my prints, decided they would make a tasty meal and helped itself!
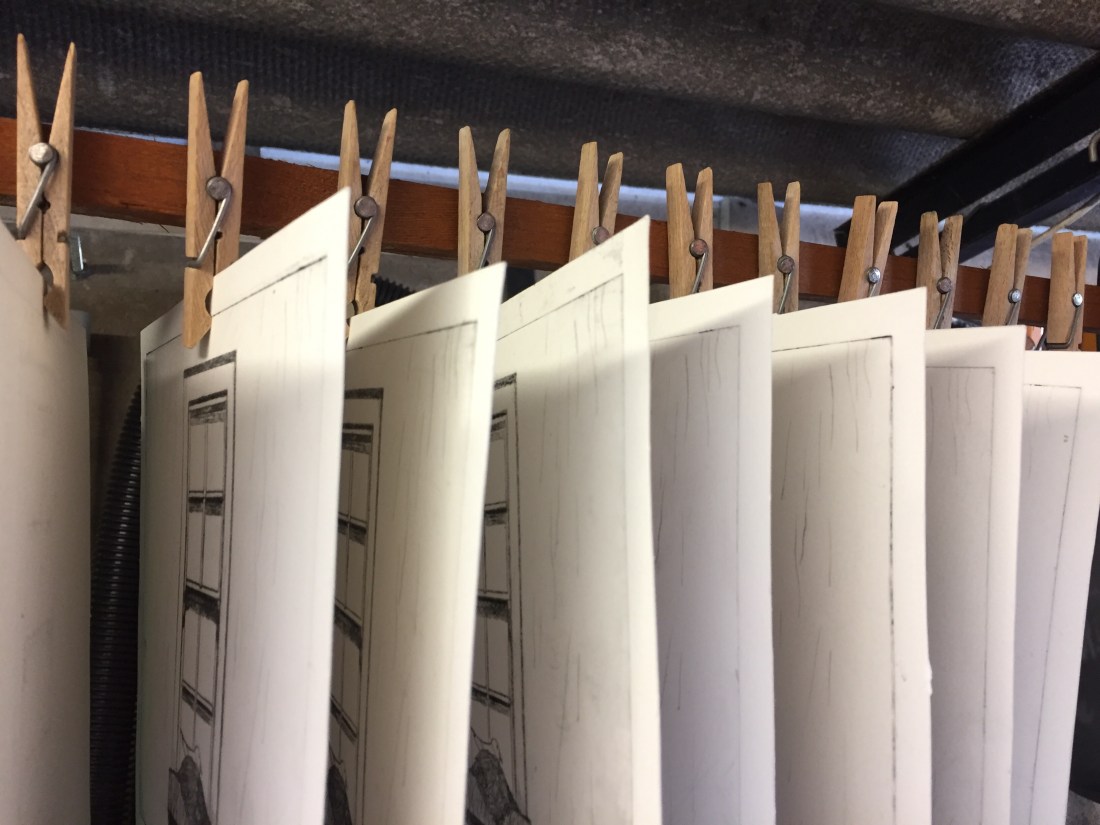
Since the mouse incident, I have designed and built a simple drying rack which is supported from two metal beams in the garage.
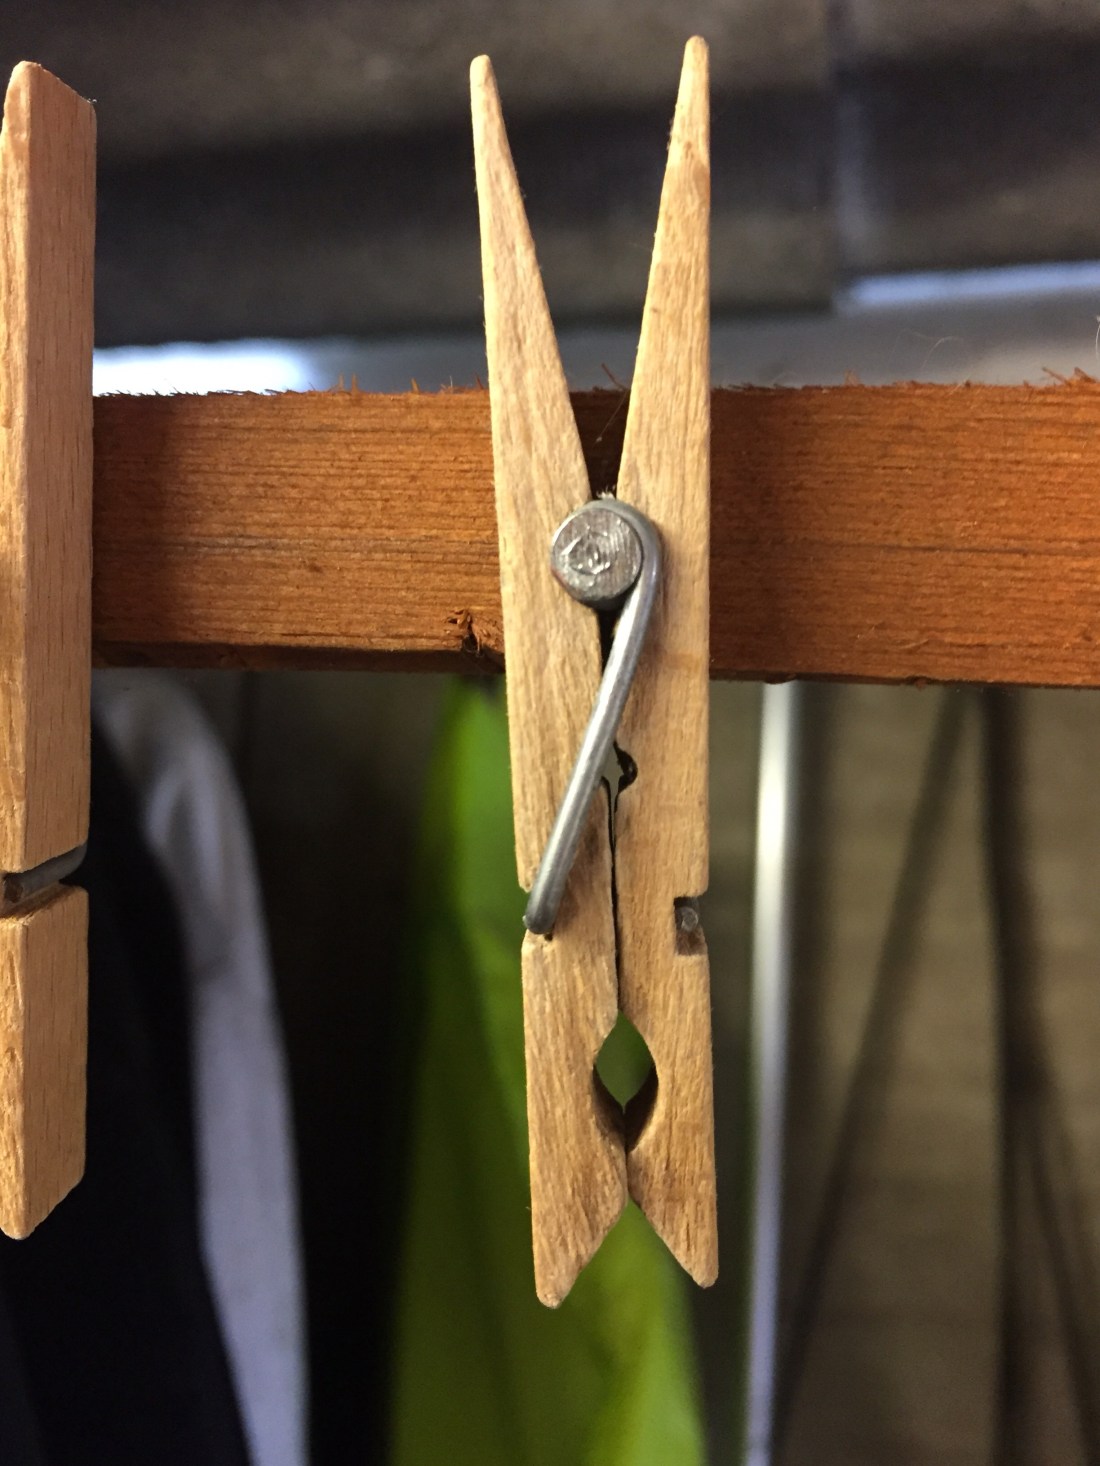
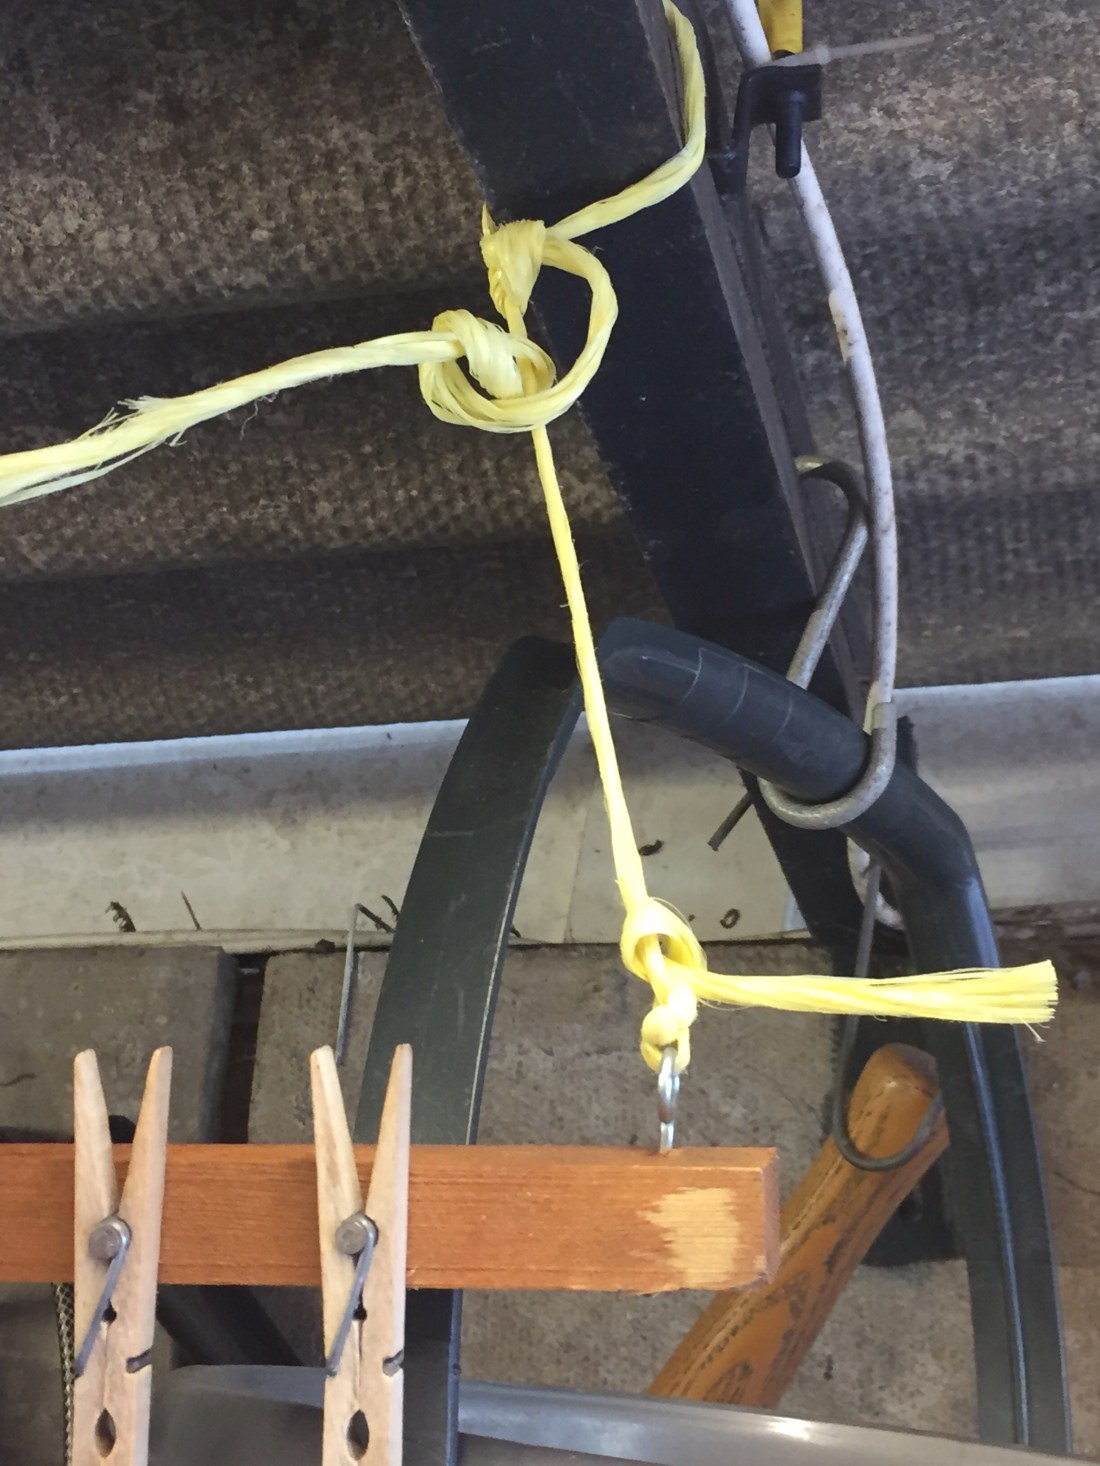
The drying rack is constructed from wood (taken from an old rabbit run), wooden clothes pegs, nails, curtain loops and plastic hay twine.
I nailed the pegs to one side of a thin wooden plank in even spaces. The wooden plank is suspended by way of two curtain loops attached to twine from the roof.
I have added photos of the rack to this blog post.
I am now taking a months break from this blog. I will return in September with more posts and news about my project.
Bye for now.
Over the last few years, I have been creating a portfolio of prints in different styles and printing techniques. I reckon there is still many more subjects to cover for the Stockport In Print project which should conclude by the end of next year. A lot of my work centres around architecture new and old and the changing surroundings of Stockport with all the new developments going up. As my project progresses, I will include these new buildings in my work. The latest is the new RedRock entertainment and dining quarter. Stockport Exchange near the railway station is another development of new glass and metal office blocks, shops and a hotel.
As I am in the fifth year of the project, it is a good time to review my work. I will be adding all the prints I have created so far to this blog site.
Whenever the subject of Etching Aquatint comes into the conversation, I am asked what it is? and how do you create an etching? I have had an idea which has been mulling over in my head for a bit. The idea would be to create a short video describing the process from start to finish. I will be filming this video sometime in the near future for broadcast soon.
For now I am having a short break from the project and hope to return next month with a new print.
Bye for now 🙂
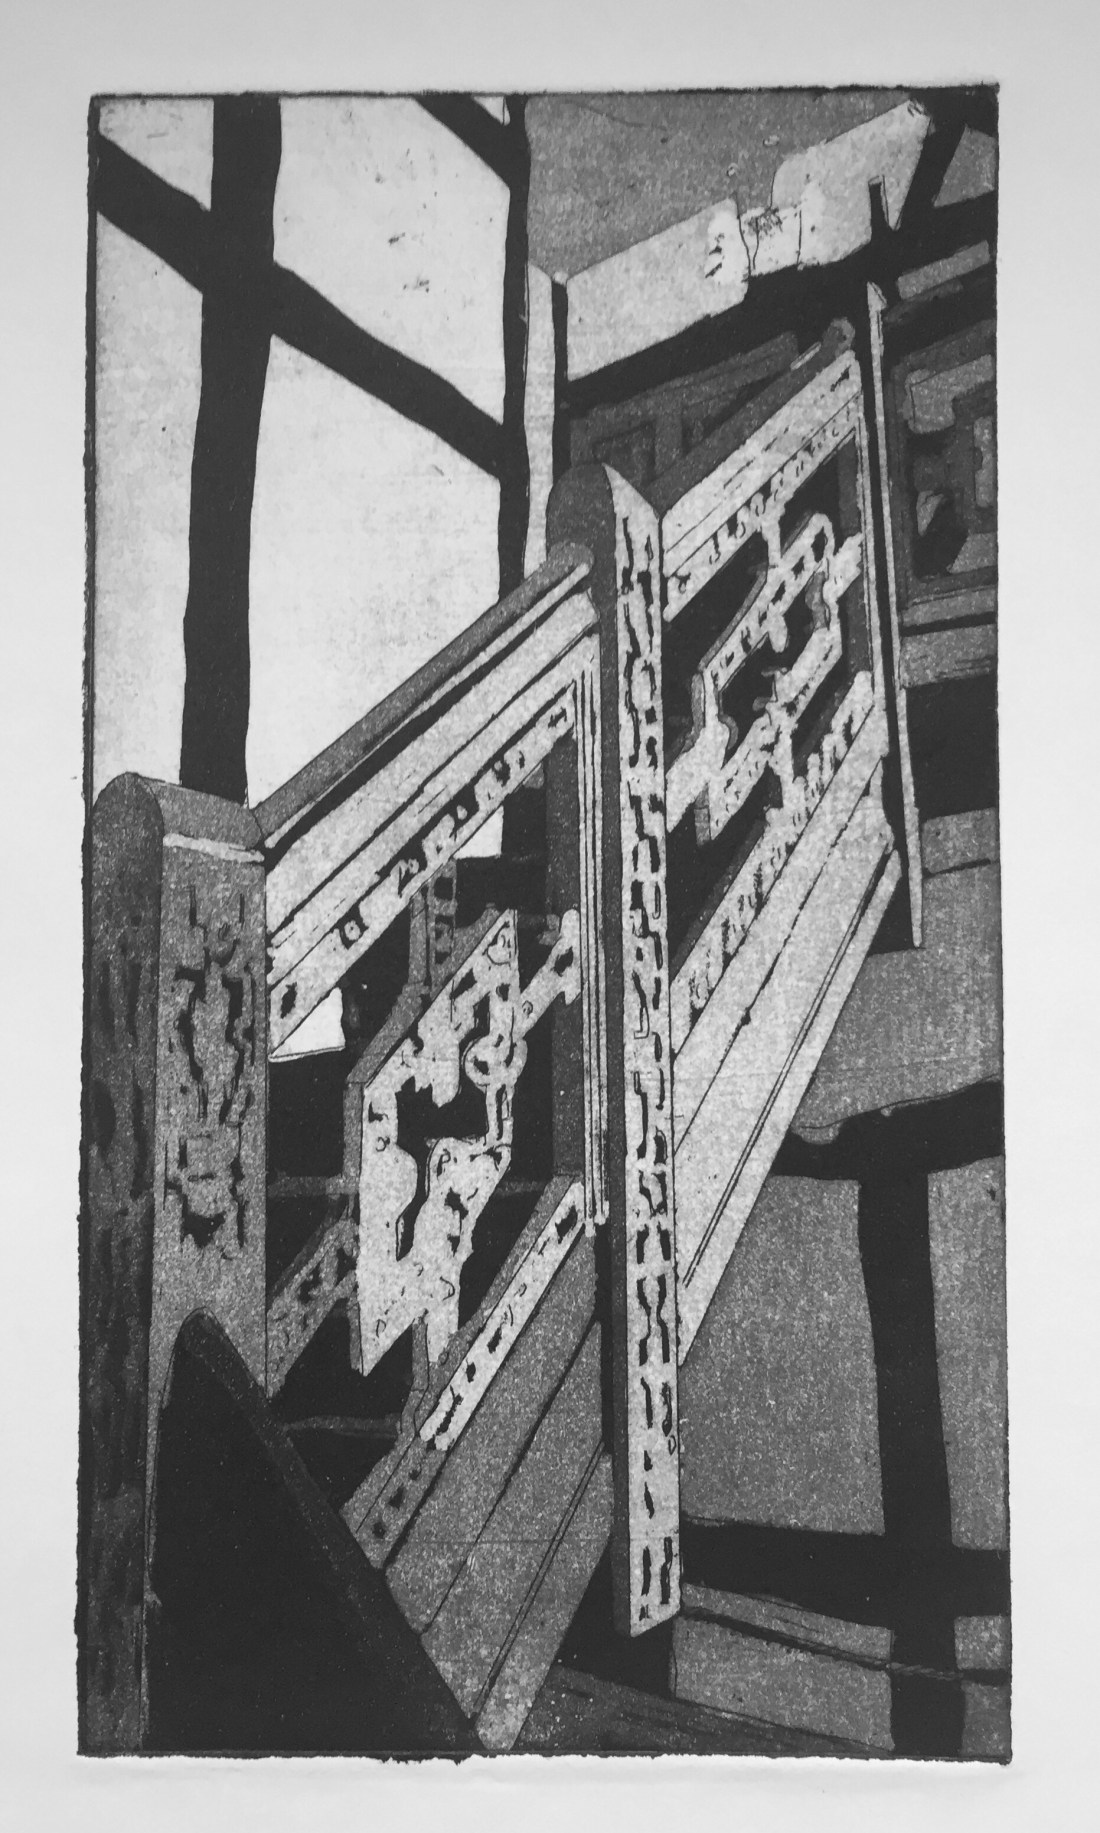
Here is my latest print for the project entitled “Staircase House”.
Etching Aquatint print 10 x 18 cms.
Proofing print.
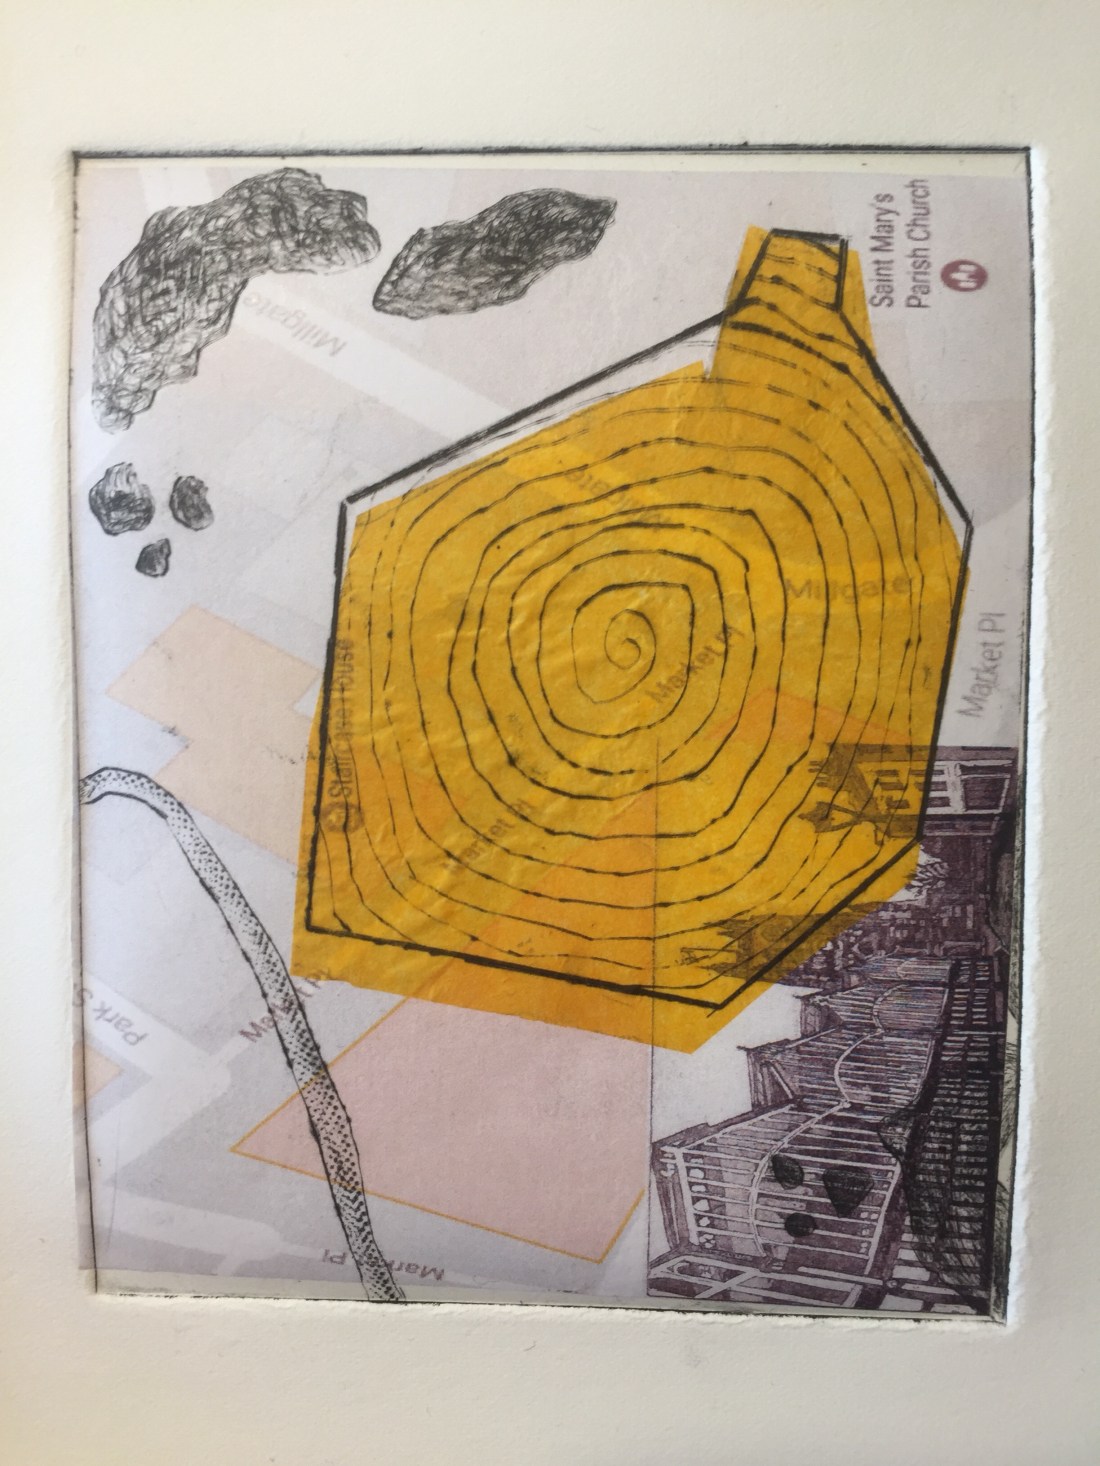
Drypoint print with Chiné-Colle technique.
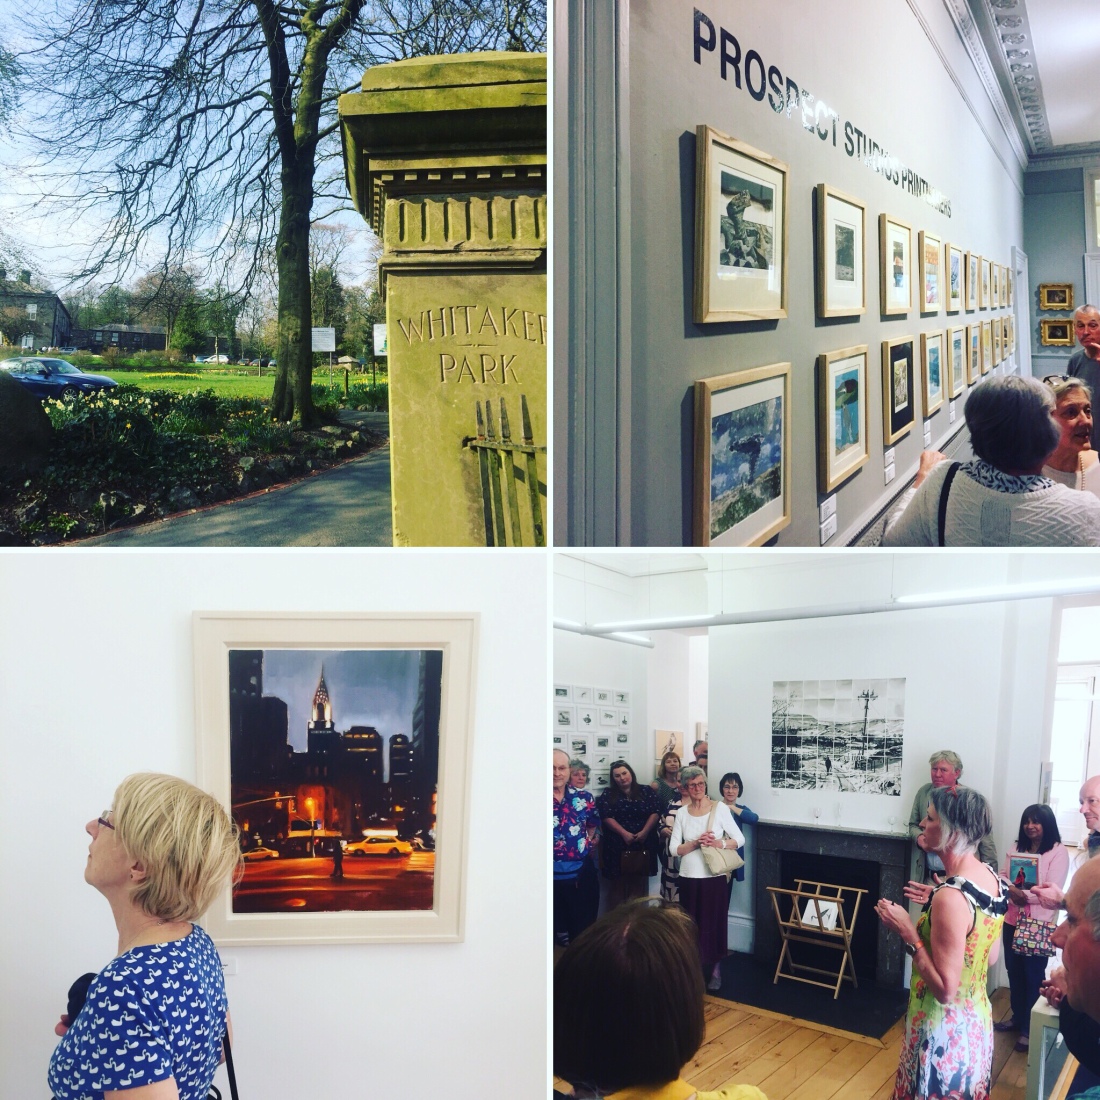
Attended the exhibition previews of Liam Spencer and Prospect Printmakers on Saturday 21st April at The Whitaker, Rawtenstall.
Some amazing work on show from Liam Spencer’s landscape paintings depicting Rossendale and the Whitaker archive and also Alan Birch’s Prospect Printmakers group which displayed 20 Pennine themed prints from the regulars to Alan’s printmaking workshops including my own collagraph print depicting drystone walls.
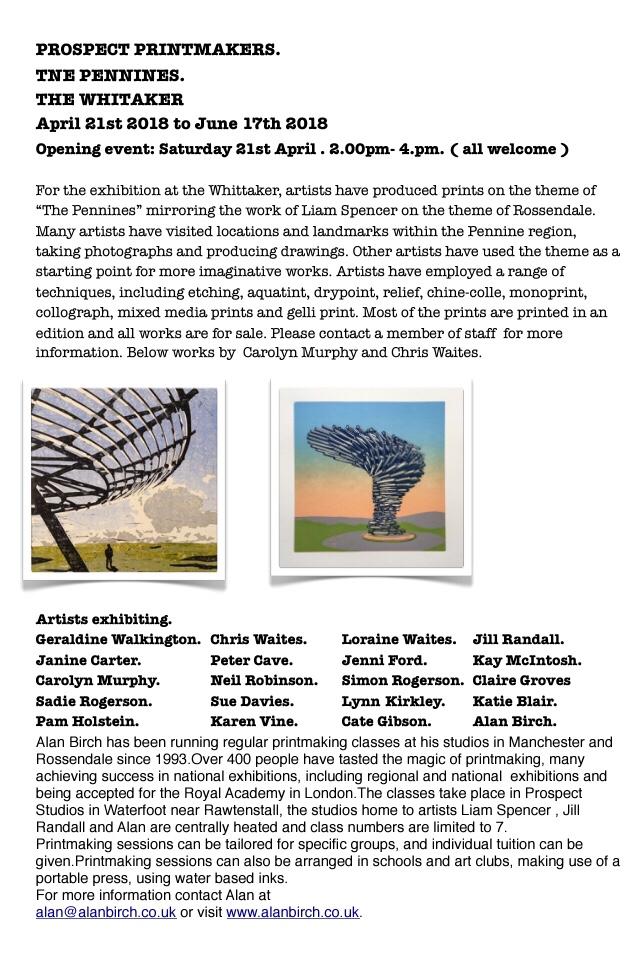
All prints are for sale. See poster in blog post for further details.
The Pennines exhibition at The Whitaker, Haslingden Road, Rossendale, Lancashire BB4 6RE.
Preview: Saturday 21st April at 2pm to 4pm. All welcome.
https://www.thewhitaker.org/whats-on/2018/4/21/prospect-printmakers-the-pennies


You must be logged in to post a comment.