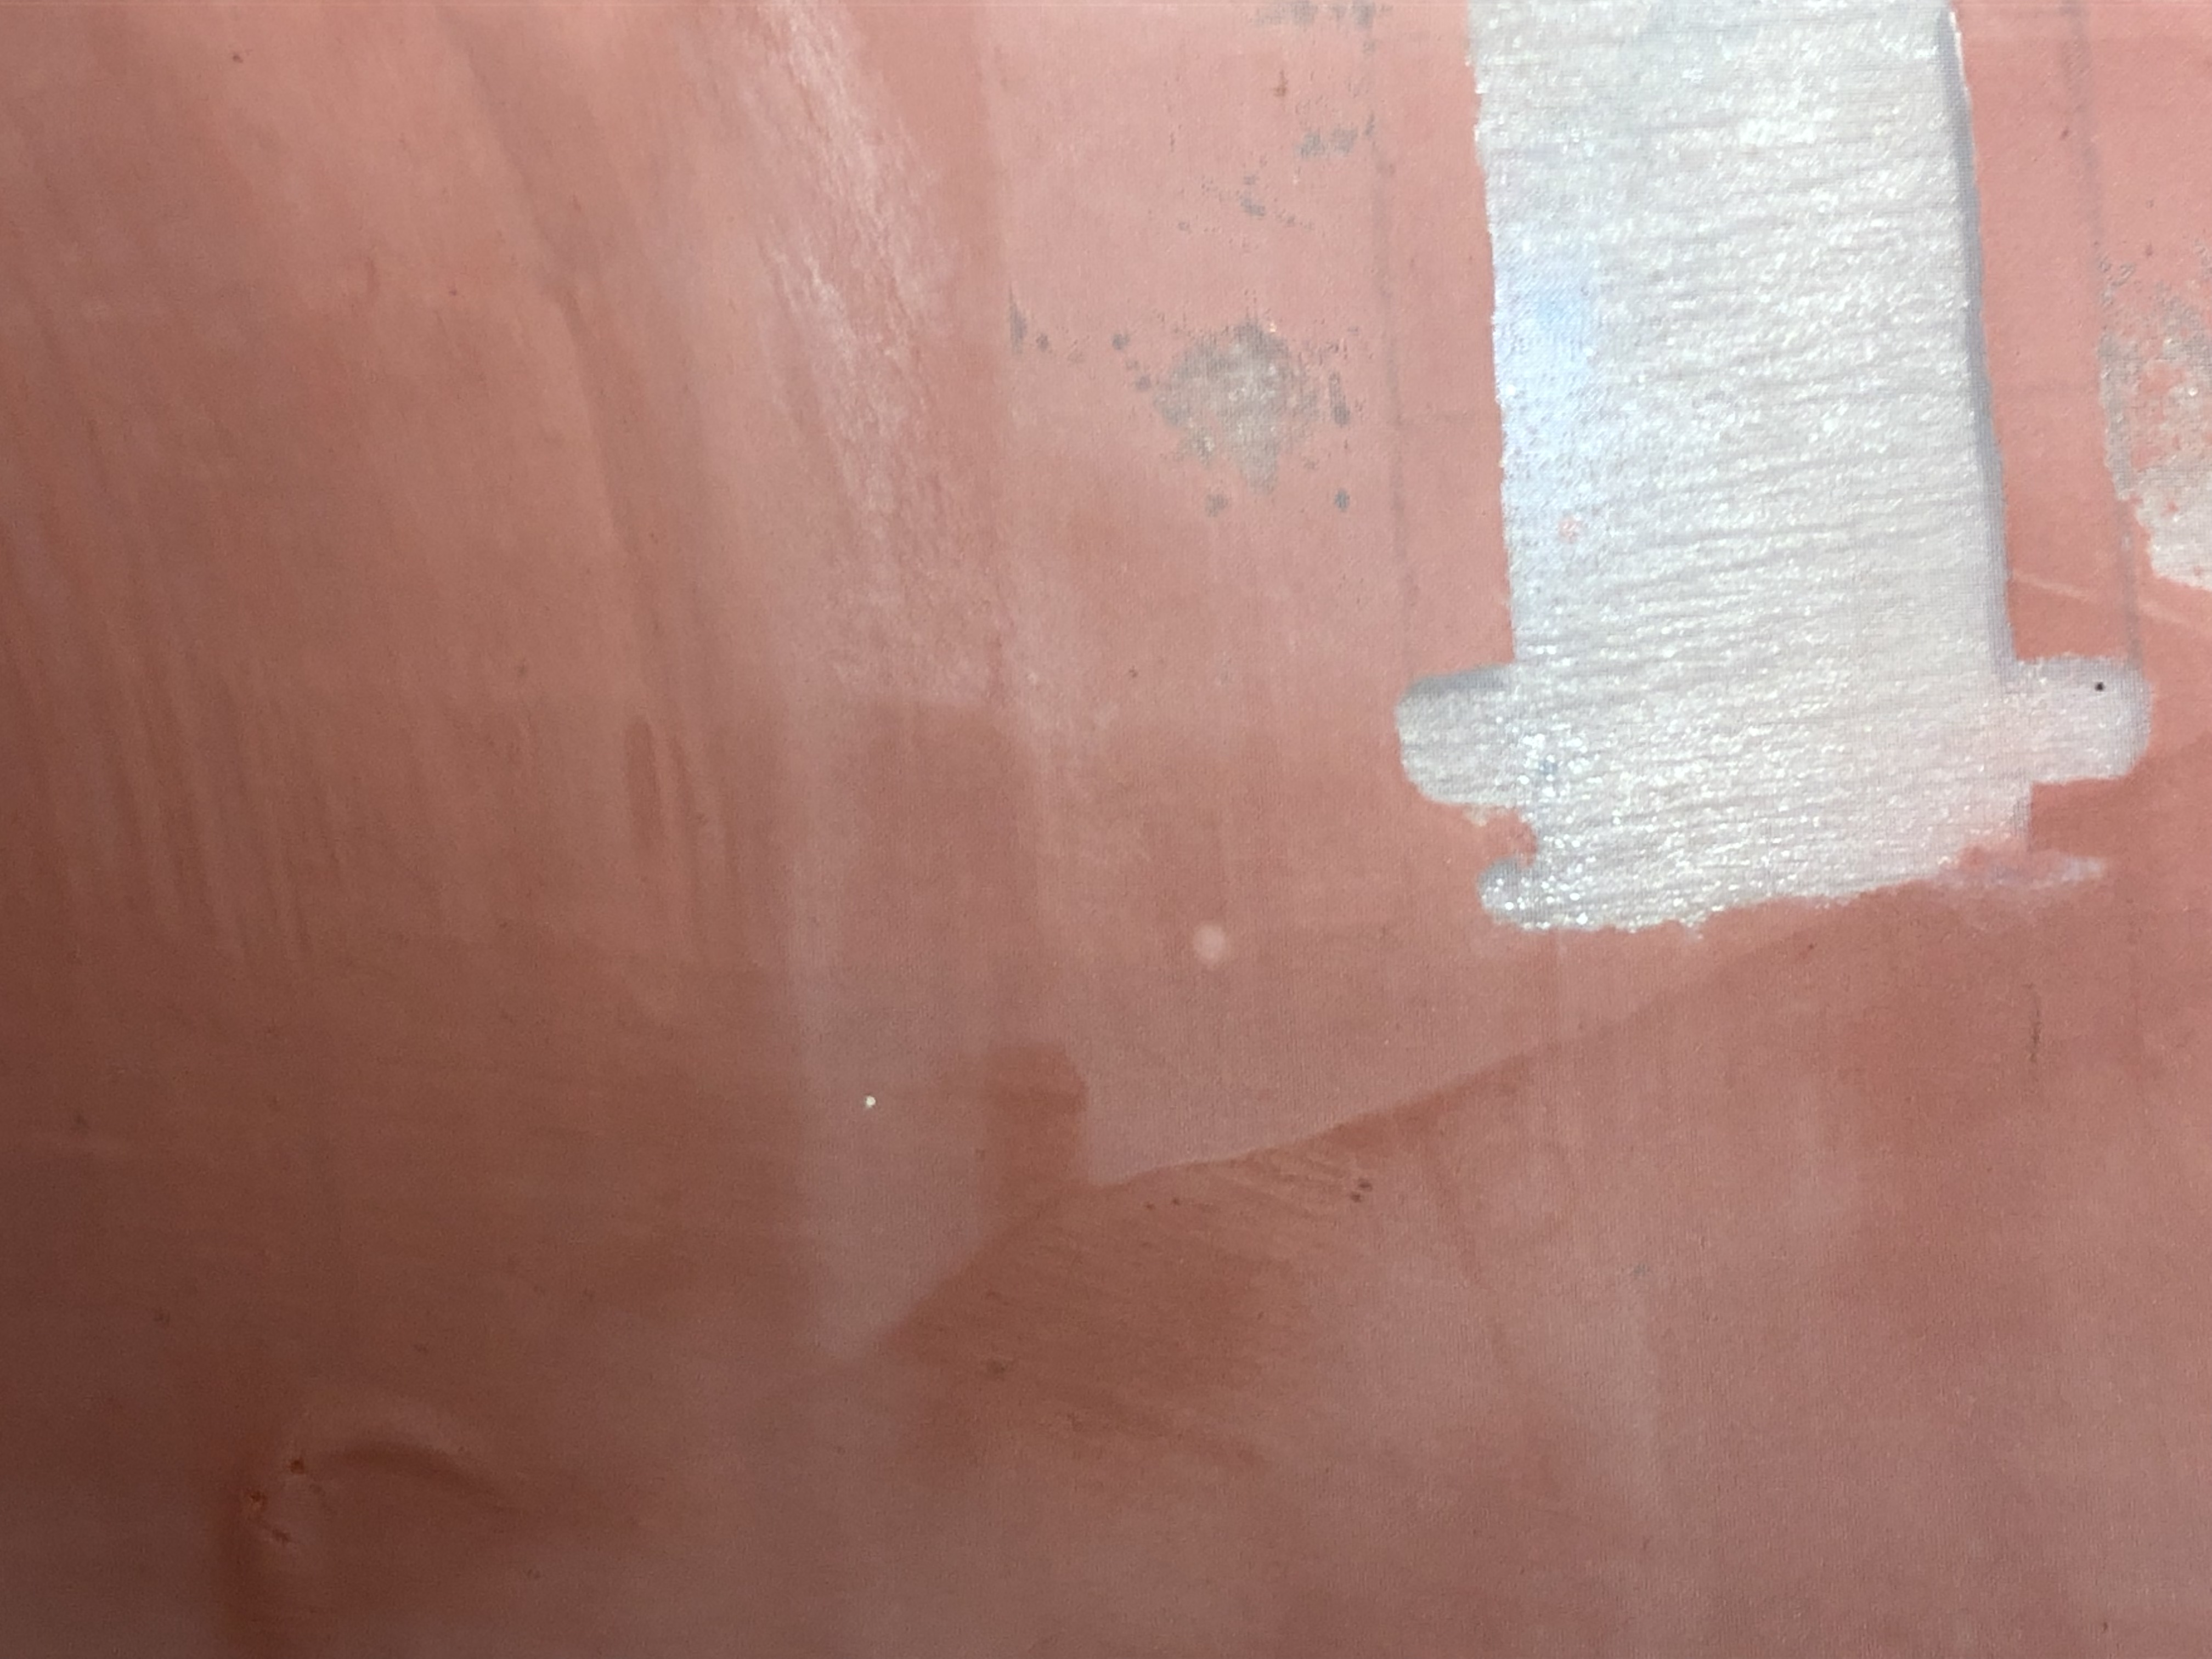
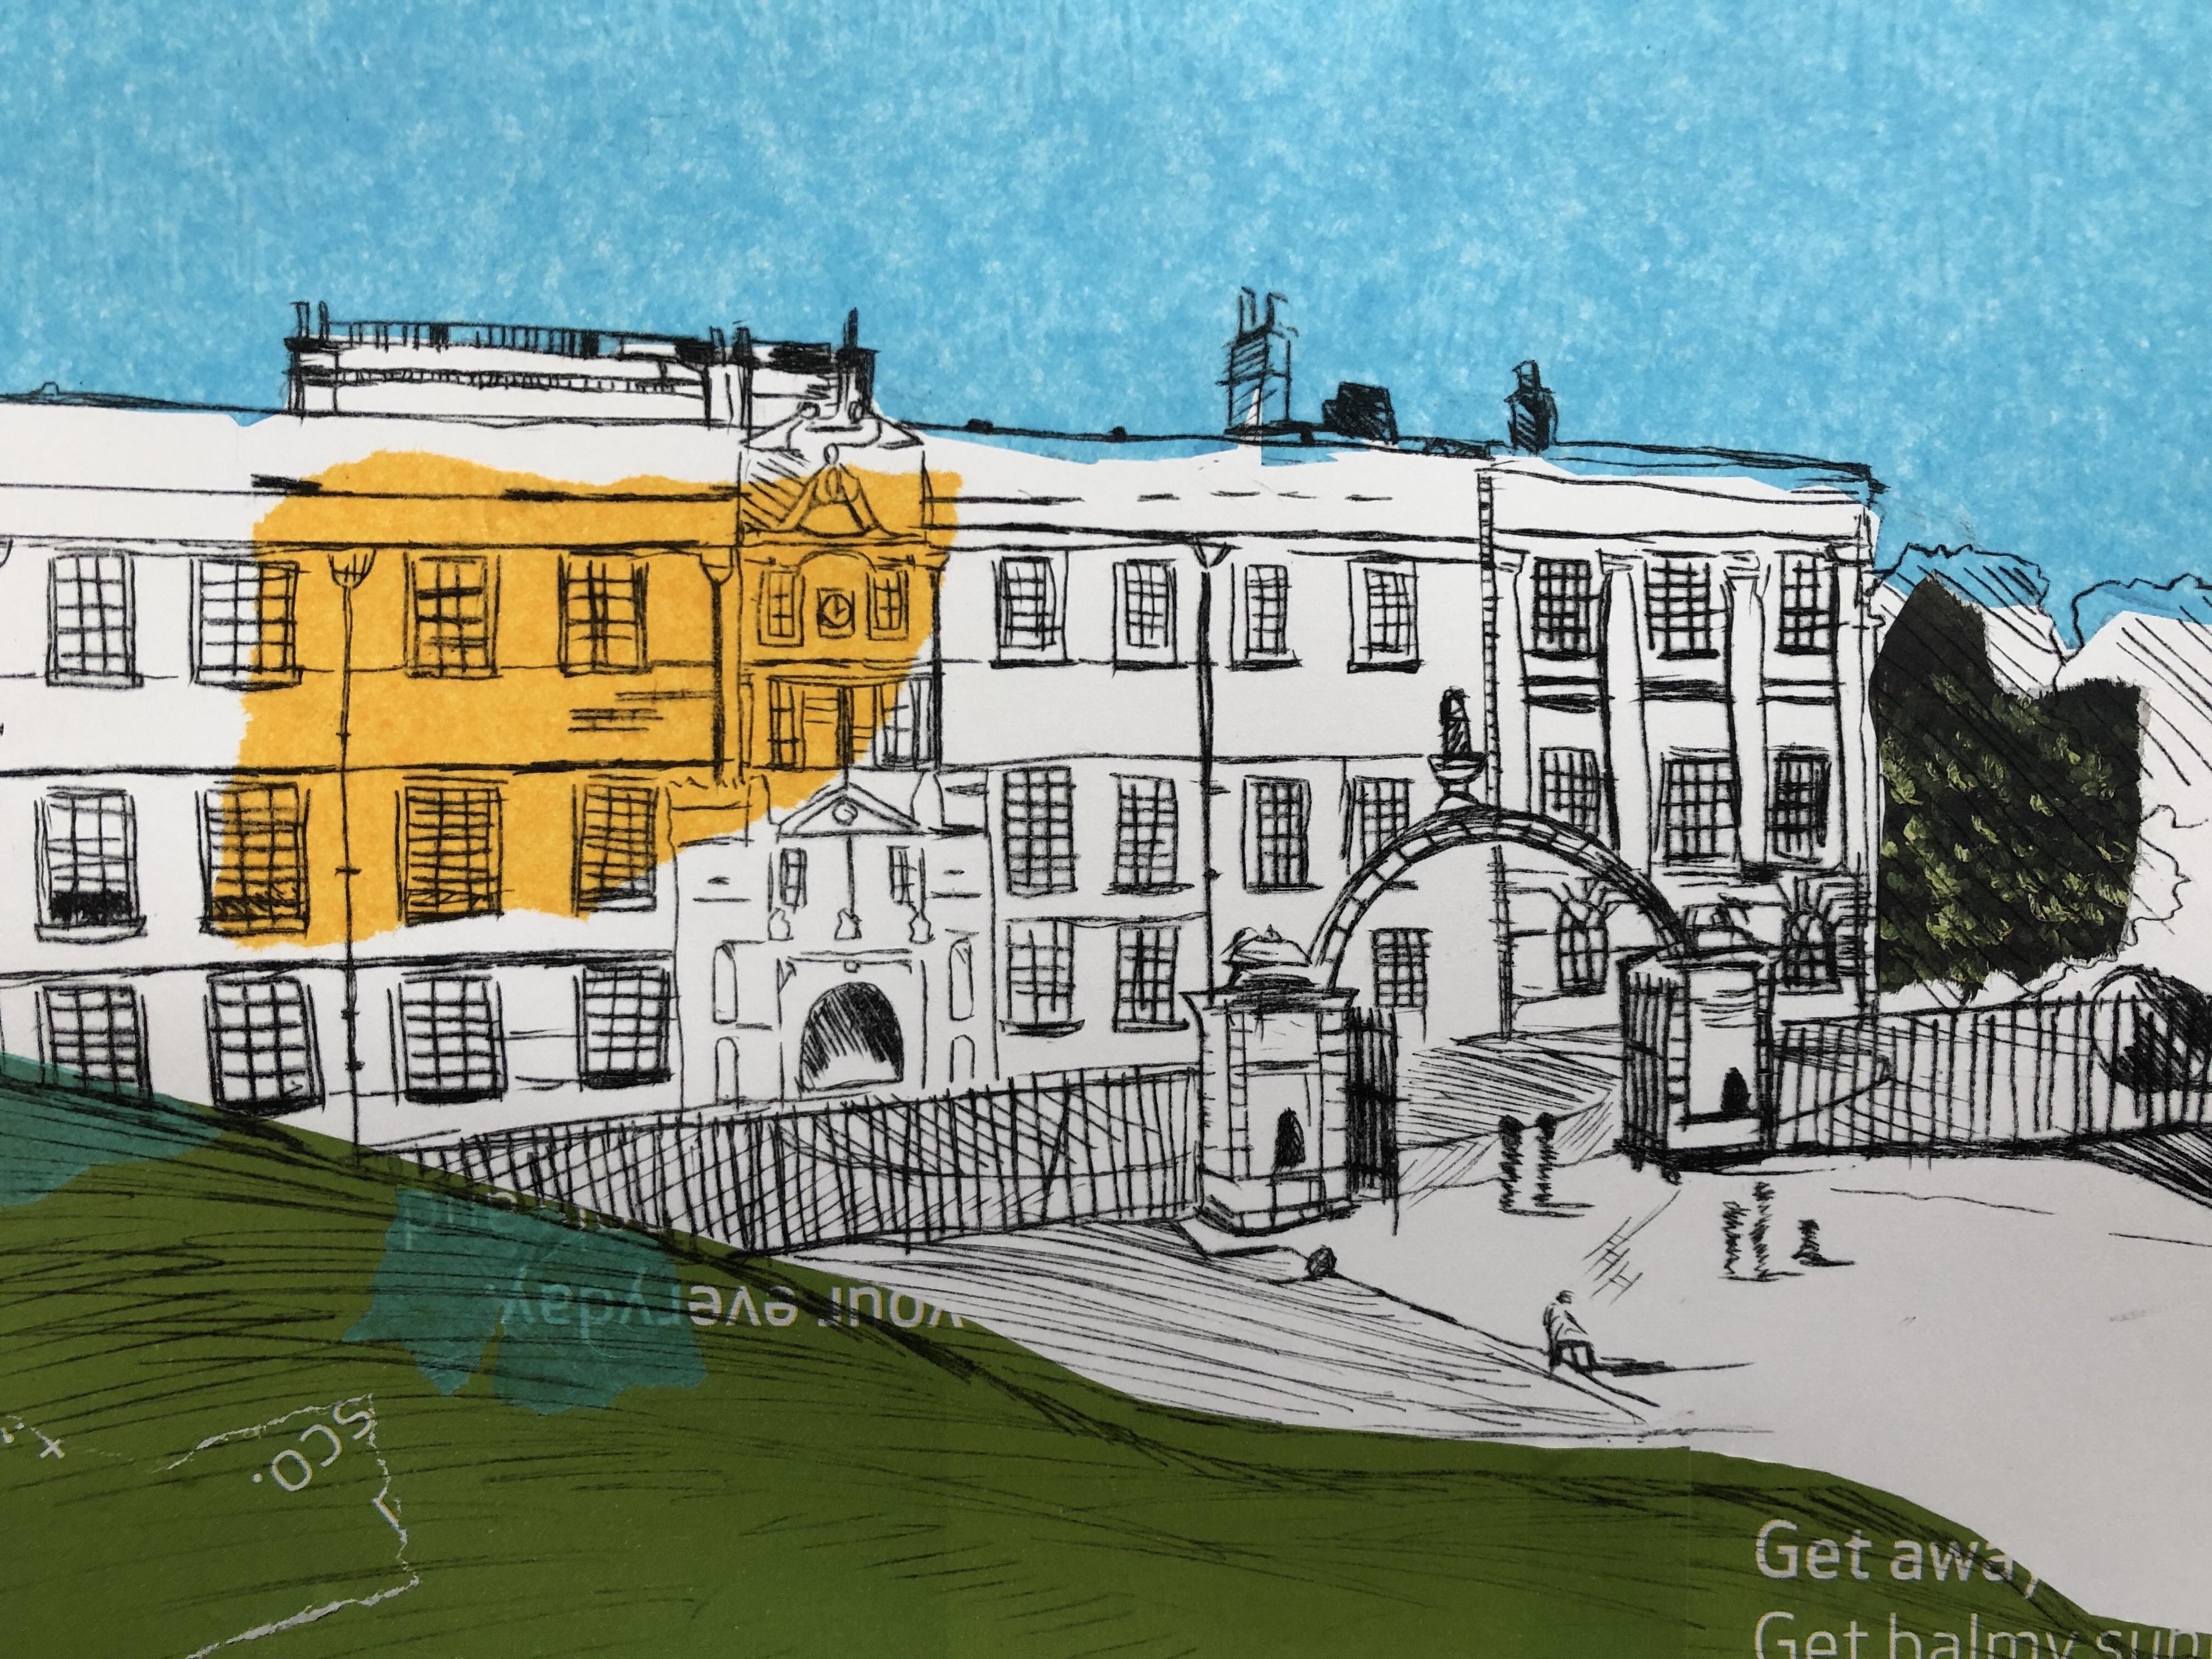
Here is the latest stage of my first attempt in producing a multilayered screen-print. I still have at least two colours to add to this print.
Title: “Blue fence, red door”
Size: 17 x 12″
Ink used: Acrylic paint added to screen-print medium

A blog about Stockport landmarks by artist/printmaker Neil Robinson which follows a printmaking project depicting the diverse architectural styles of my hometown both new and old.
Here is the latest stage of my first attempt in producing a multilayered screen-print. I still have at least two colours to add to this print.
Title: “Blue fence, red door”
Size: 17 x 12″
Ink used: Acrylic paint added to screen-print medium
Happy New 2019!
Just today, I have upgraded my wordpress site which can now be found at: www.stockportinprint.com
The site is now completely free of advertisements and has been updated with some of my latest work which can be found on the Gallery page.
Hope you like the updates. New content will be added over the coming months so please bookmark this site.
Thanks.
I want to share with you a few photographs of the d.i.y. jig I created recently to help me register and print my multicoloured screen-prints. I am using a Daler Rowney screen-printing kit which cost approximately £40.
The jig consists of a wooden ply board base with a baton of wood attached to it at one end. I have glued plastic corrugated spacers to the board which allows a 2mm space between the board and the screen.
The Daler Rowney screen is attached to the board with metal door hinges and screws. This allows the screen to be tilted at 45 degrees for charging the screen with ink.
The printmaker can align the paper using the registration markers that are attached to the board. The registration markers are basically stripes of masking tape.
I have found the jig to be of great help when printing a block of colour. I use drawing ink and pink masking fluid to apply a mask to the screen. I have also found using parcel tape is another quick and easy way to mask a simple area on the screen. The only disadvantage of this is that the ink can bleed through if the tape is not fixed to the screen properly. Afterwards, I use a high pressure water spray, old toothbrush and bicarbonate of soda to remove the masking fluid once printing has finished.
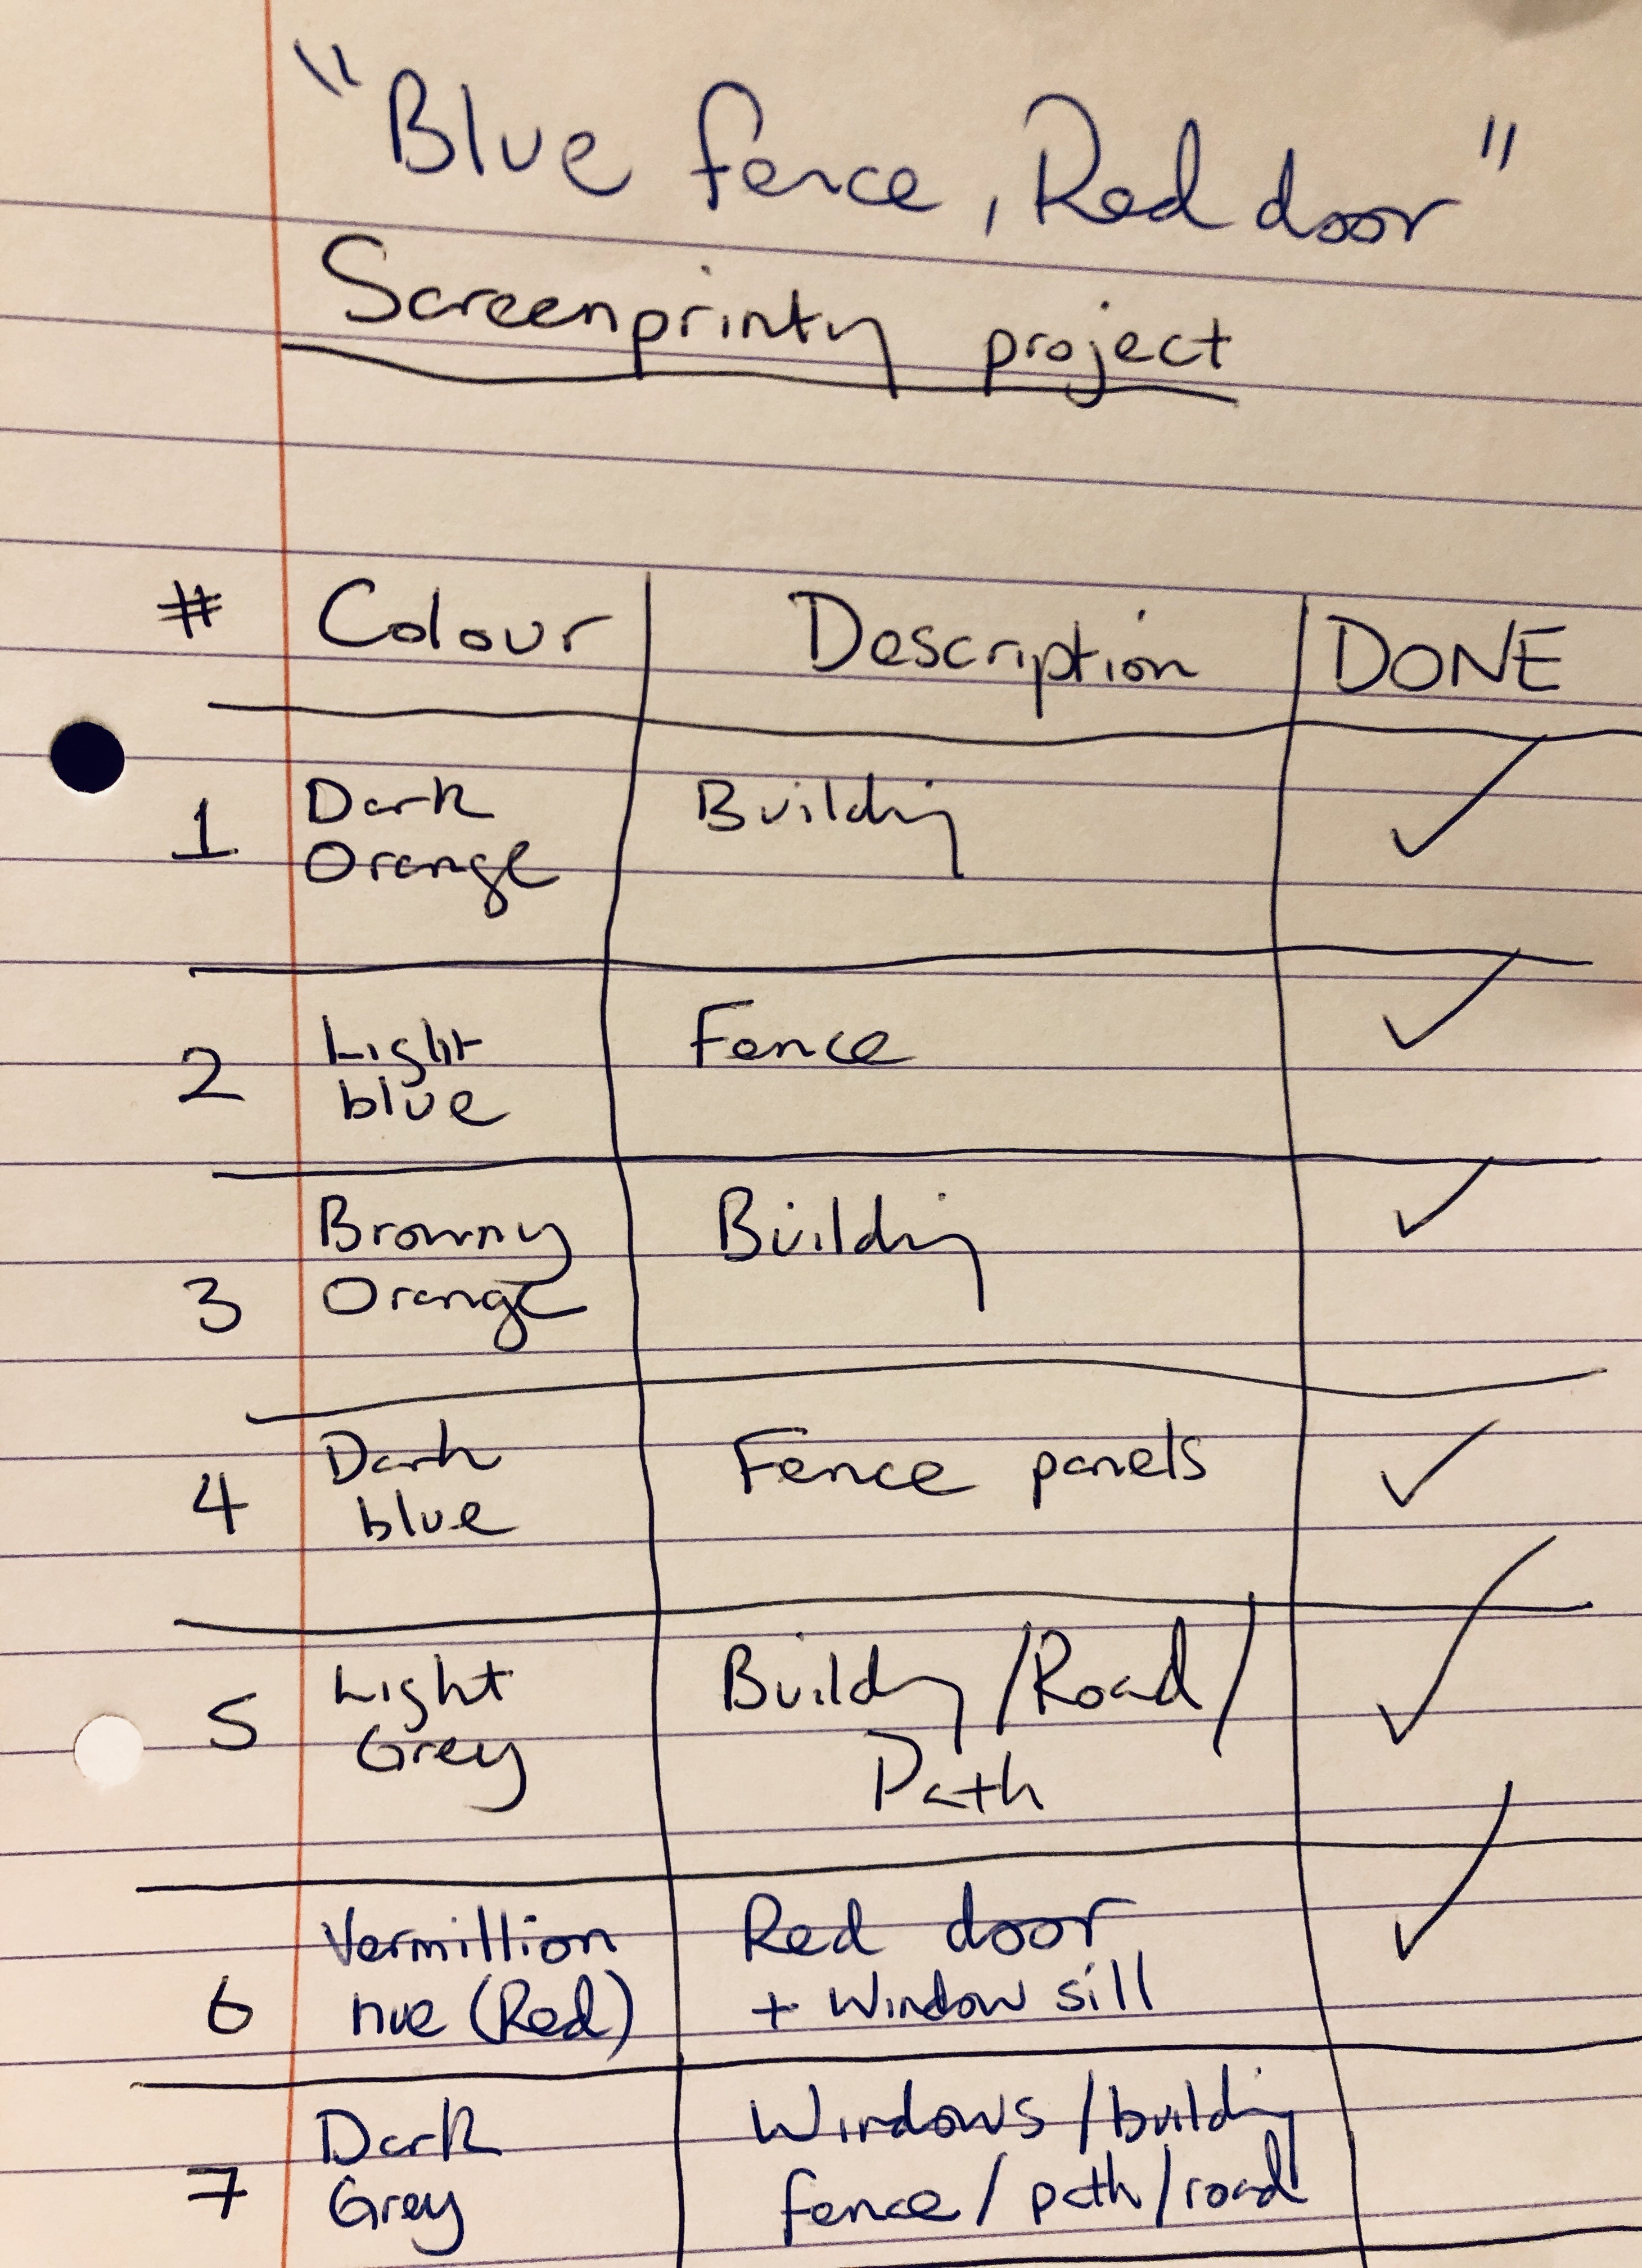
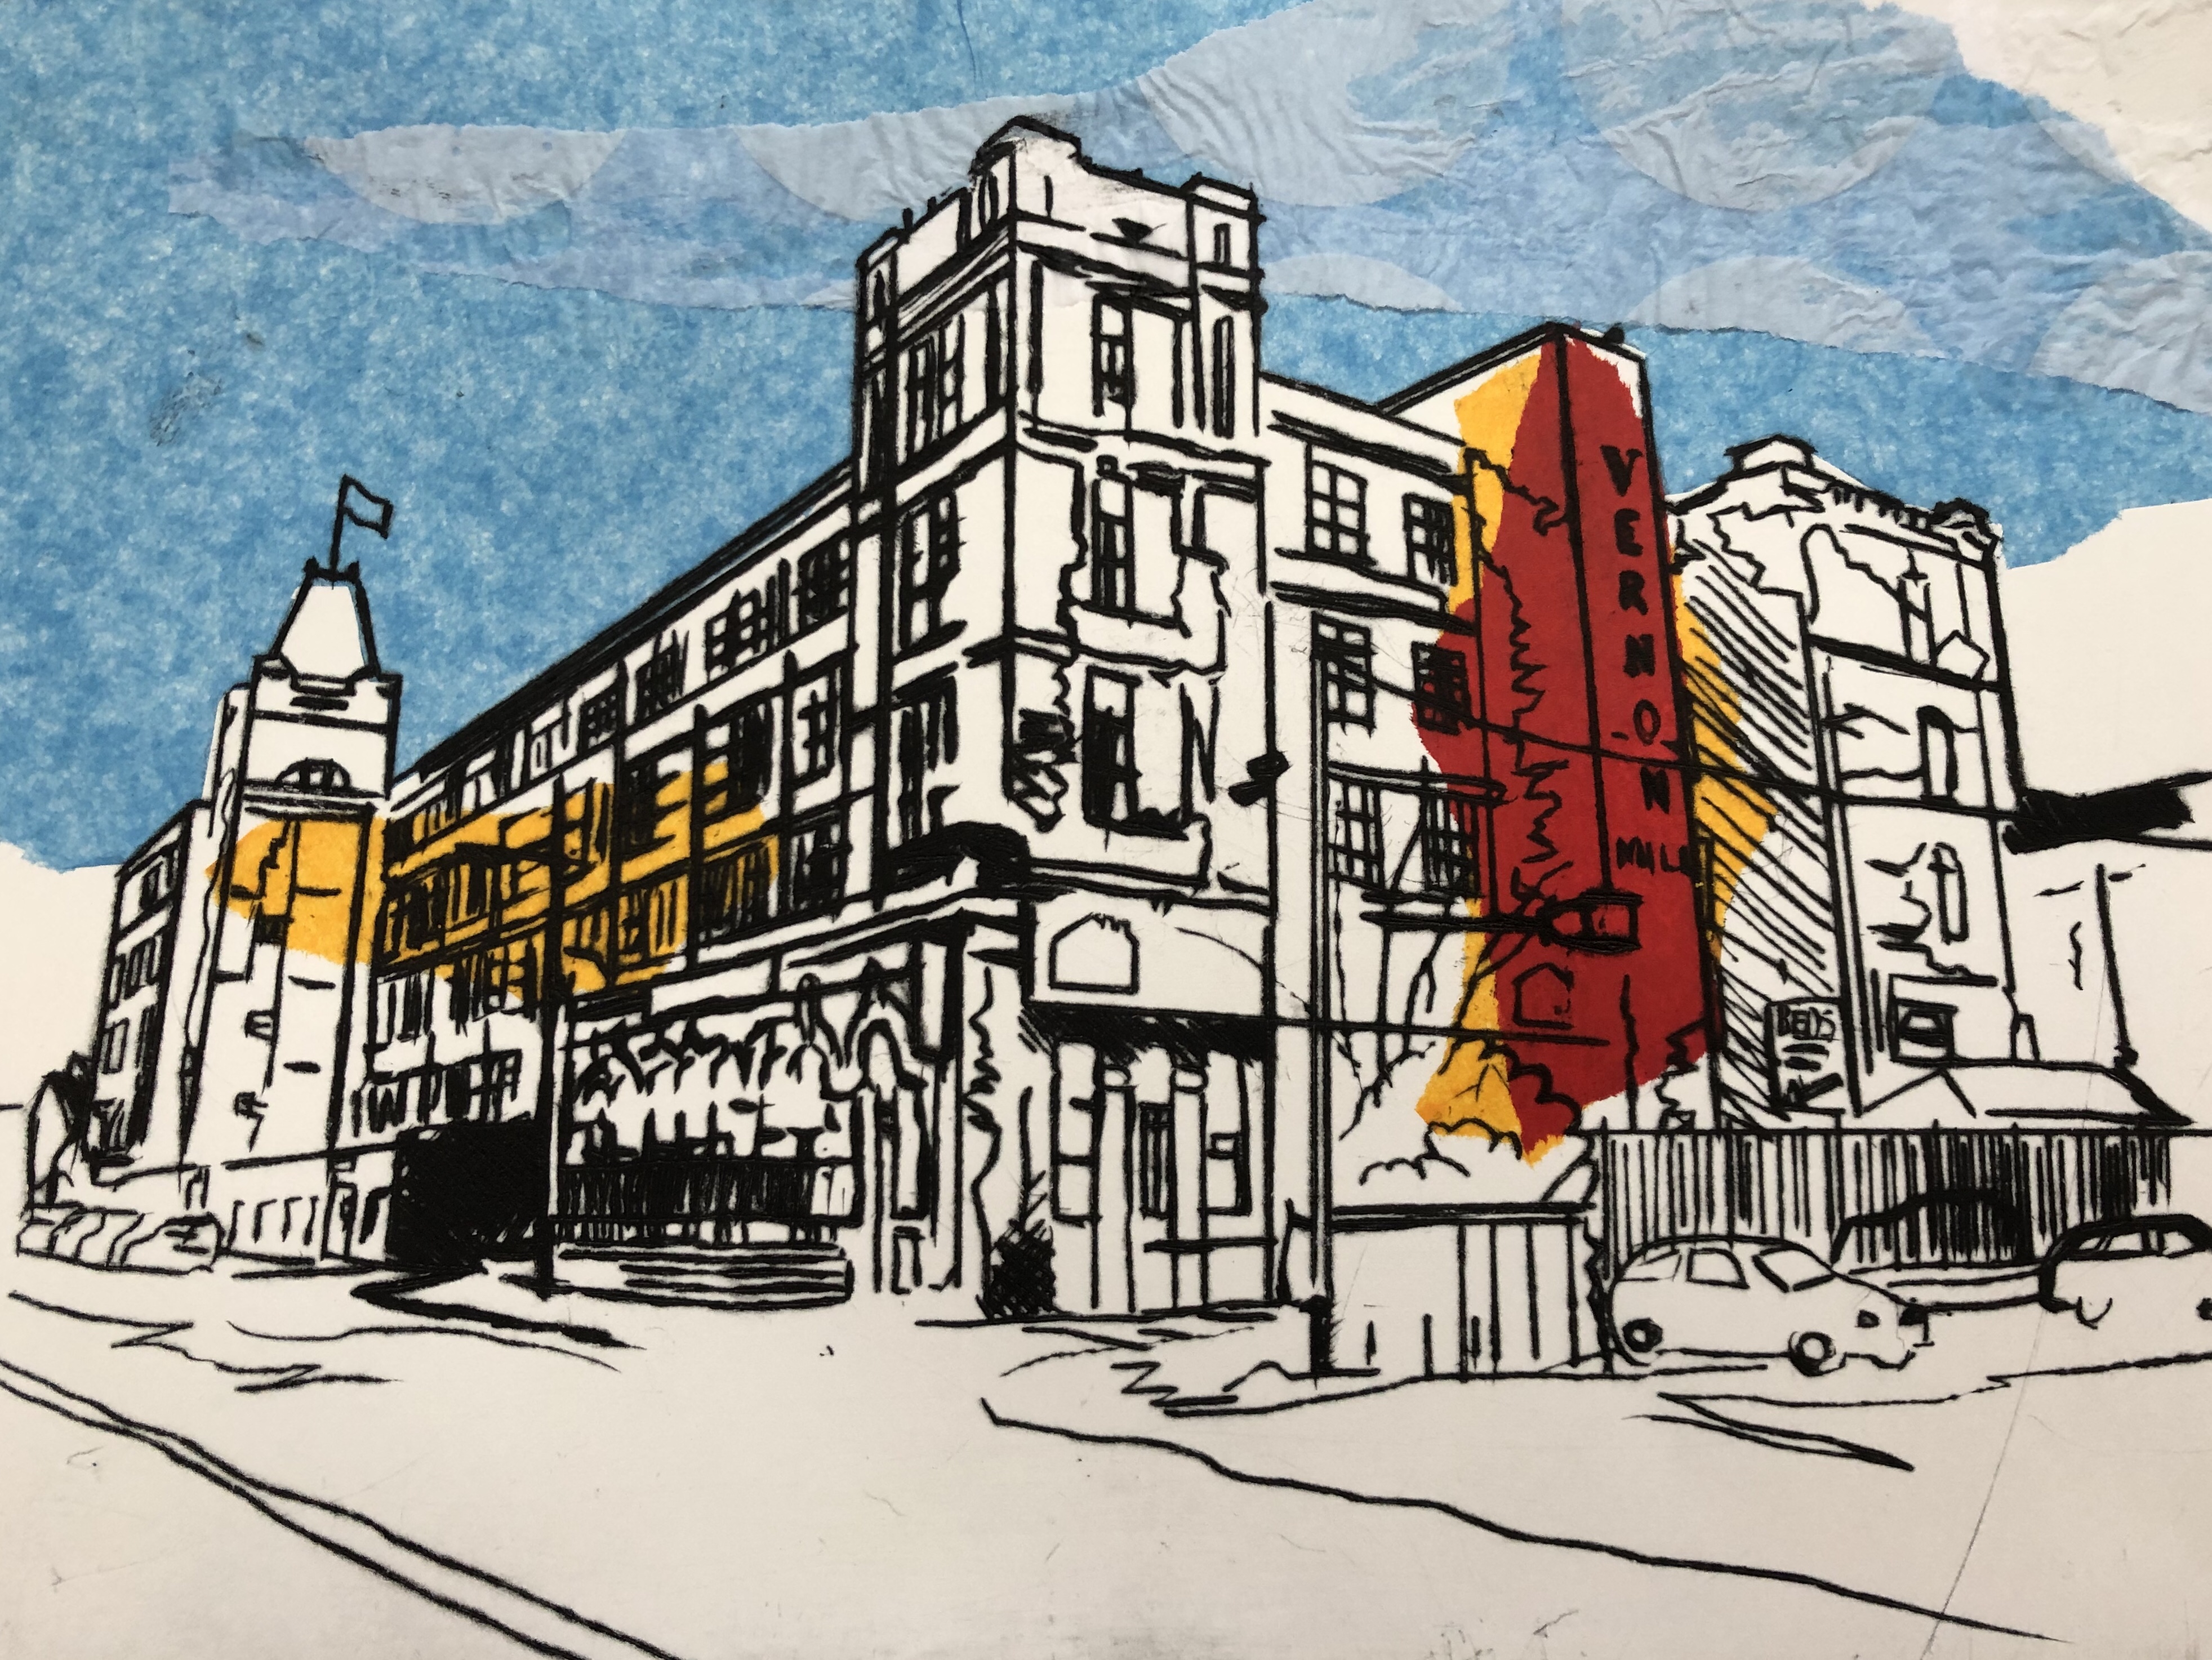
Overall the results have been good and I feel I am getting more experienced with this type of printmaking. I have created a list of colours to print. So far I am up to Vermillion (colour number 6), which is for the red door. I had to add a bit of white to the Vermillion Red so it would stand out on the print from the other colour previously printed.
I will post my final print on the blog soon.

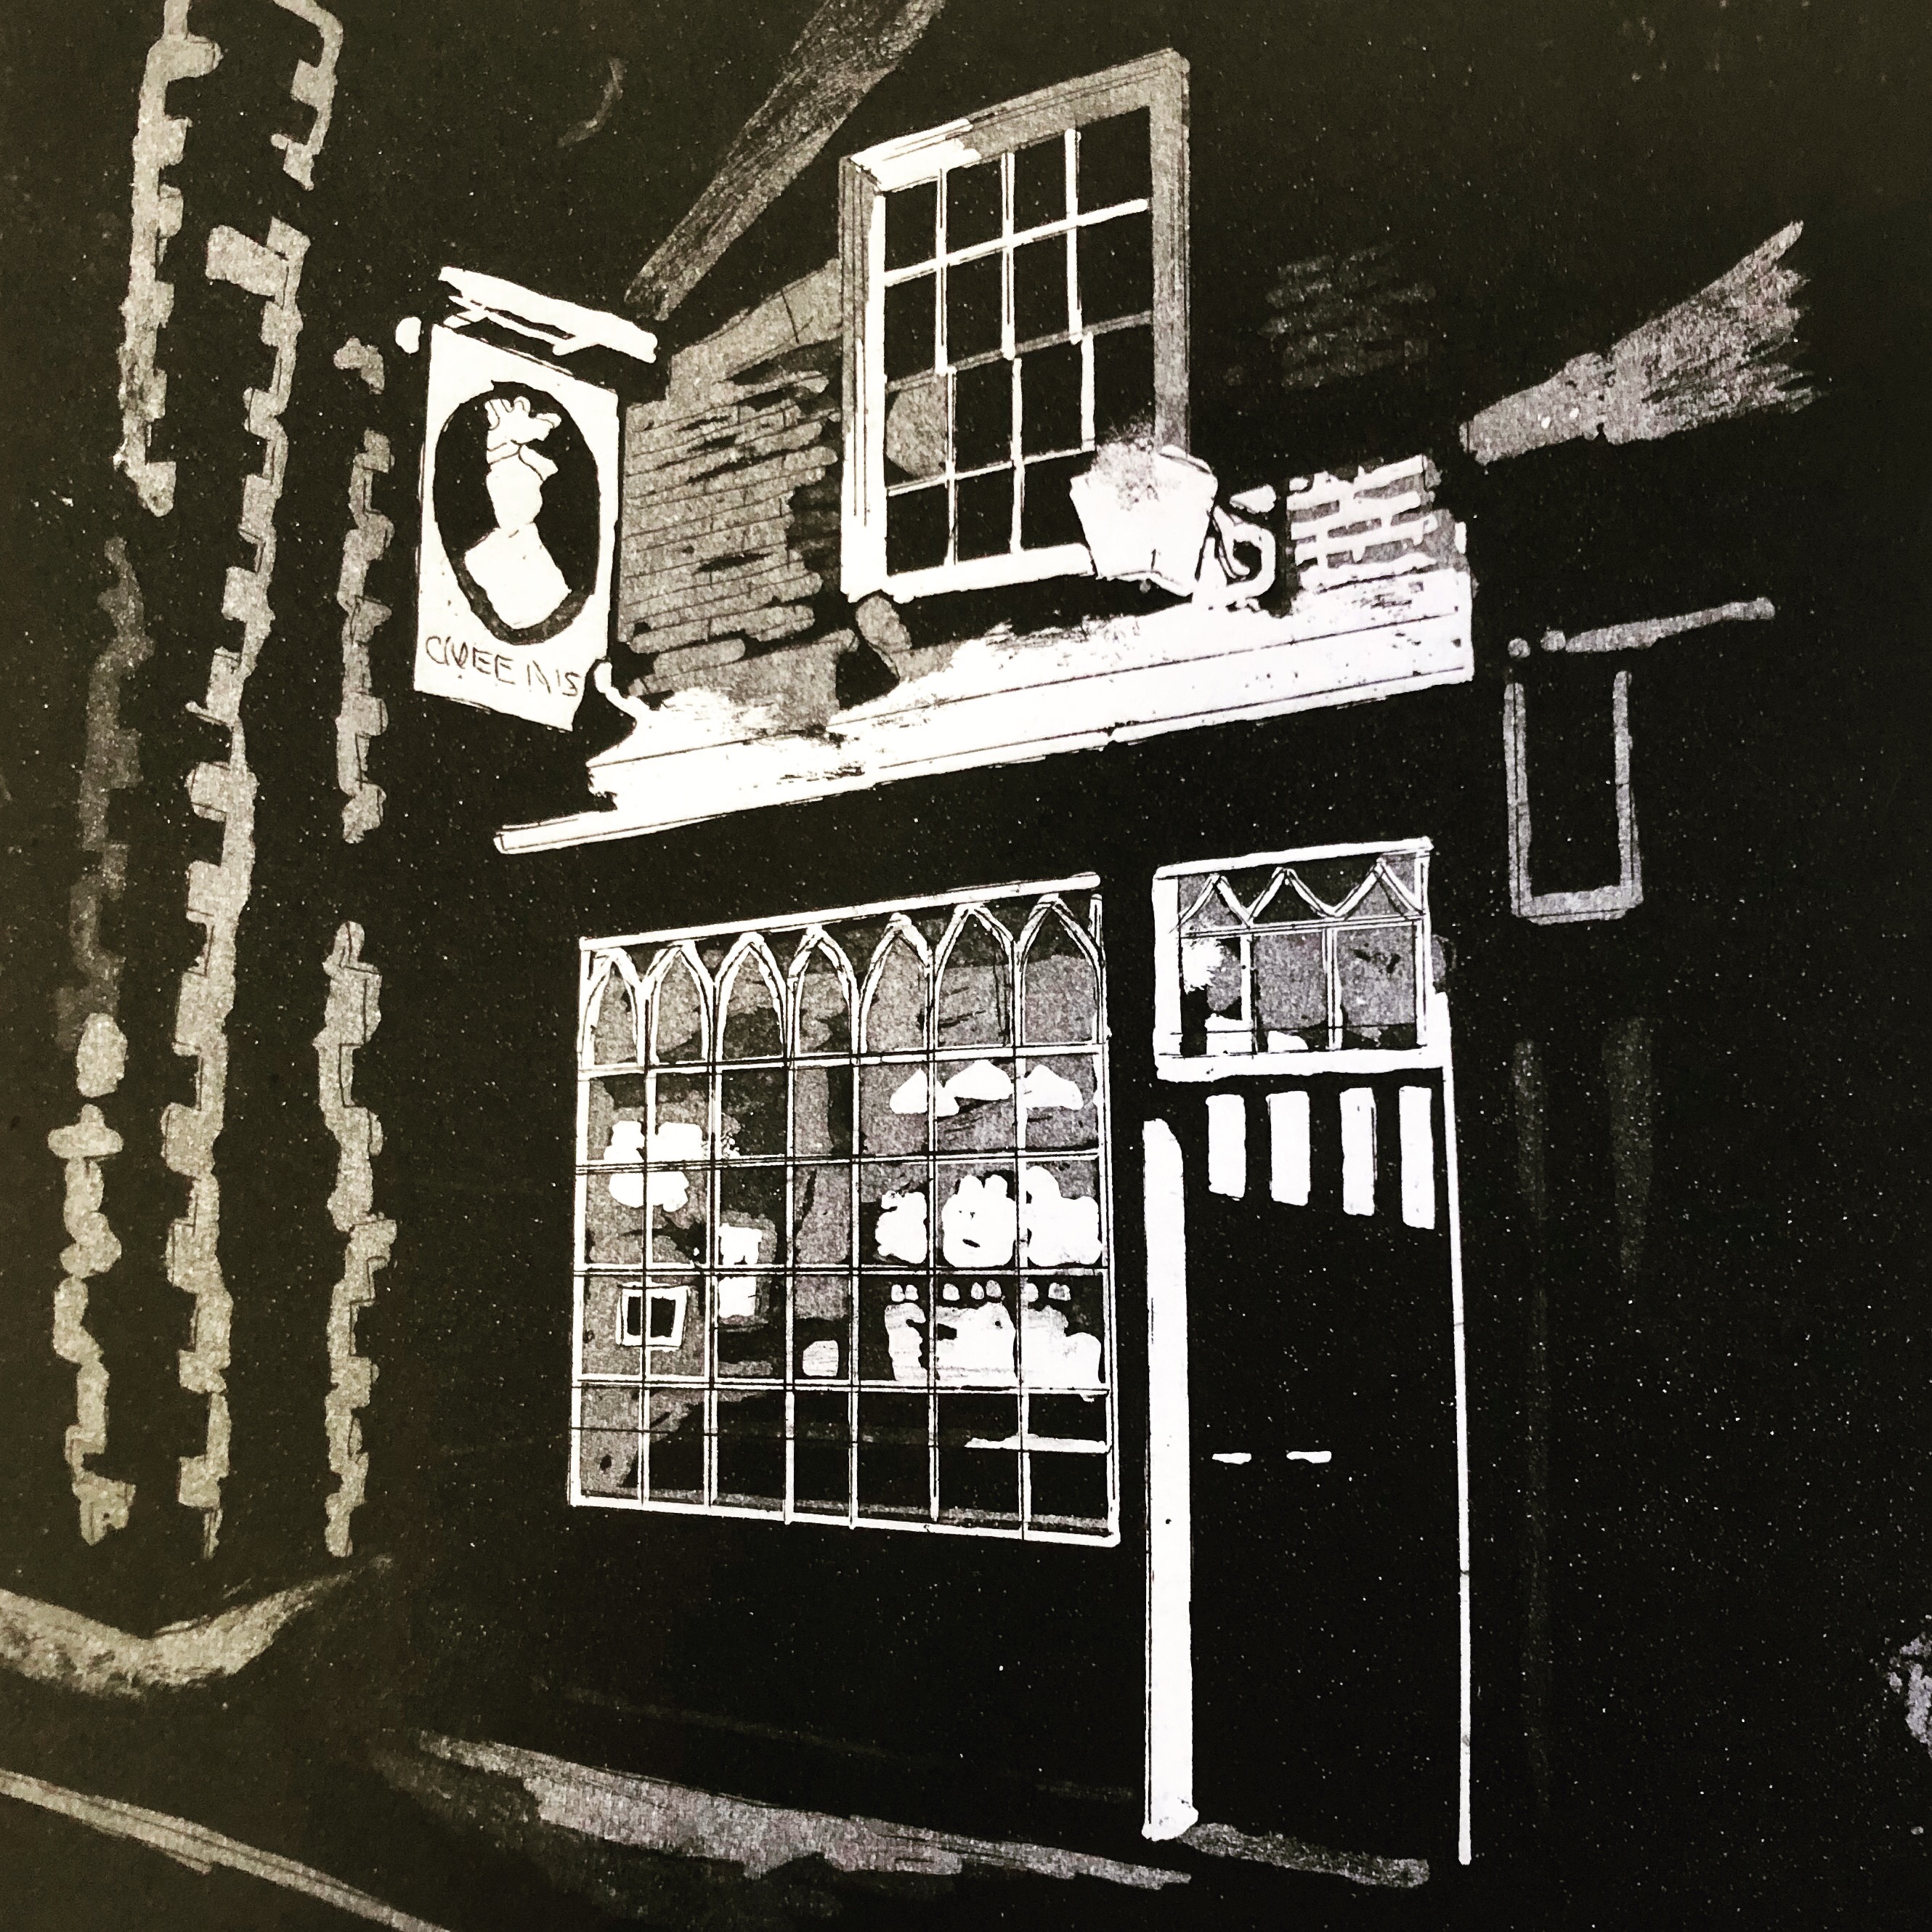
Here is my latest print for the project which depicts the Queens Head pub in Stockport on Great Underbank.
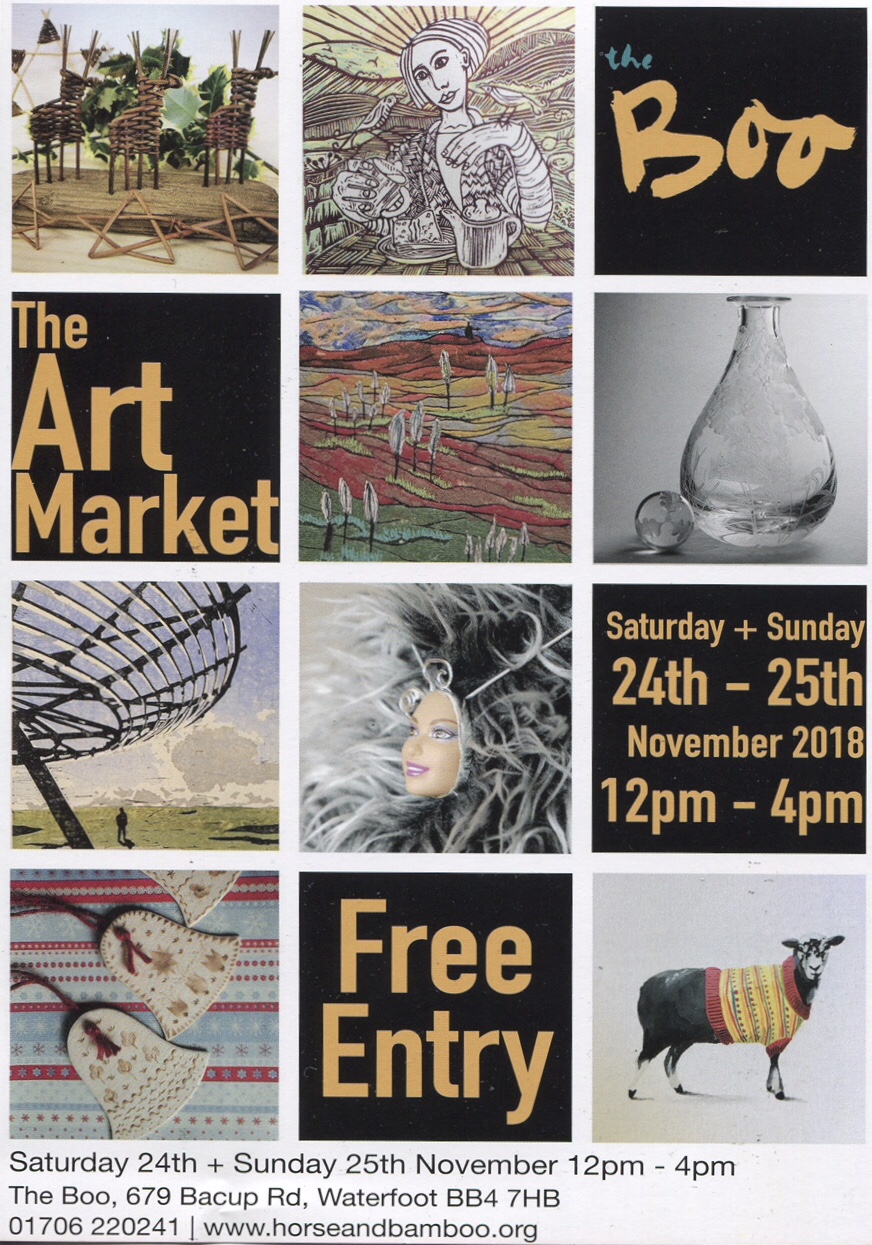
Here are two art events which I have work in as part of the Prospect Studio collective. The first is The Art Market at the Boo Puppet Theatre in Waterfoot, Rossendale, Lancashire from 24-25 Nov 2018.
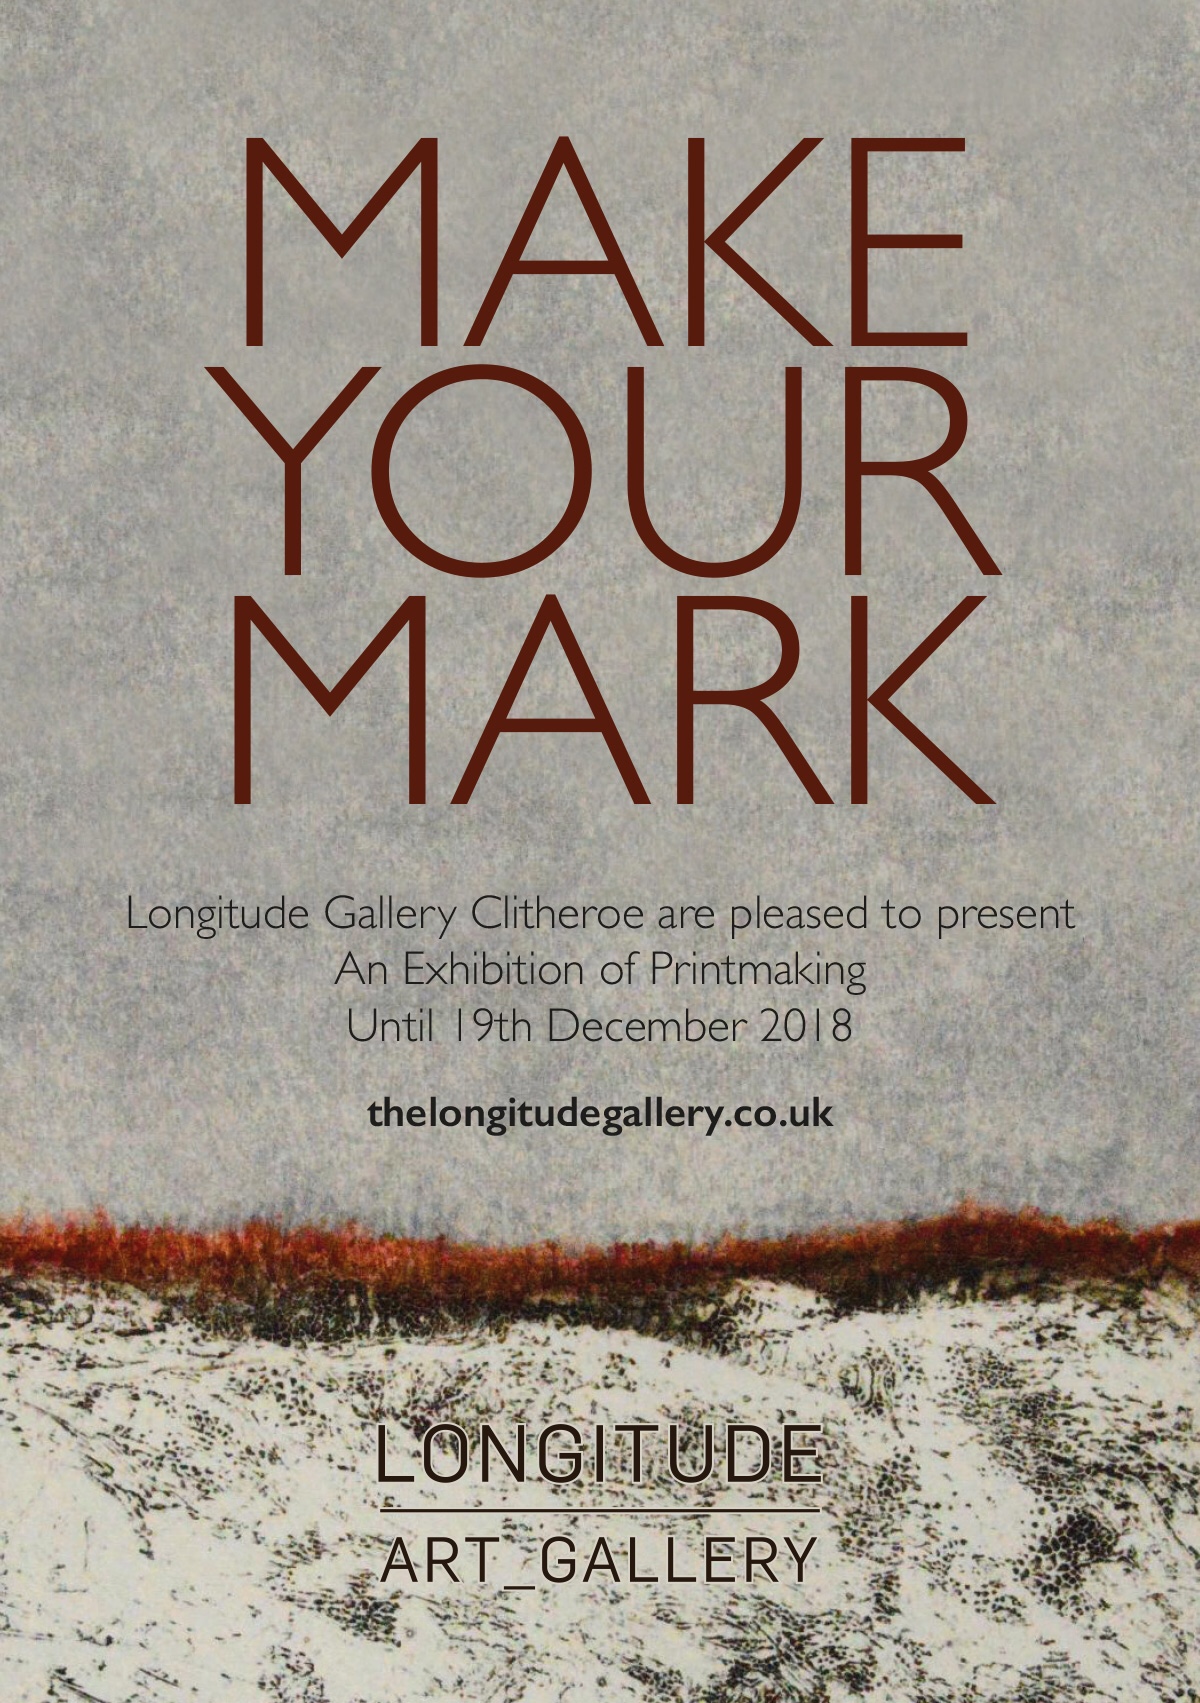
The second is “The Pennines” exhibition at the Longitude Gallery, Clitheroe Lancashire which is on until 19 December 2018. Why not come along and buy yourself some original artwork at reasonable prices.

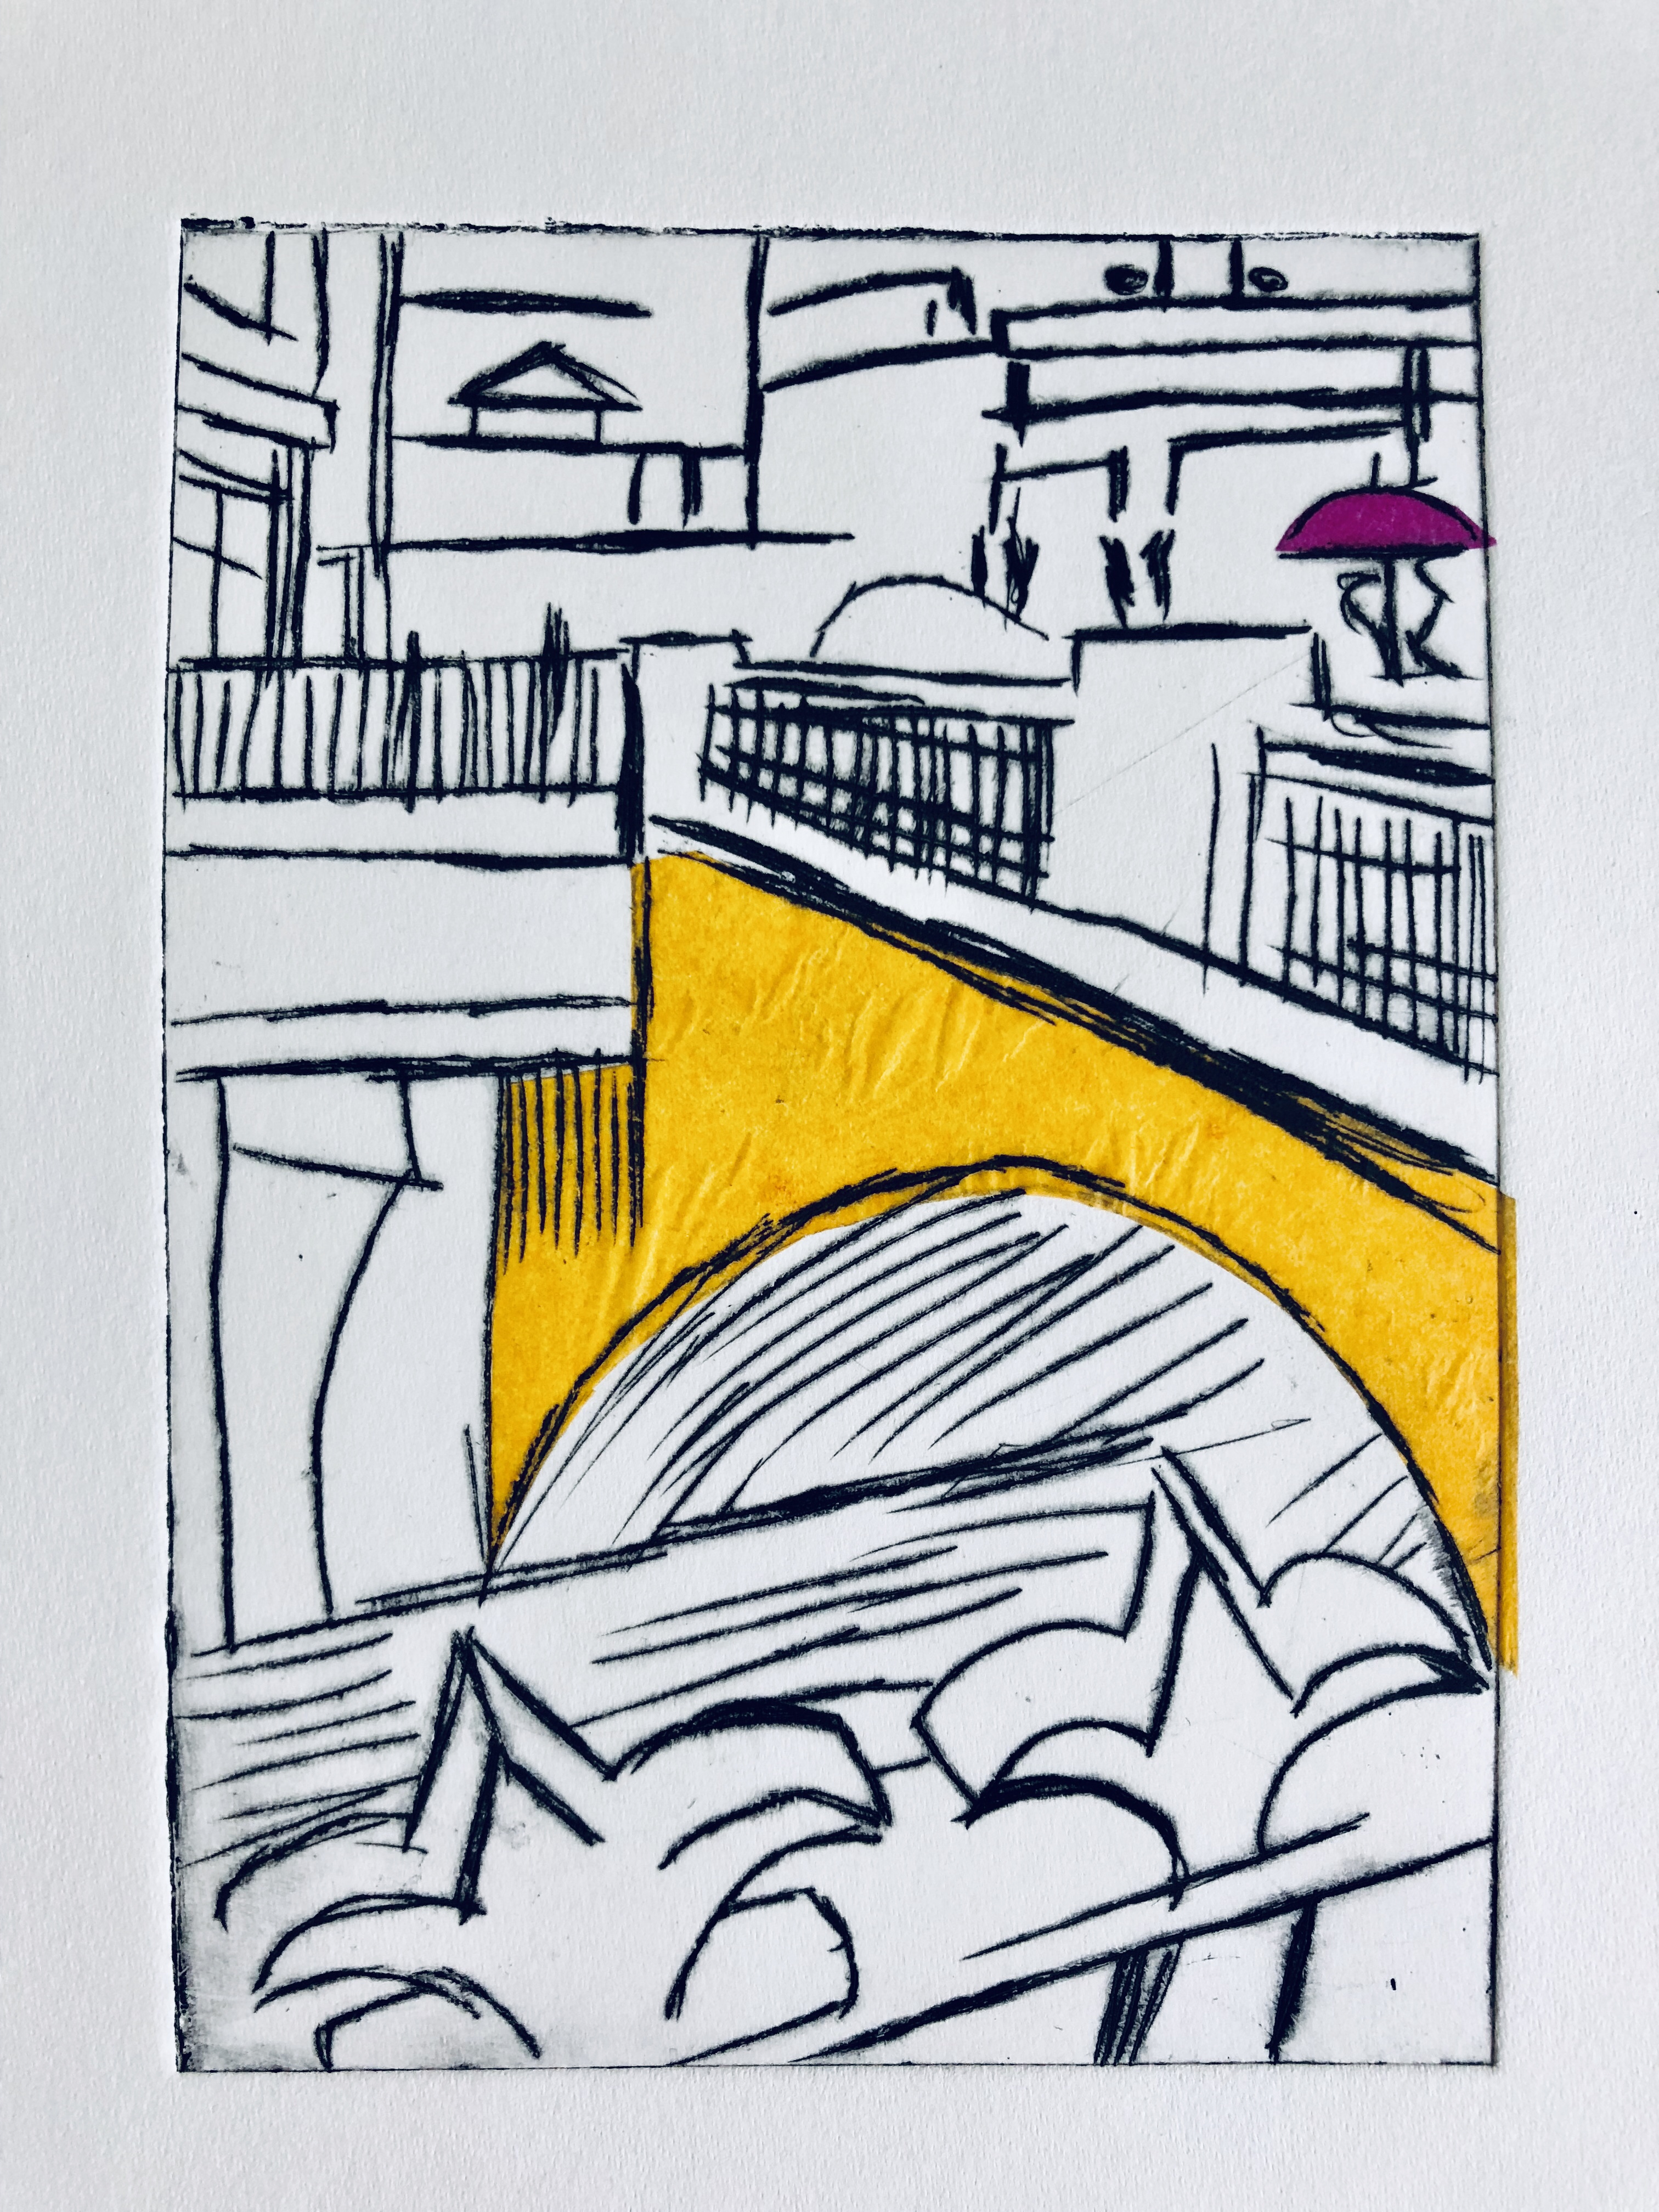
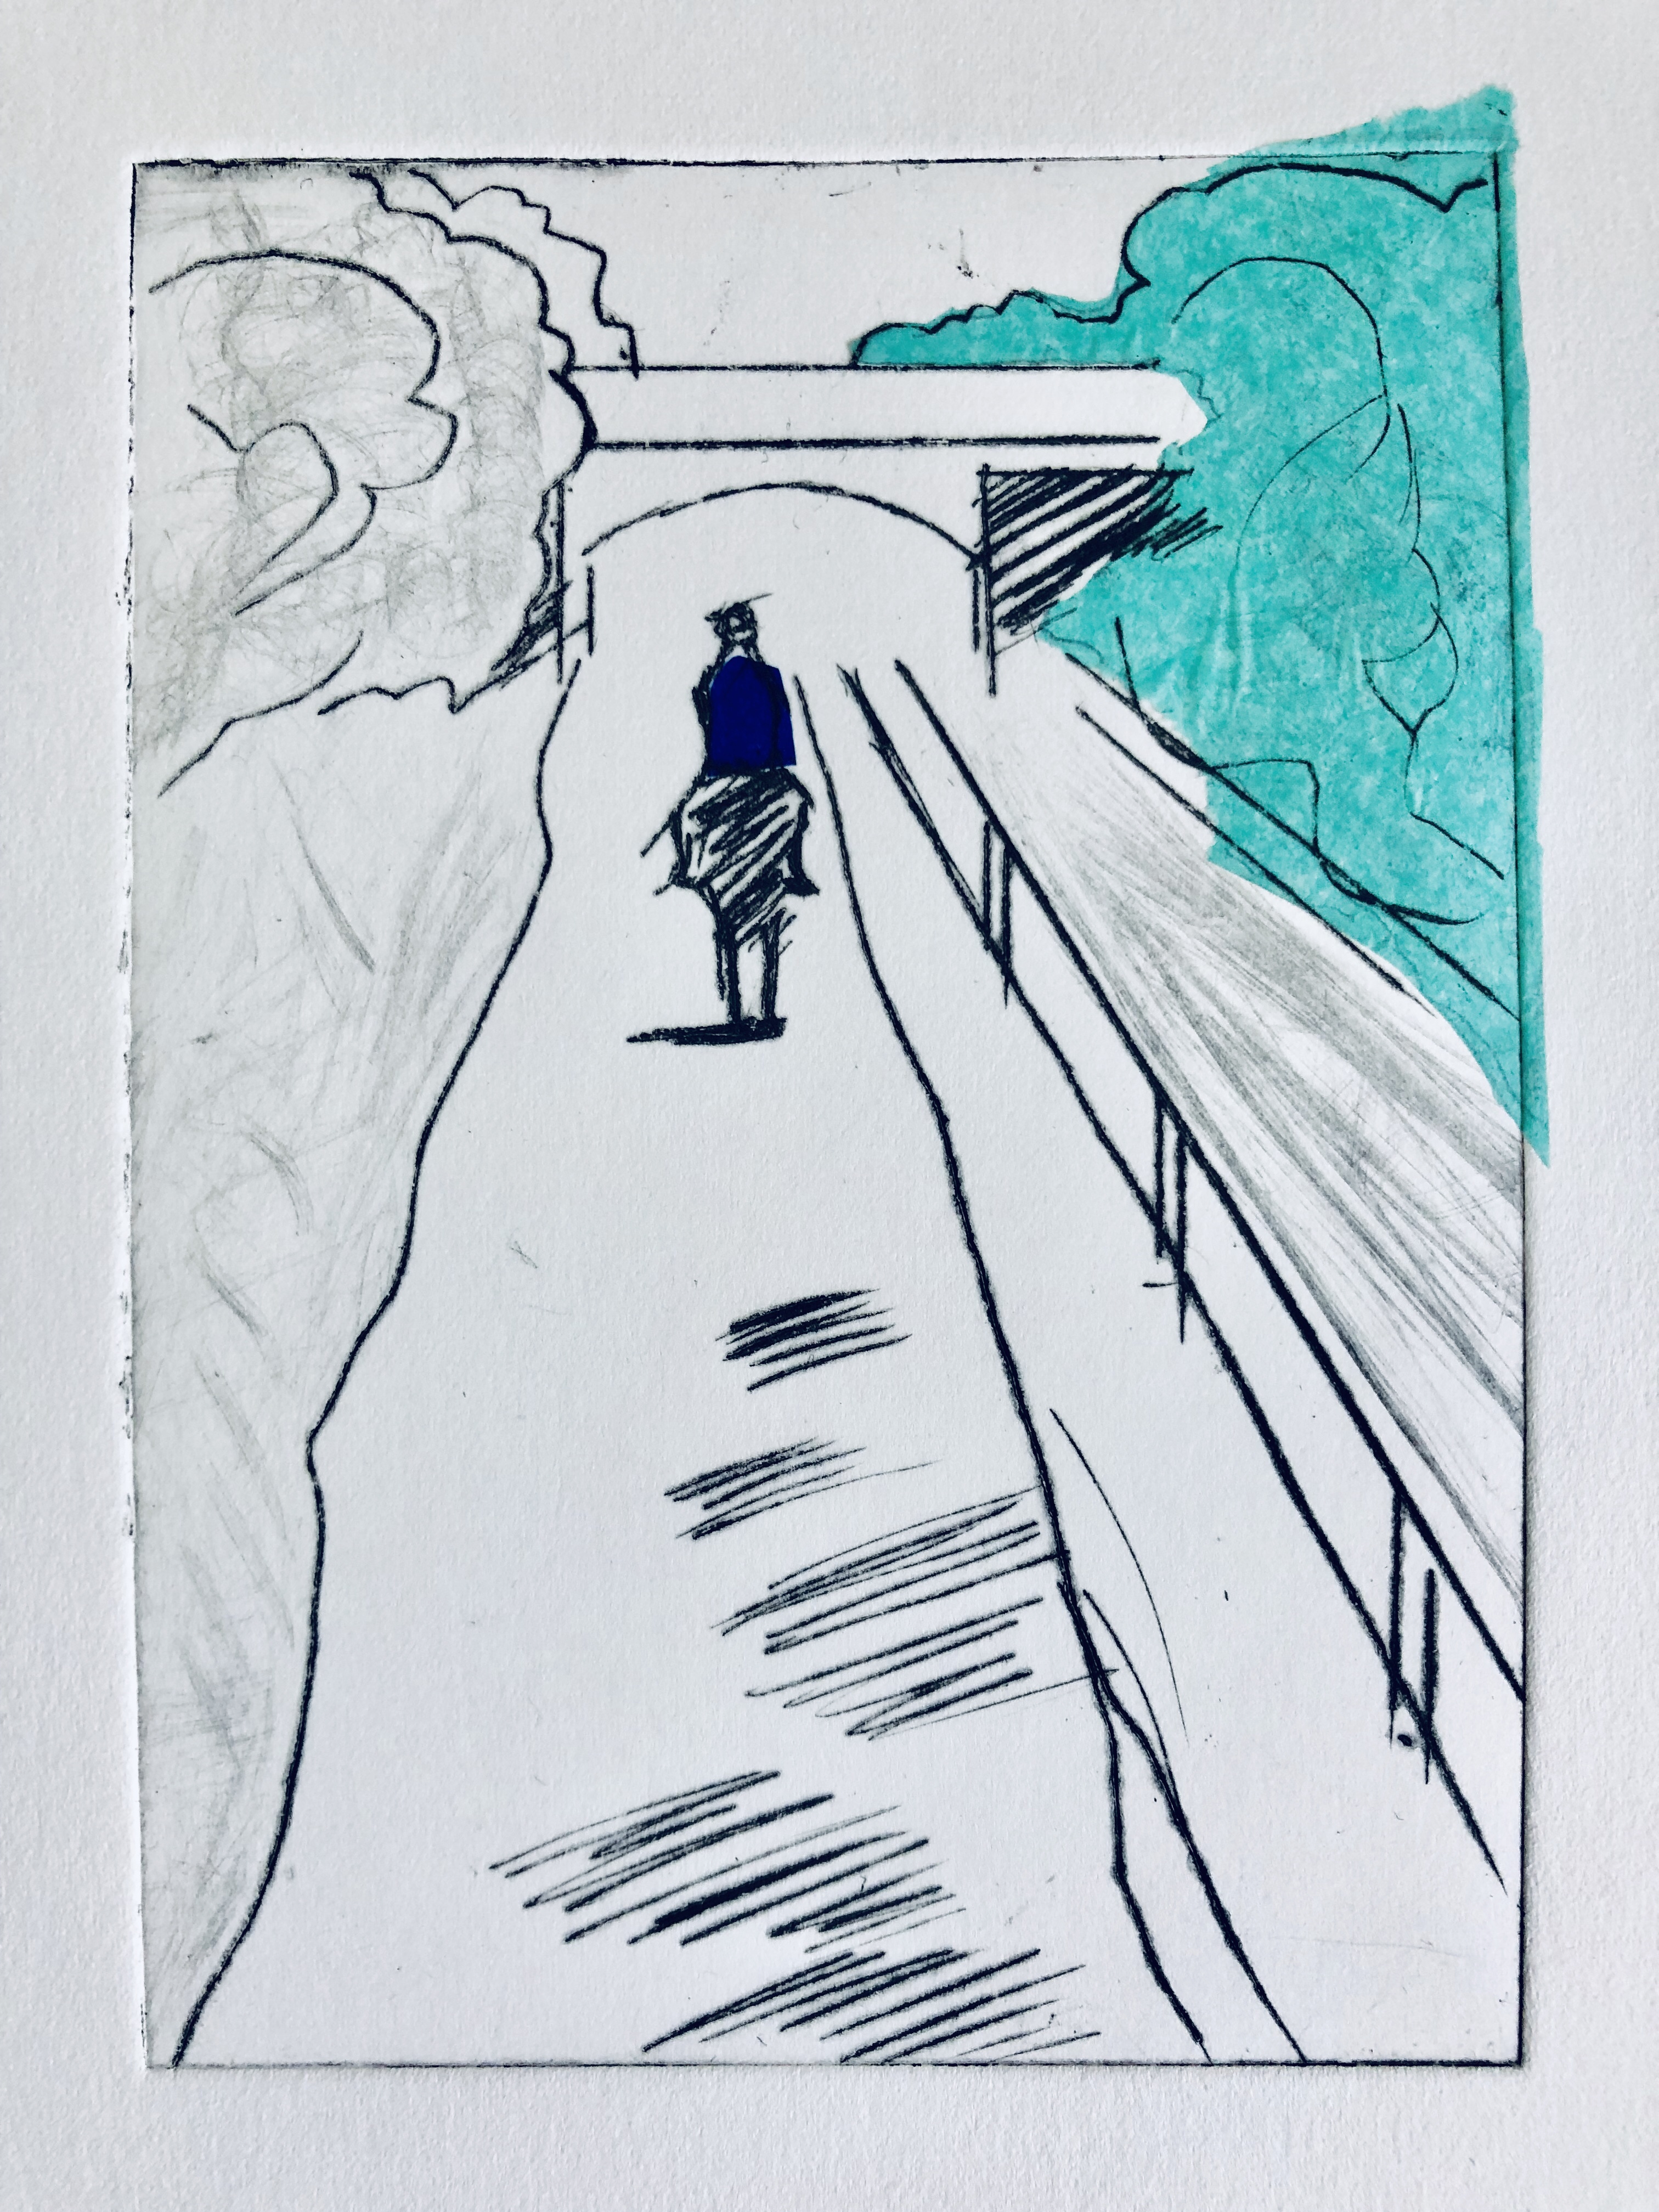
Etching Aquatint proof
Here is my latest etching which depicts a Pacer train at Stockport railway station.
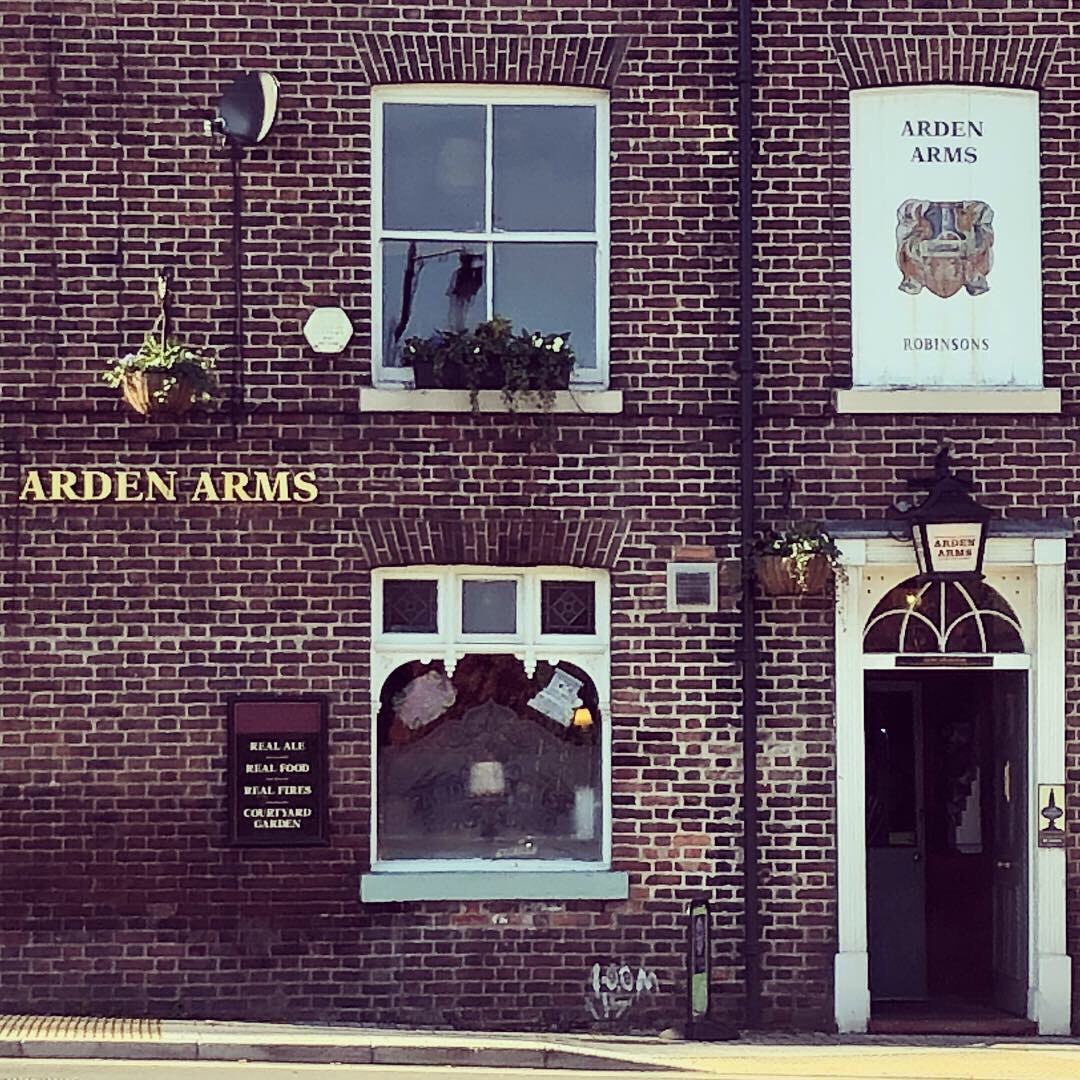
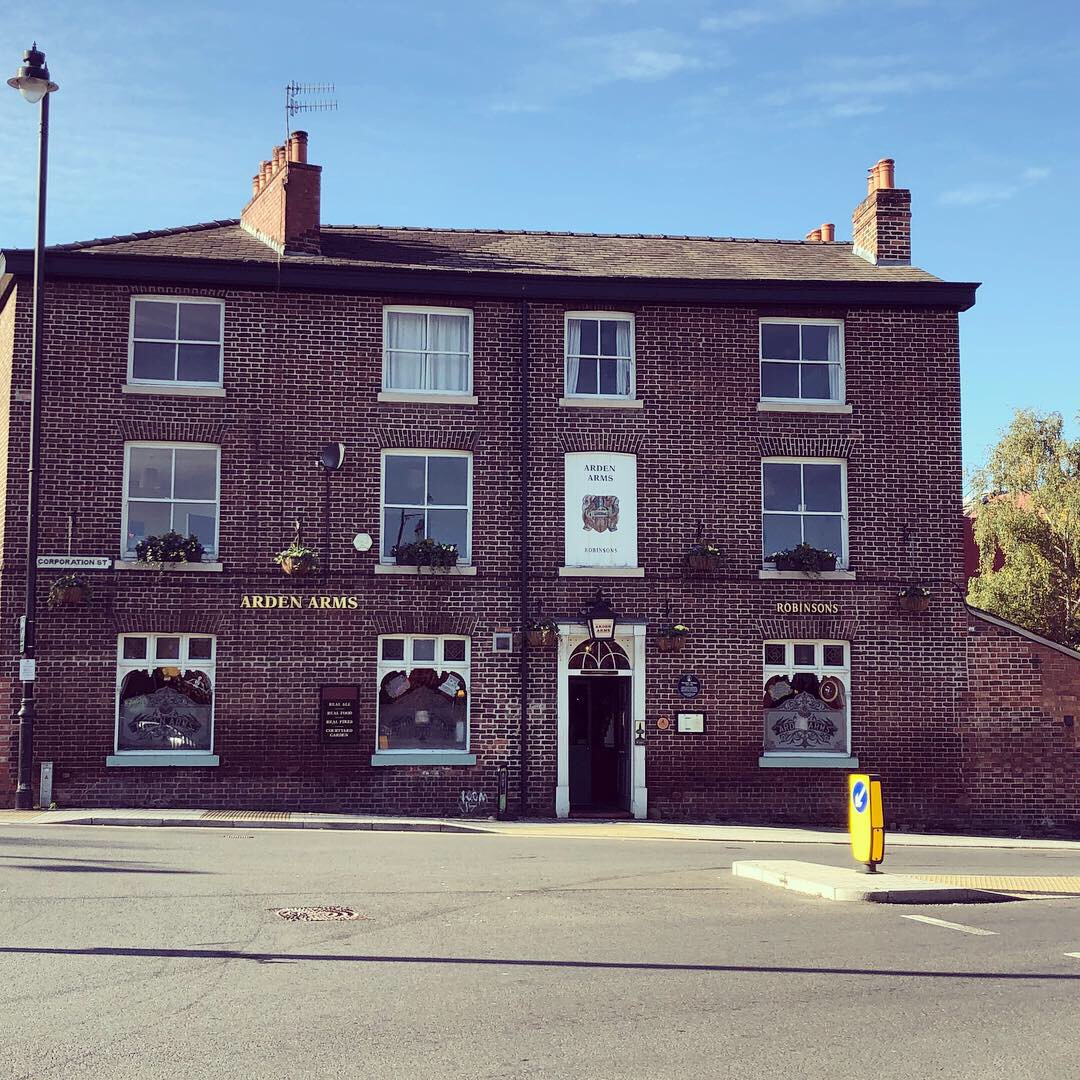
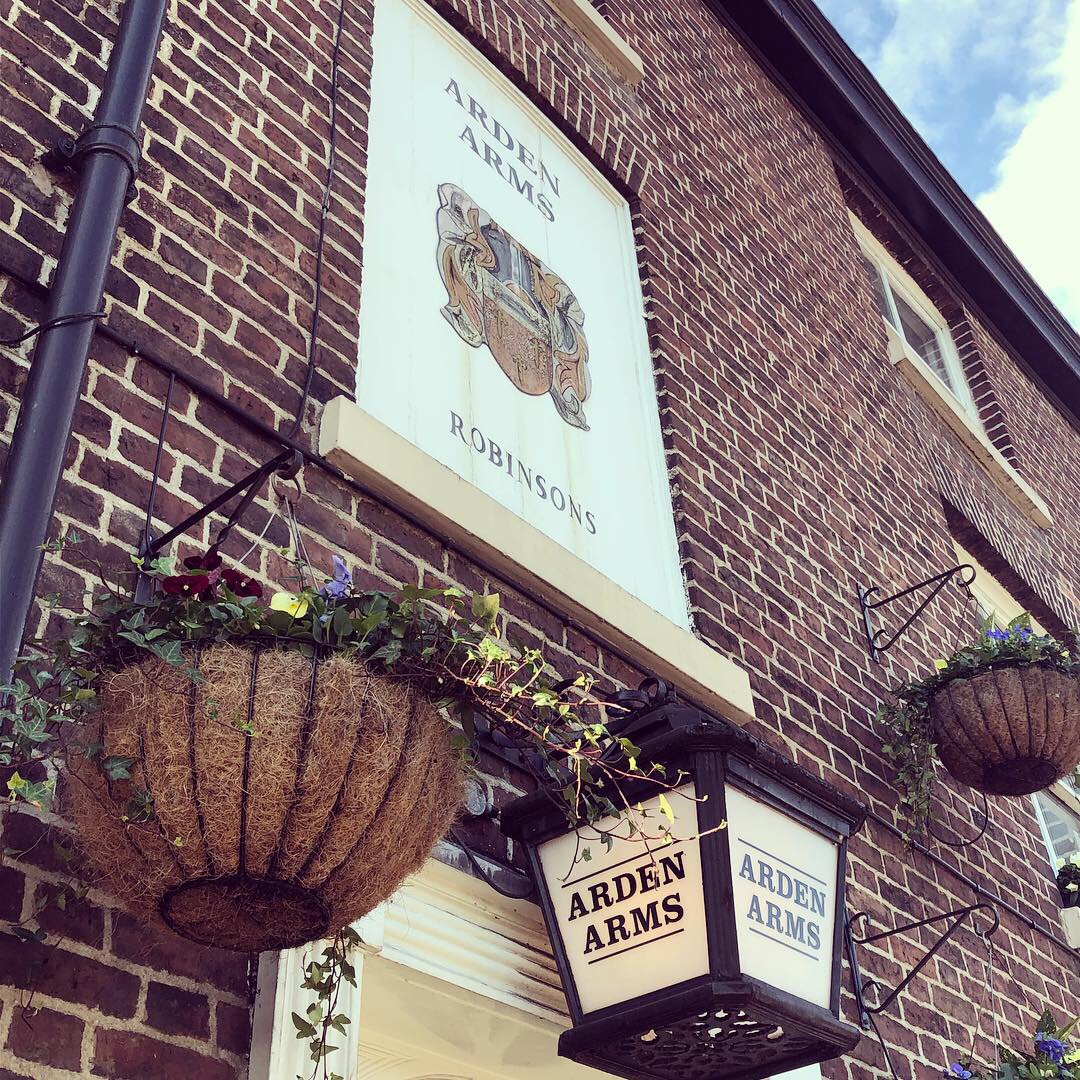
While visiting Stockport yesterday, I took the following photos using my smartphone of the Arden Arms pub. I used to visited this lovely pub when I was attending monthly meetings for Stockport Art Guild.
These photos will be the basis of a future print.
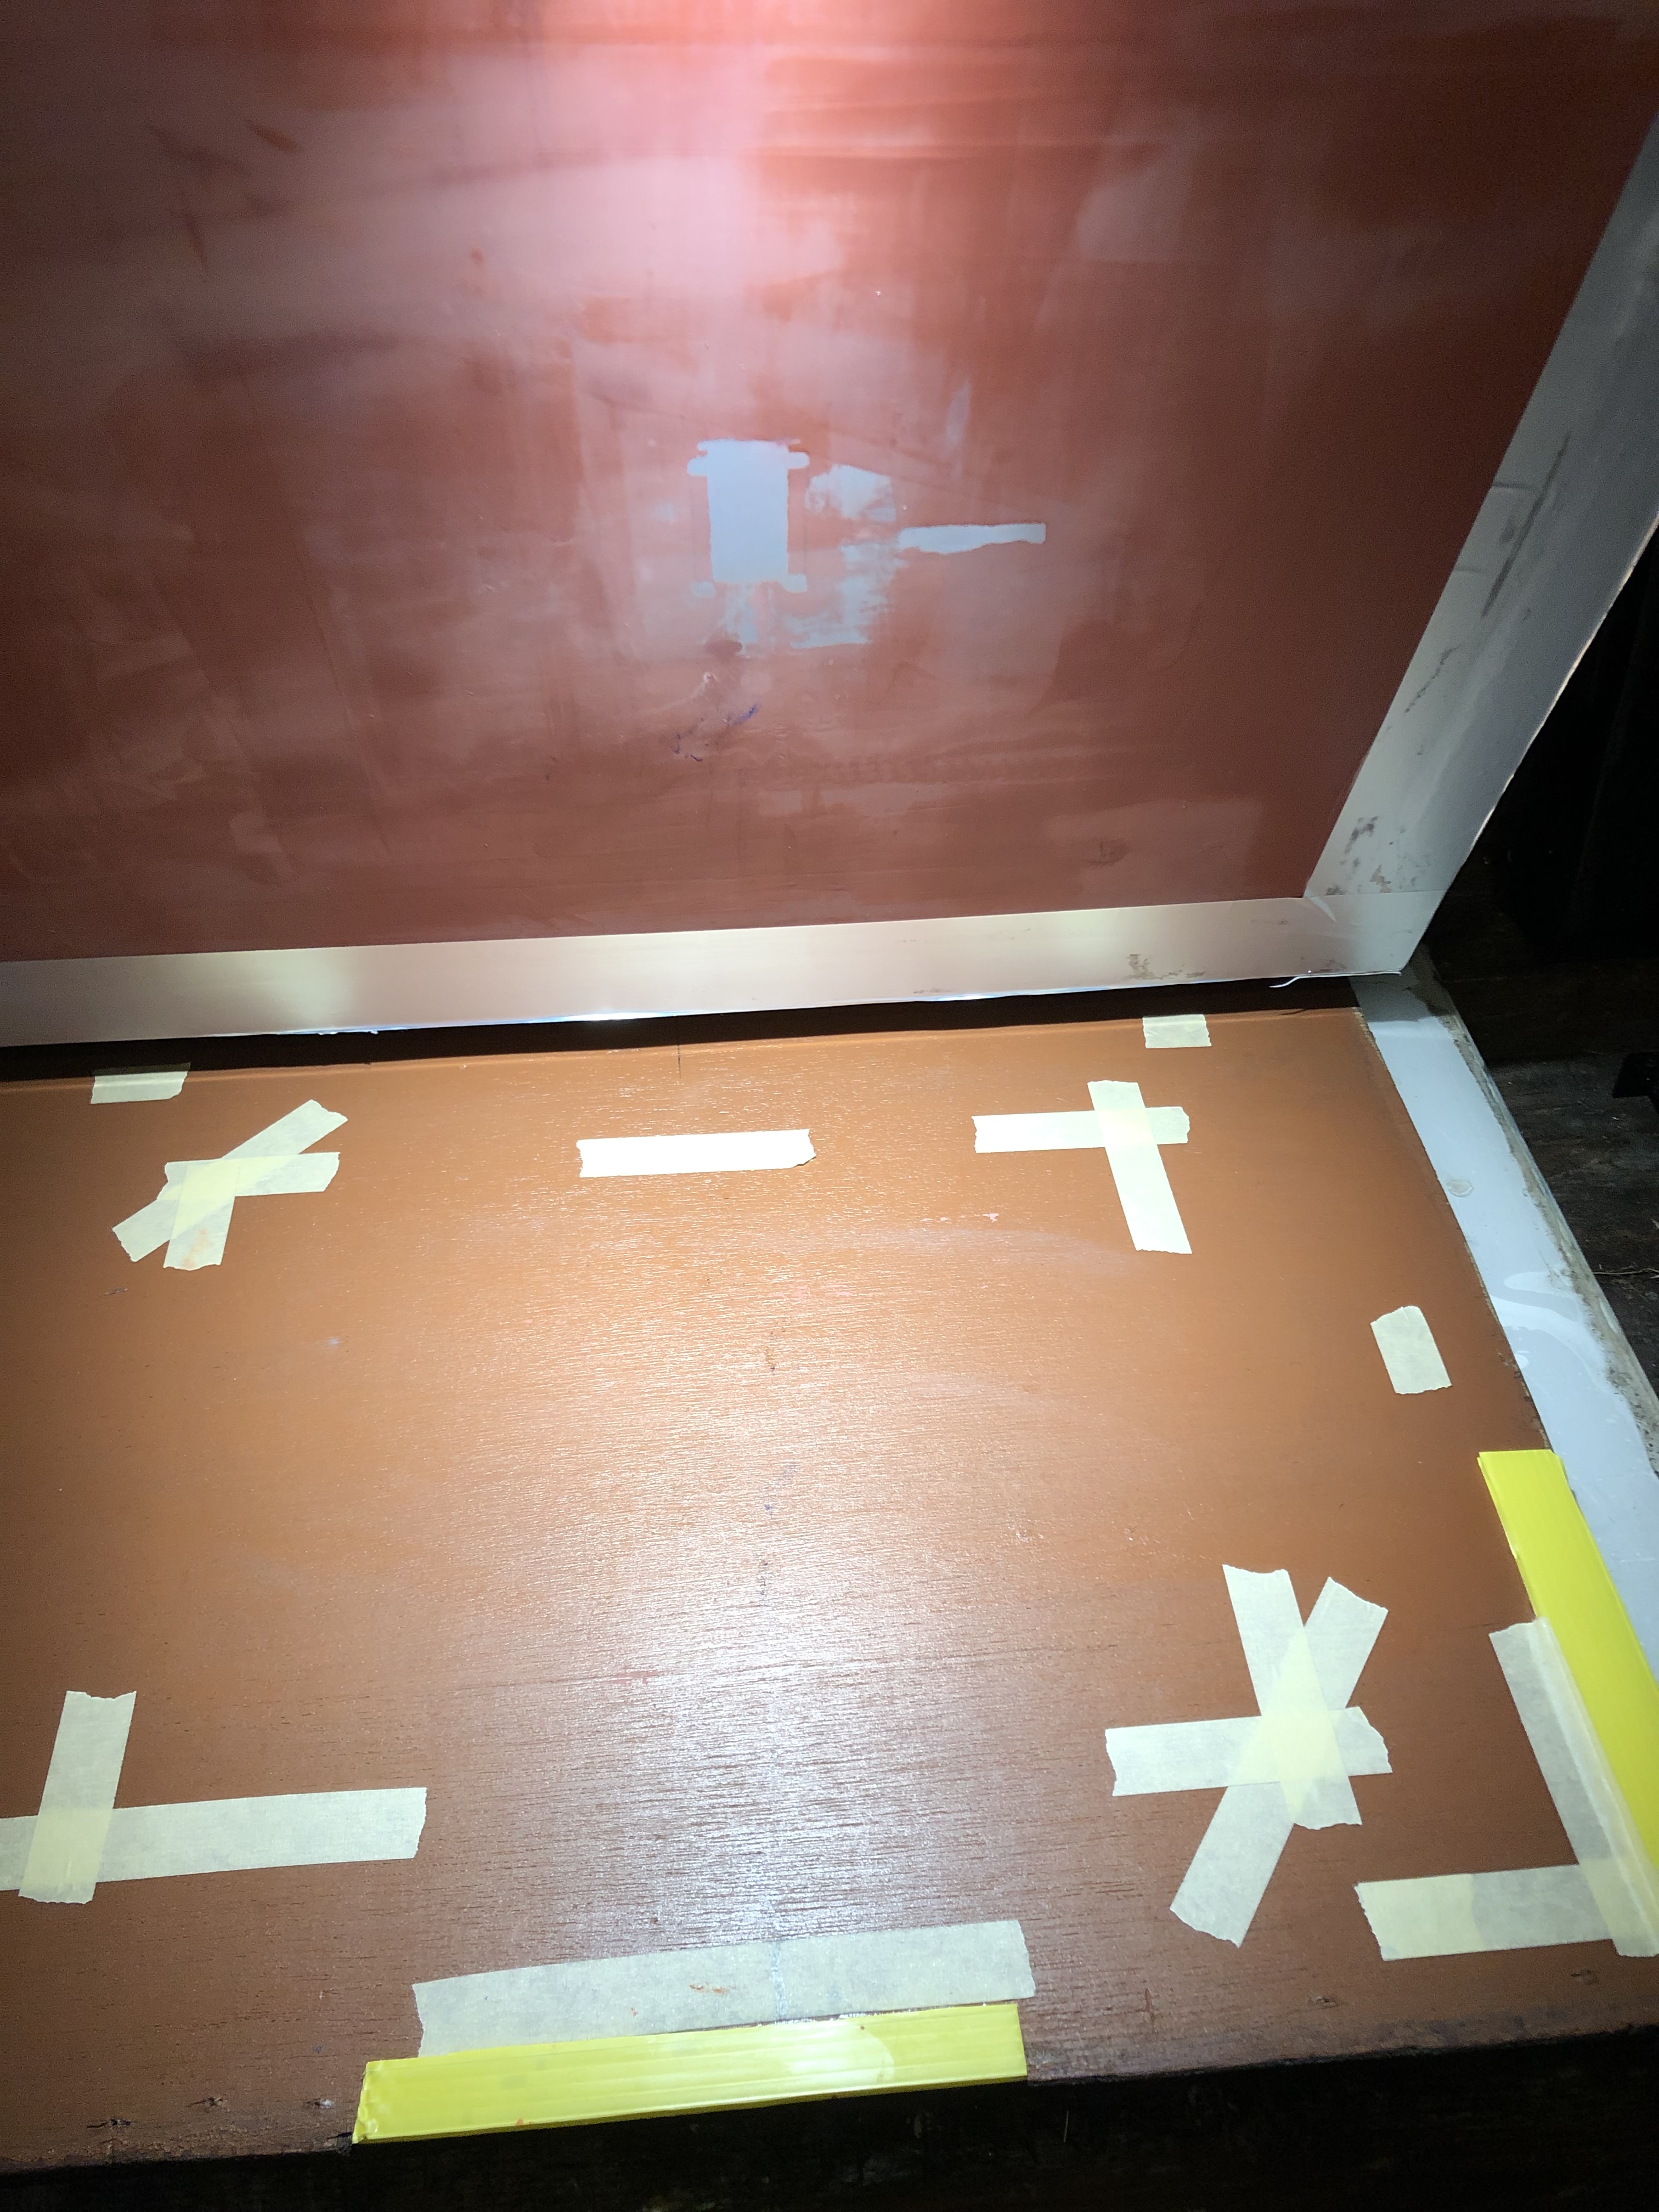
I am currently working on a multicoloured screenprint of one of the subjects for my project. I have so far printed two colours and hope to add another five colours to complete the print. I’ve not worked with this type of printing for many years and am really excited about what the final result will look like.
The photo below shows the two colours I have printed so far. I am printing around twenty prints but will probably whittle this down to around ten to fifteen by the end of the print run.
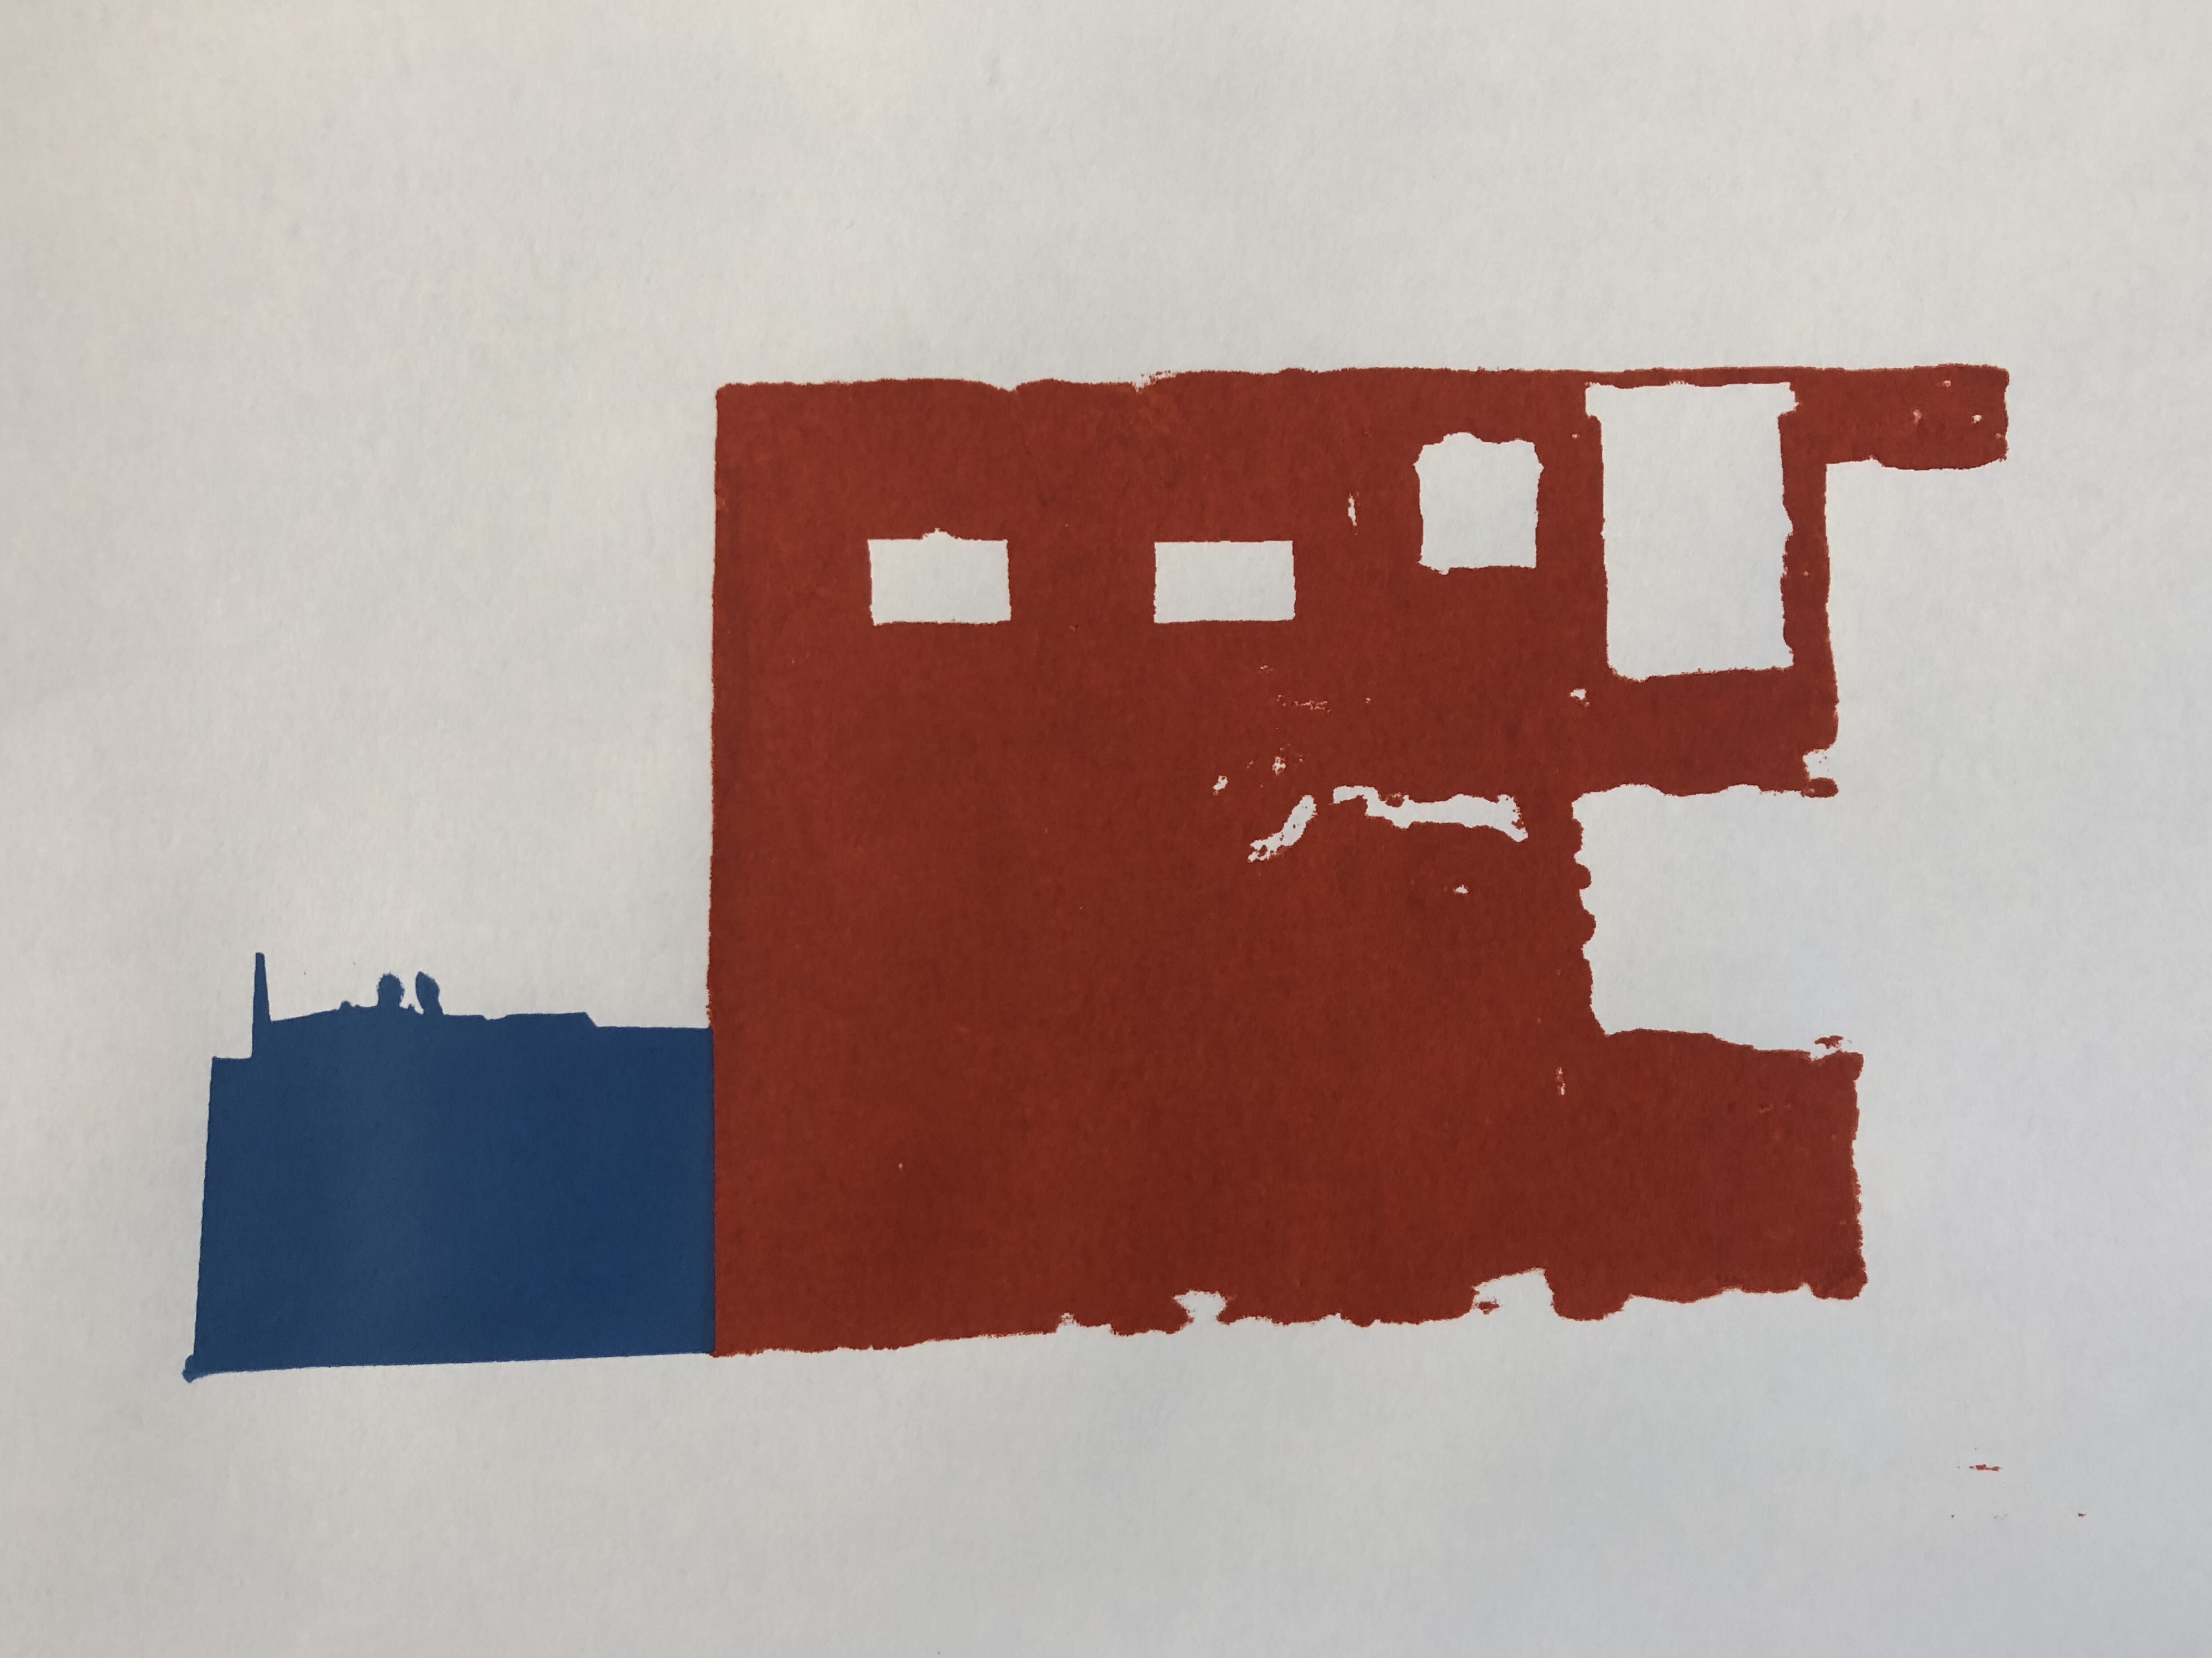
The screenprint depicts the back of a building which is run down and has a earthy brick red wall and a makeshift fence painted in ultramarine blue.
I am using a set of acrylic paints mixed with printing medium. The screen and frame are attached to a diy jig which is a piece of plywood board attached to the screen with two brass hinges and screws. The jig is very effective and allows me to register each colour precisely onto the paper.
Updates to follow…

You must be logged in to post a comment.